
Insights & Updates
Why Do Filling Valves Drip After the Bottle Leaves?
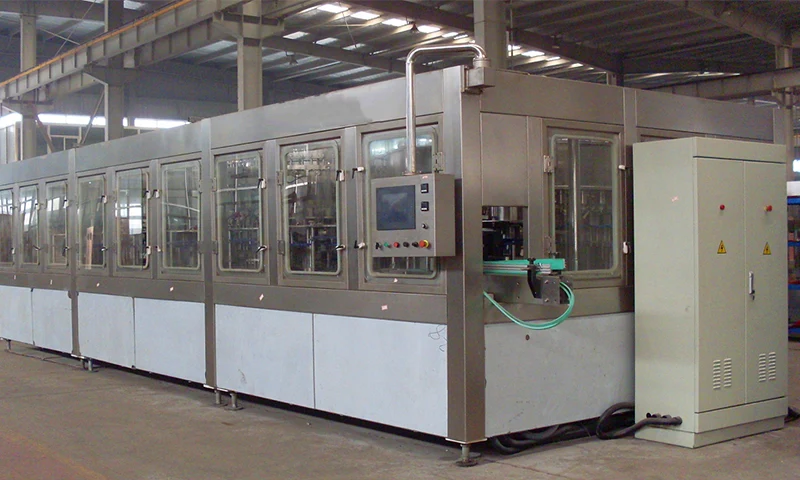
Filling valves dripping between containers is easiest to solve while the original evidence is still available. Keep affected samples, record the operating state and resist making several adjustments at once.
Filling faults are rarely solved by changing one timer at random. Product condition, tank pressure, valve mechanics, container handling and the active recipe must be separated so that a quality symptom is not confused with a machine symptom. The objective is not merely to clear the alarm for filling valves dripping between containers, but to recover a repeatable, verifiable process.
Quick answer: Dripping usually comes from contamination on the valve seat, worn or swollen seals, trapped pressure, incorrect closing timing or product viscosity outside the setup window. Identify whether the leak follows one valve or the entire filler.
What operators usually see
Use the following signs to define the boundary of the problem. A head-by-head, lane-by-lane or time-based pattern is especially valuable: For this case, preserve evidence that shows whether drops fall from one valve after every filled bottle.
- Drops fall from one valve after every filled bottle
- Multiple valves begin dripping after CIP
- Product accumulates on the bottle neck or starwheel
- Dripping becomes worse with warm or viscous product
Make the equipment safe and protect the product
Stop automatic operation, isolate electrical and pneumatic energy, close and depressurize product circuits, and follow the machine lockout/tagout procedure before opening guards or removing a valve. Quarantine product made since the last confirmed good check.
Record filler speed, bowl or tank level, product temperature, pressure, fill result by valve or head, cap torque where applicable, and the exact time of each reject. A head-by-head pattern is far more useful than a line average. Explicitly record whether drops fall from one valve after every filled bottle.
Most likely causes, in practical checking order
1. Contaminated valve seat
Fibres, pulp, scale or damaged gasket material prevent complete hygienic closure To test this explanation without guessing, number the leaking valves and confirm whether the pattern remains after a controlled rinse Record the result before moving to the next cause.
2. Worn or chemically swollen seal
An elastomer incompatible with product or cleaning chemistry can lose its sealing geometry A practical confirmation step is to record product temperature, viscosity, tank pressure and filler speed. Compare the finding with a known-good run.
3. Residual product pressure
A blocked return, excessive tank pressure or failed relief path keeps force on a closed valve Do not compensate for this condition in the recipe. First, inspect the pressure and return path for abnormal restriction Keep the original setting and measured result in the fault record.
4. Closing cam or actuator timing error
The valve begins closing too late or lacks full mechanical travel Separate this cause from the others with one controlled check: use the approved manual mode to confirm full actuator travel from a safe location Use the same product, format and speed for the comparison.
Step-by-step diagnostic procedure
Follow the sequence in order and preserve each result. Stop if any check would require defeating a guard, interlock or validated food-safety control.
- Number the leaking valves and confirm whether the pattern remains after a controlled rinse
- Record product temperature, viscosity, tank pressure and filler speed
- Inspect the pressure and return path for abnormal restriction
- Use the approved manual mode to confirm full actuator travel from a safe location
- Remove the worst valve under hygienic maintenance conditions and inspect seat, spring and seal
- Compare seal material and part number with the product and CIP compatibility specification
Corrective actions that address the root cause
The repair must remove the mechanism, not hide its alarm. Use specified hygienic and safety-rated parts and record every change.
- Clean the seat and internal passages without scratching sealing surfaces
- Replace worn seals, springs or valve components with specified hygienic parts
- Correct tank pressure or a restricted vent and verify safe relief operation
- Restore cam, actuator or recipe timing to the documented setting and validate at several speeds
How to verify the repair before full-speed production
A successful no-load cycle is not enough. Use the actual product and package, sample every relevant head or lane, and verify this condition: Confirm that filling valves dripping between containers is absent for multiple consecutive cycles, not only for one sample. Review the alarm history and keep diagnostic product segregated until the site’s quality procedure releases it.
- Confirm that filling valves dripping between containers is absent for multiple consecutive cycles, not only for one sample.
- Compare the repaired result for “Drops fall from one valve after every filled bottle” with the approved quality limit and the last known-good baseline.
- Check adjacent stations and downstream package quality for side effects associated with contaminated valve seat.
- For “Why Do Filling Valves Drip After the Bottle Leaves?”, record the final settings, measurements, parts used and restart authorization.
Prevent the problem from returning
Use the repair evidence to improve the control plan. The following actions make recurrence visible early:
- Filter products containing particles to the validated process requirement
- Use an elastomer compatibility register for product and CIP chemicals
- Inspect representative valves at planned intervals rather than waiting for visible leaks
- Trend product loss around the filler
- Keep valve maintenance kits protected from dirt and incorrect part mixing
When to stop troubleshooting and call a specialist
Stop and contact the machine or component supplier when filling valves dripping between containers cannot be isolated with non-invasive checks, when it returns after an approved repair, or when calibration requires protected service tools. Escalate immediately for a damaged pressure boundary, uncontrolled motion, food-safety risk, exposed conductor or repeated protective trip. Send the service engineer the fault history, photos, samples, trend data, recipe revision and work already completed.
Relevant equipment for this application
The site example most closely related to filling valves dripping between containers is the Mono-block Filling Machine 3 in 1. Equipment selection should be checked against samples, quality limits, required sustained output and available utilities.
Frequently asked questions
What should be checked first when filling valves dripping between containers?
Dripping usually comes from contamination on the valve seat, worn or swollen seals, trapped pressure, incorrect closing timing or product viscosity outside the setup window. Identify whether the leak follows one valve or the entire filler. Preserve the original settings and take representative samples before repair work begins.
How can we distinguish contaminated valve seat from worn or chemically swollen seal?
Fibres, pulp, scale or damaged gasket material prevent complete hygienic closure In contrast, an elastomer incompatible with product or cleaning chemistry can lose its sealing geometry Compare the two mechanisms under the same operating condition by completing these checks: number the leaking valves and confirm whether the pattern remains after a controlled rinse Then record product temperature, viscosity, tank pressure and filler speed
Can production continue while filling valves dripping between containers?
Only when the plant’s documented risk assessment and quality procedure allow it. For filling valves dripping between containers, stop and segregate production when package integrity, sanitation, validated processing, pressure safety, electrical protection or an uncontrolled reject trend is involved.
What evidence will help the equipment supplier respond faster?
Provide the model and serial number, product and format, target speed, first fault, timestamps, photos or video, affected station pattern and maintenance history. For this issue, also include drops fall from one valve after every filled bottle and the measured result from this check: compare seal material and part number with the product and CIP compatibility specification
Talk to our engineering team
Need help planning your packaging line?
Share your product, bottle and capacity requirements for a practical equipment recommendation.
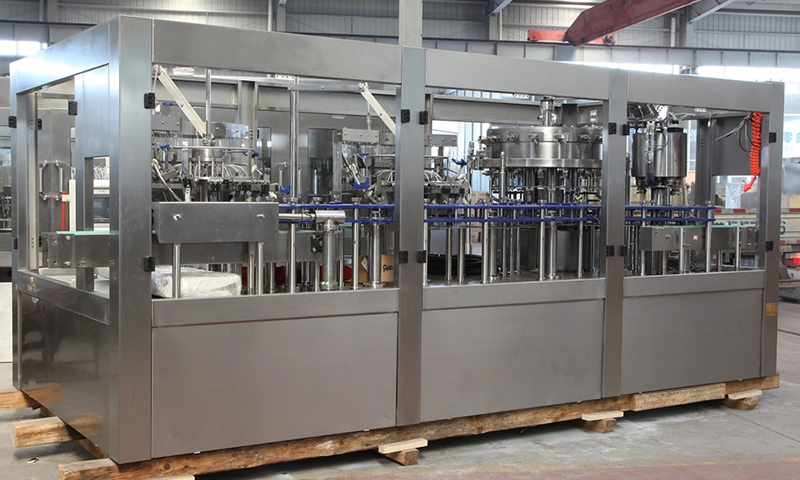
2023-06-09
Glass Bottle Filling Line Guide: Filling Valves for Still and Carbonated Drinks
Practical HZM guidance on glass bottle filling line, focused on filling valves for still and carbonated drinks, line integration, RFQ data and measurable acceptance checks.
Learn more2023-06-09
40 Valves Ultra Clean Filling Machine For Tea Drinks
High quality 40 Valves Ultra Clean Filling Machine For Tea Drinks from China, China's leading CIP SIP Ultra Clean Filling Machine product, with strict quality control 350ml soda water Filling Machine factories, producing high quality SS316 Tea Drinks Filling Machine products.
Learn more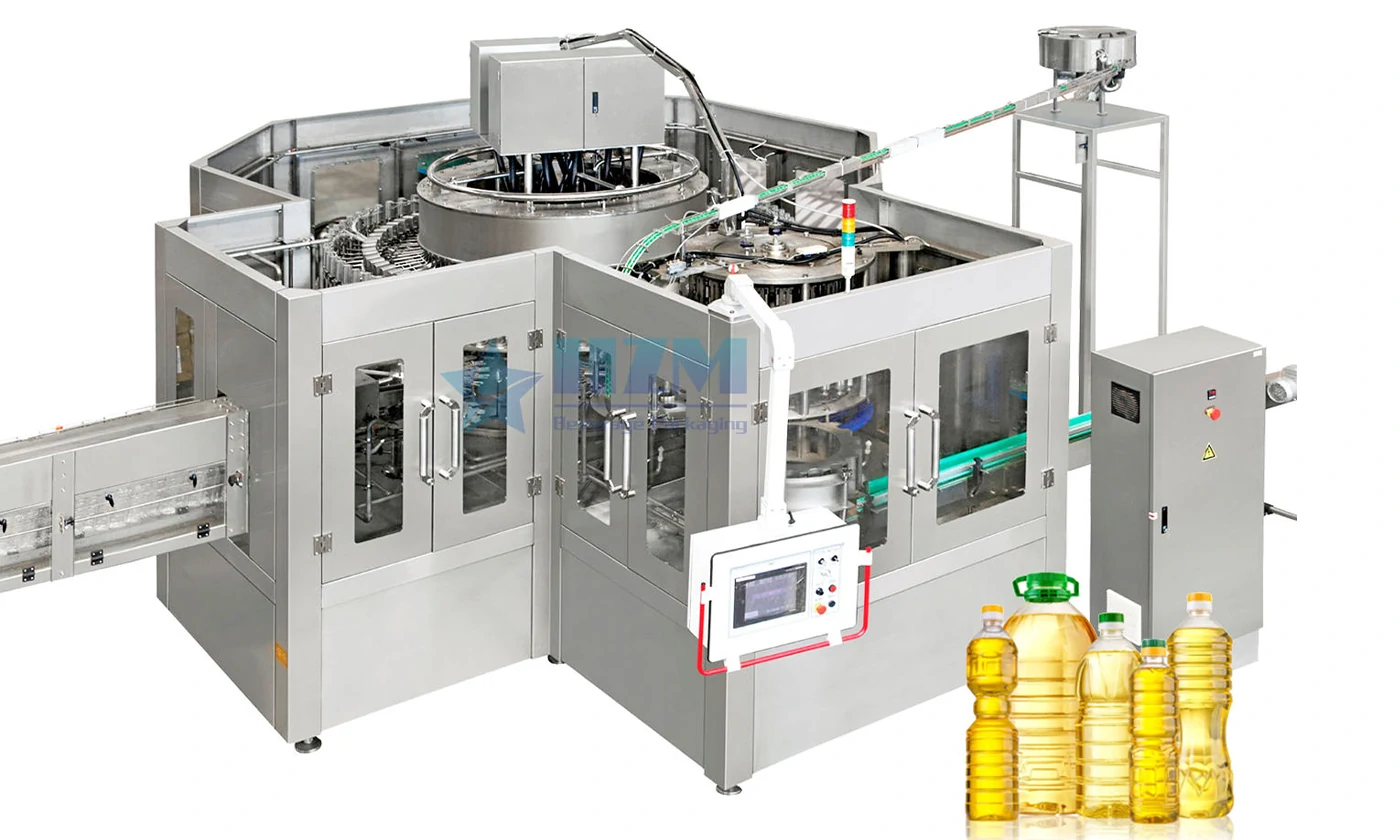
2023-05-04
Automatic Edible Oil Filling Machine Guide: Accuracy, Drip Control and Cleaning
Learn how to select an automatic edible oil filling machine using real viscosity, bottle, accuracy, cleaning, speed and line-integration requirements.
Learn more
2026-09-05
Pulp Juice Filling Valves Keep Blocking: Causes and Safe Cleaning
Check whether particle size, fibre loading, product settling, valve passage, agitation and cleaning method match the process design. Repeated manual clearing is a symptom; it is not a sustainable repair. Follow this practical fault-isolation, repair and prevention guide for bottling-line operators and maintenance teams.
Learn more