
Insights & Updates
Shrink Packs Leave the Tunnel Loose: Heat, Film or Grouping?
Loose shrink-film packs after the tunnel can turn a stable production run into a cycle of resets, rejects and unplanned adjustment. The useful evidence is in the pattern: which station, product, format, speed and time window changed first.
Secondary-packaging defects often begin upstream with unstable container pitch or an incomplete group. Film, carton, heat, timing and compression then amplify the original variation. The sections below connect film remains loose around pack corners with measurements so maintenance work addresses the failure mechanism.
Quick answer: Check the pack before the tunnel, then verify film specification and orientation, cut length, overlap, tunnel-zone temperatures, airflow and residence time. Missing or mis-pitched bottles can make a correct film setup look wrong.
What operators usually see
Start by describing the defect precisely. These observations reveal whether the event follows a component, a material lot, a speed change or the entire process: For this case, preserve evidence that shows whether film remains loose around pack corners.
- Film remains loose around pack corners
- Packs deform during palletizing
- One side shrinks more than the other
- Defect changes with pack pattern or line speed
Make the equipment safe and protect the product
Use lockout/tagout before clearing a jam or entering the guarded packaging or palletizing cell. Allow heaters and sealing bars to cool, and secure suspended or robot-handled loads.
Record pack pattern, infeed pitch, film or carton batch, sealing temperature, tunnel-zone readings, air pressure, servo position and the station where the first abnormal condition appears. Explicitly record whether film remains loose around pack corners.
Most likely causes, in practical checking order
1. Insufficient or uneven heat exposure
Low zone temperature, airflow blockage or short residence leaves film below its shrink curve To test this explanation without guessing, inspect group completeness, bottle pitch and film position before tunnel entry Record the result before moving to the next cause.
2. Wrong film specification or orientation
Thickness and shrink direction do not match the machine and pack A practical confirmation step is to confirm film roll grade, thickness, orientation and storage history. Compare the finding with a known-good run.
3. Excess film around the group
Incorrect cut length or overlap leaves more material than heat can tension Do not compensate for this condition in the recipe. First, measure cut length and overlap across consecutive packs Keep the original setting and measured result in the fault record.
4. Unstable bottle grouping
Gaps and fallen bottles change the pack geometry before wrapping Separate this cause from the others with one controlled check: record actual tunnel zones, conveyor speed and airflow condition Use the same product, format and speed for the comparison.
Step-by-step diagnostic procedure
Begin with process conditions and external evidence, then move toward invasive inspection. Make only one controlled change between comparison runs.
- Inspect group completeness, bottle pitch and film position before tunnel entry
- Confirm film roll grade, thickness, orientation and storage history
- Measure cut length and overlap across consecutive packs
- Record actual tunnel zones, conveyor speed and airflow condition
- Map looseness to tunnel side and pack feature
- Run a controlled pack at lower speed to distinguish heat exposure from film geometry
Corrective actions that address the root cause
Choose the least invasive correction that restores the approved condition, then verify its effect before changing anything else.
- Restore heaters, airflow and validated tunnel residence
- Install correctly oriented qualified film
- Correct film cut length and overlap
- Repair grouping and infeed timing before retuning the tunnel
How to verify the repair before full-speed production
Keep product made during testing on hold. At low, normal and target speed, apply this first criterion: Confirm that loose shrink-film packs after the tunnel is absent for multiple consecutive cycles, not only for one sample. Review the alarm history and keep diagnostic product segregated until the site’s quality procedure releases it.
- Confirm that loose shrink-film packs after the tunnel is absent for multiple consecutive cycles, not only for one sample.
- Compare the repaired result for “Film remains loose around pack corners” with the approved quality limit and the last known-good baseline.
- Check adjacent stations and downstream package quality for side effects associated with insufficient or uneven heat exposure.
- For “Shrink Packs Leave the Tunnel Loose: Heat, Film or Grouping?”, record the final settings, measurements, parts used and restart authorization.
Prevent the problem from returning
Turn the confirmed cause into a centerline, inspection or trend so the team can detect drift before the same shutdown returns.
- Verify first pack before full-speed startup
- Keep film specifications at the machine
- Trend zone temperatures
- Inspect fans, curtains and ducts
- Qualify every pack pattern separately
When to stop troubleshooting and call a specialist
Stop and contact the machine or component supplier when loose shrink-film packs after the tunnel cannot be isolated with non-invasive checks, when it returns after an approved repair, or when calibration requires protected service tools. Stop local work when safe diagnosis requires protected service tools, energized access or a change to a validated process. Send the service engineer the fault history, photos, samples, trend data, recipe revision and work already completed.
Relevant equipment for this application
Where loose shrink-film packs after the tunnel reveals an application mismatch rather than a maintenance fault, review the Automatic Shrink Packing Machine. A useful technical discussion includes the real bottle, closure, product properties, pack format and site conditions.
Frequently asked questions
What should be checked first when loose shrink-film packs after the tunnel?
Check the pack before the tunnel, then verify film specification and orientation, cut length, overlap, tunnel-zone temperatures, airflow and residence time. Missing or mis-pitched bottles can make a correct film setup look wrong. Preserve the original settings and take representative samples before repair work begins.
How can we distinguish insufficient or uneven heat exposure from wrong film specification or orientation?
Low zone temperature, airflow blockage or short residence leaves film below its shrink curve In contrast, thickness and shrink direction do not match the machine and pack Compare the two mechanisms under the same operating condition by completing these checks: inspect group completeness, bottle pitch and film position before tunnel entry Then confirm film roll grade, thickness, orientation and storage history
Can production continue while loose shrink-film packs after the tunnel?
Only when the plant’s documented risk assessment and quality procedure allow it. For loose shrink-film packs after the tunnel, stop and segregate production when package integrity, sanitation, validated processing, pressure safety, electrical protection or an uncontrolled reject trend is involved.
What evidence will help the equipment supplier respond faster?
Provide the model and serial number, product and format, target speed, first fault, timestamps, photos or video, affected station pattern and maintenance history. For this issue, also include film remains loose around pack corners and the measured result from this check: run a controlled pack at lower speed to distinguish heat exposure from film geometry
Talk to our engineering team
Need help planning your packaging line?
Share your product, bottle and capacity requirements for a practical equipment recommendation.
Equipment
Automatic Shrink Packing Machine
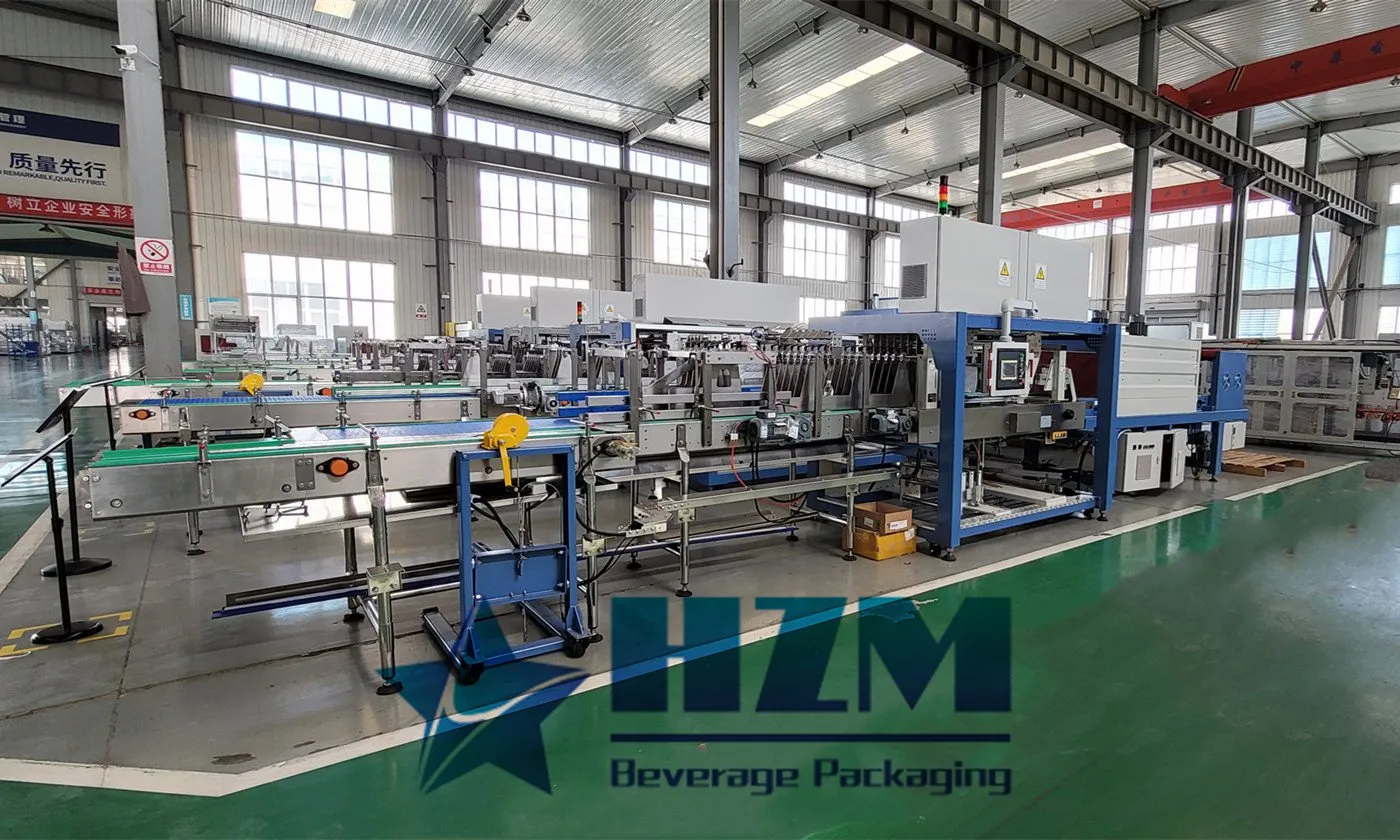
The automatic shrink packing machine wraps groups of bottles or cans in film and passes them through a heated shrink tunnel.
Learn more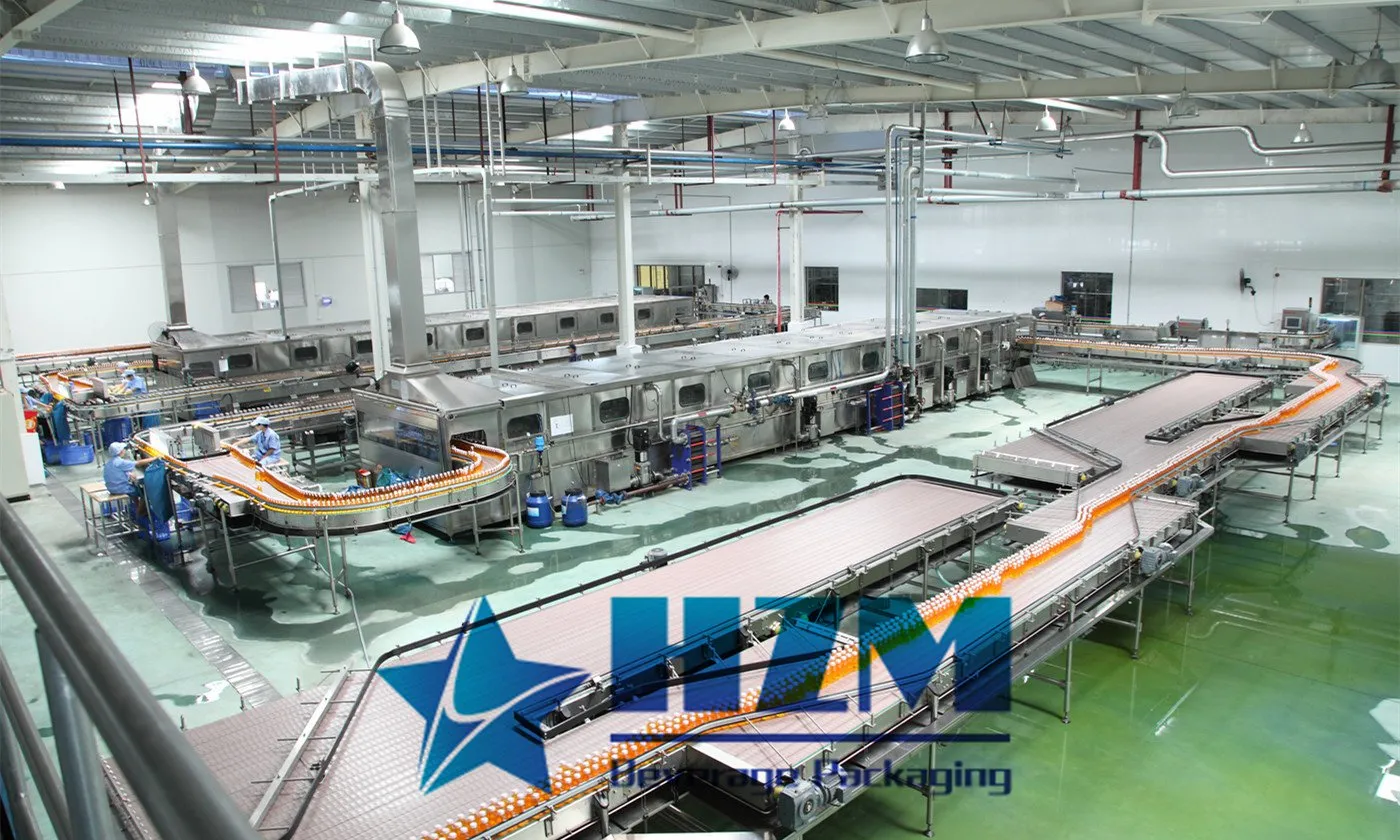
Equipment
Automatic Spraying Tunnel
Water-spray heating and cooling equipment for bottled and canned beverages, with adjustable treatment time and temperature.
Learn more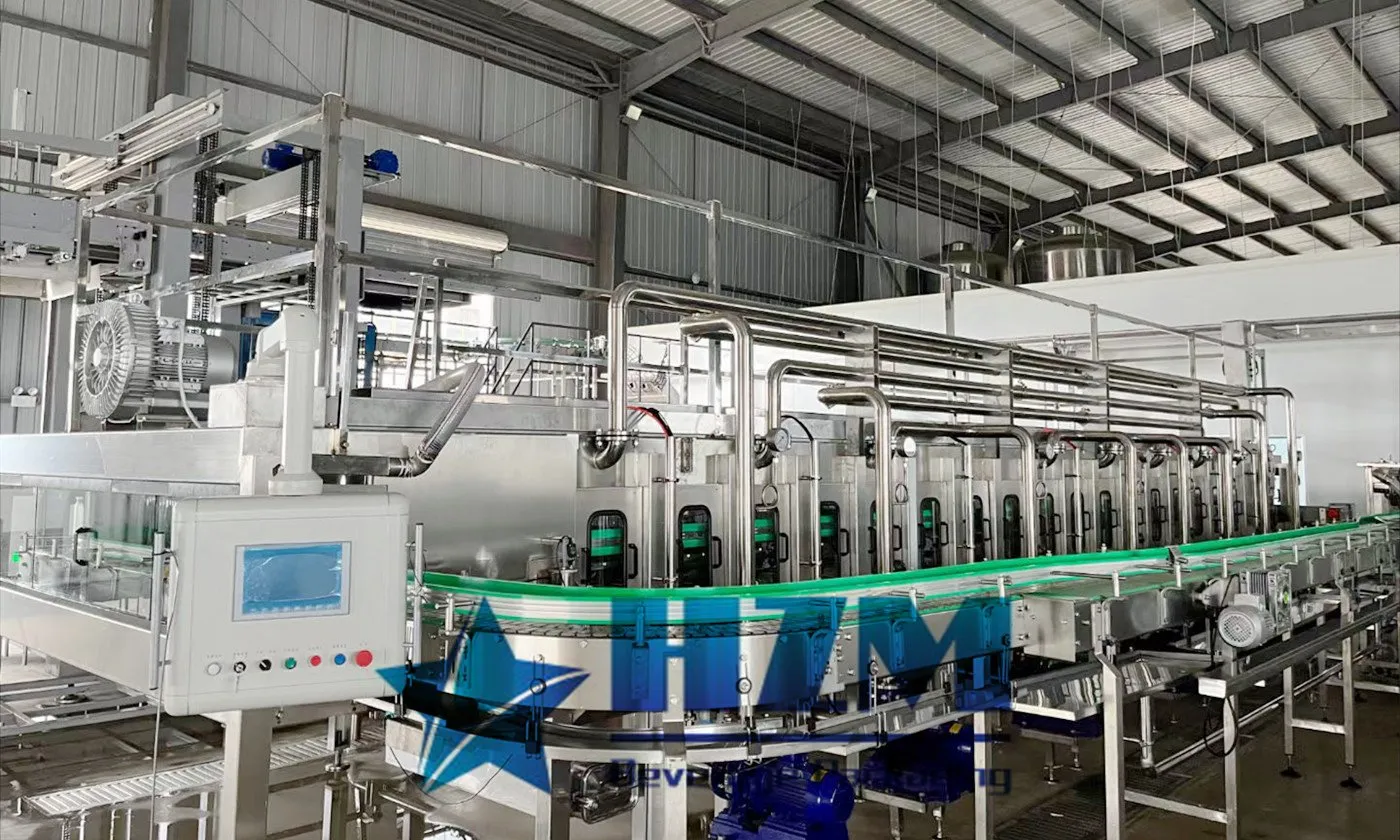
Equipment
Tunnel Pasteurizer
The tunnel pasteurizer carries packaged beverages through controlled heating, pasteurising and cooling zones.
Learn more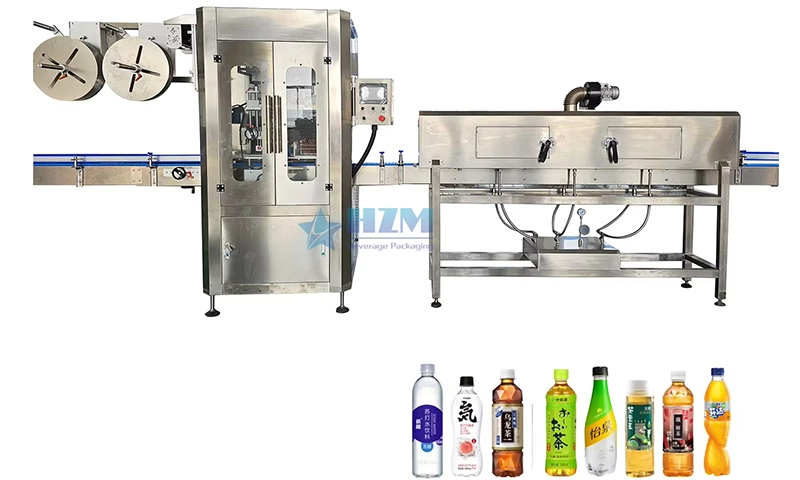
Equipment
Automatic Shrink Sleeve Bottles Labeling Capping Packing Machine
Automatic shrink sleeve application for beverage bottles, with SHB capacities of 9,000–27,000 bottles/hour.
Learn more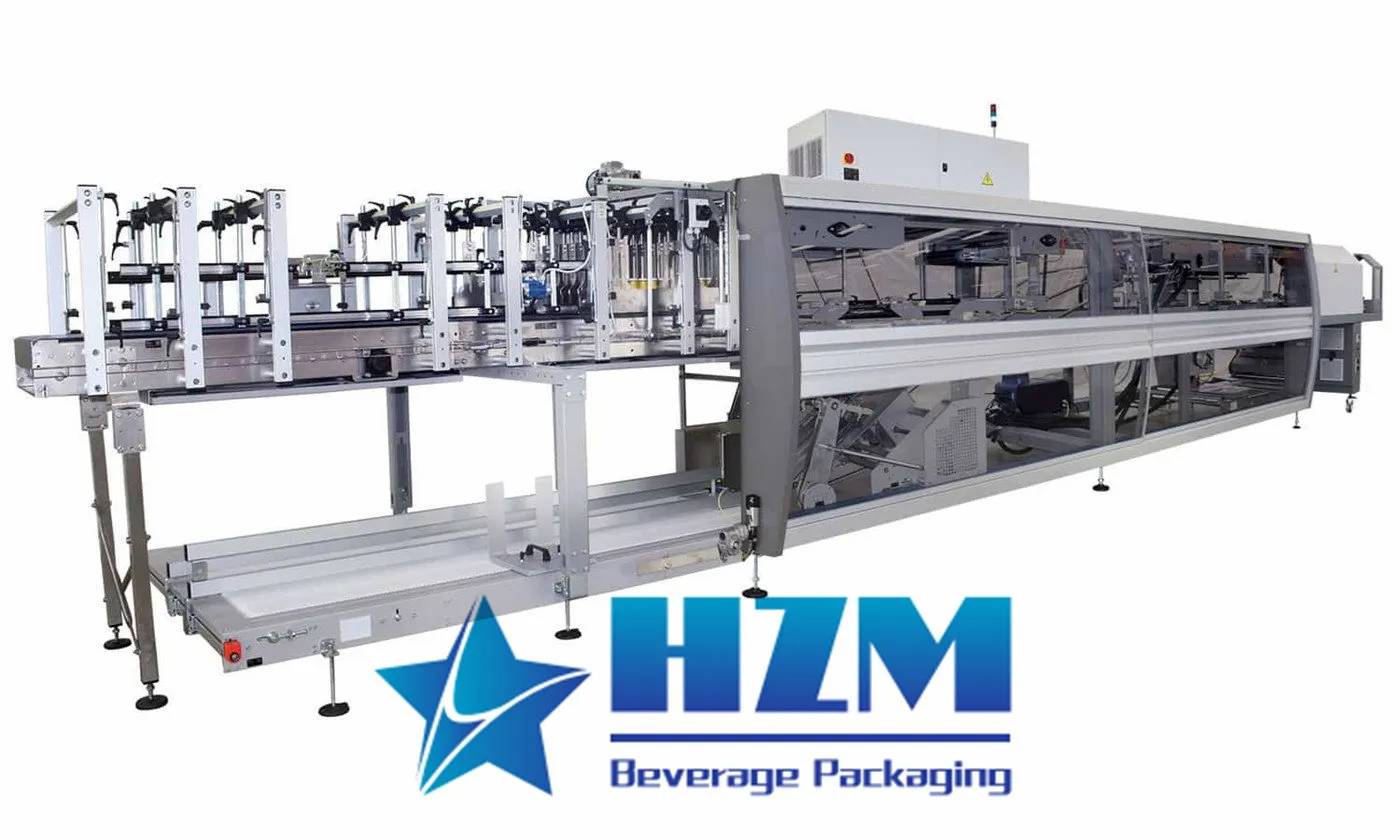
2023-06-09
Beverage Packaging Line Guide: Shrink Tunnel Temperature and Airflow
Practical HZM guidance on beverage packaging line, focused on shrink tunnel temperature and airflow, line integration, RFQ data and measurable acceptance checks.
Learn more
2026-08-29
Shrink-Film Seals Split or Open After Packing
Inspect seal appearance and failure mode, then check film compatibility, sealing-bar temperature, pressure, dwell, cleanliness, alignment and cooling. More temperature can burn or thin the seal rather than strengthen it. Follow this practical fault-isolation, repair and prevention guide for bottling-line operators and maintenance teams.
Learn more2026-08-28
Sleeve Labels Wrinkle After the Shrink Tunnel
Determine whether the sleeve was straight before entering the tunnel. Then check film shrink curve, tunnel-zone temperature, airflow or steam distribution, bottle moisture, conveyor speed and container geometry. Follow this practical fault-isolation, repair and prevention guide for bottling-line operators and maintenance teams.
Learn more
2023-06-09
Beverage Packaging Line Guide: Pack Format and Film Selection
Practical HZM guidance on beverage packaging line, focused on pack format and film selection, line integration, RFQ data and measurable acceptance checks.
Learn more
2026-09-08
Shrink Film Wrinkles, Folds or Tracks Sideways
Trace the film path from roll to sealing point. Check roll centering, brake tension, dancer travel, roller parallelism, static, damaged edges and unequal pack presentation. Follow this practical fault-isolation, repair and prevention guide for bottling-line operators and maintenance teams.
Learn more
2023-05-14
Enhancing Beverage Quality with Automatic Spraying Tunnel: A Comprehensive Guide
Automatic Spraying Tunnel is an industrial equipment that is widely used in the production line of tea beverages, hot filling, and carbonated beverages. It is designed to regulate the temperature of beverage products to ensure the best quality of the final product.
Learn more