
Insights & Updates
Shrink Sleeve Labels Are Skewed: Sensor, Cutter or Bottle?
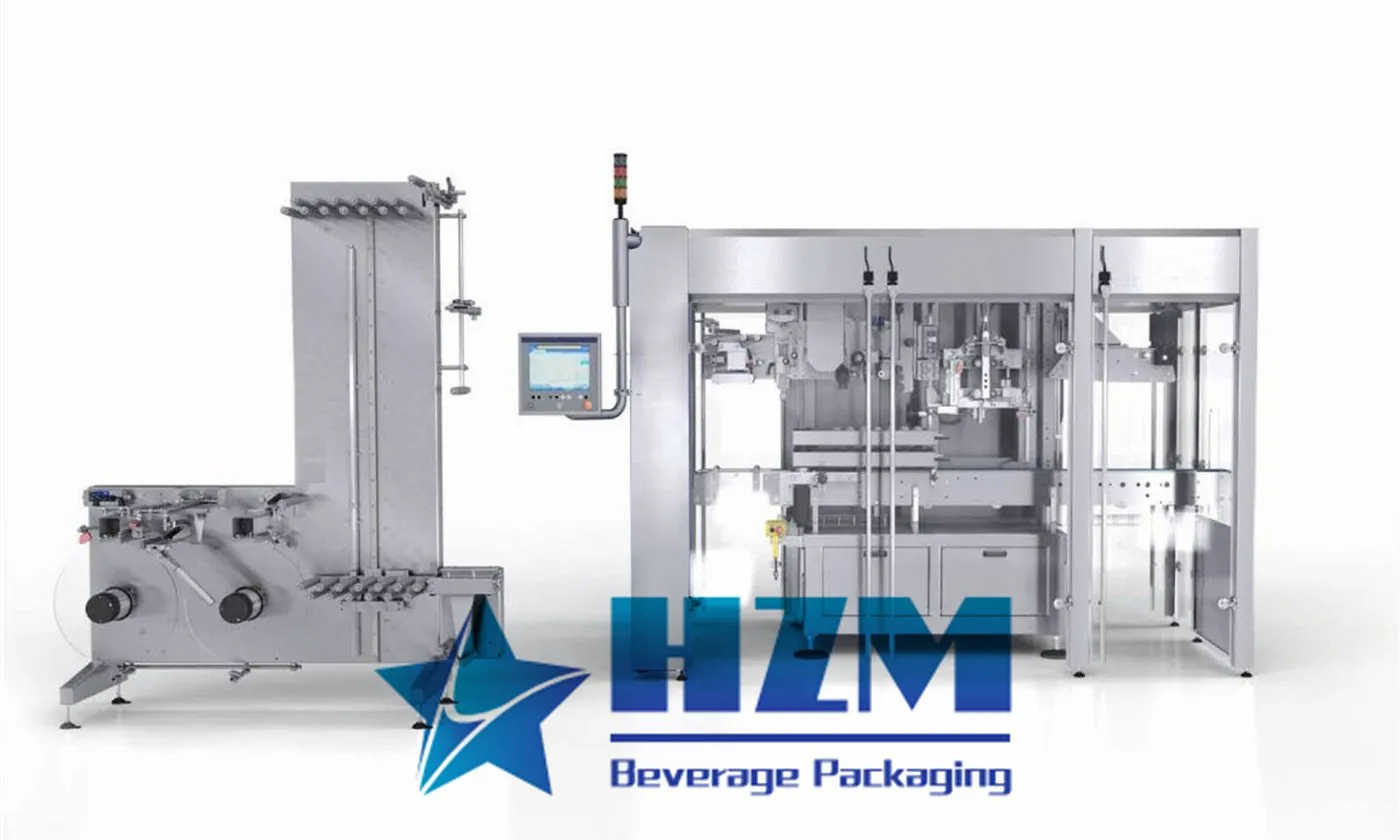
When skewed shrink-sleeve labels before the shrink tunnel appears, changing the nearest setpoint is tempting but risky. A durable repair starts by retaining samples, capturing the first alarm and separating a local head or lane problem from a line-wide process problem.
Label defects follow the relationship between container presentation, sensor timing, web or label handling, adhesive condition and downstream shrink or curing. Diagnose the first point at which position or tension becomes unstable. The objective is not merely to clear the alarm for skewed shrink-sleeve labels before the shrink tunnel, but to recover a repeatable, verifiable process.
Quick answer: Inspect the sleeve before heat is applied. Check bottle centering, film web tracking and tension, registration-mark detection, cutter condition, mandrel alignment and sleeve drop timing.
What operators usually see
Use the following signs to define the boundary of the problem. A head-by-head, lane-by-lane or time-based pattern is especially valuable: For this case, preserve evidence that shows whether sleeves sit higher on one side of the bottle.
- Sleeves sit higher on one side of the bottle
- Printed graphics rotate or vary in height
- The defect follows one film roll
- Skew increases as labeler speed rises
Make the equipment safe and protect the product
Lock out the machine before reaching into cutters, feed screws, starwheels, vacuum drums, driven rollers or hot-melt systems. Follow adhesive and shrink-tunnel burn precautions.
Save a labelled sample and record bottle format, label roll or batch, web tension, registration mark signal, applicator speed, adhesive temperature where used, conveyor speed and reject pattern. Explicitly record whether sleeves sit higher on one side of the bottle.
Most likely causes, in practical checking order
1. Bottle not vertical or centered
Unstable container presentation lets the sleeve contact one side first To test this explanation without guessing, inspect unshrunk sleeves and mark the first point where they become skewed Record the result before moving to the next cause.
2. Web tracking or tension imbalance
The film tube reaches the mandrel twisted or stretched A practical confirmation step is to verify bottle guides, screw timing and centering with the approved format sample. Compare the finding with a known-good run.
3. Registration sensor instability
Poor contrast, contamination or incorrect teach moves the cut position Do not compensate for this condition in the recipe. First, check film roll loading, unwind brake, rollers and web edge position Keep the original setting and measured result in the fault record.
4. Cutter or mandrel misalignment
Uneven cutting and off-axis transfer produce a tilted sleeve Separate this cause from the others with one controlled check: clean and verify registration-sensor signal margin on the actual artwork Use the same product, format and speed for the comparison.
Step-by-step diagnostic procedure
Follow the sequence in order and preserve each result. Stop if any check would require defeating a guard, interlock or validated food-safety control.
- Inspect unshrunk sleeves and mark the first point where they become skewed
- Verify bottle guides, screw timing and centering with the approved format sample
- Check film roll loading, unwind brake, rollers and web edge position
- Clean and verify registration-sensor signal margin on the actual artwork
- Inspect cut edge and compare cut length over consecutive labels
- Check mandrel, cutter and drop-belt alignment after safe isolation
Corrective actions that address the root cause
The repair must remove the mechanism, not hide its alarm. Use specified hygienic and safety-rated parts and record every change.
- Stabilize and center the bottle through sleeve application
- Correct film path and controlled unwind tension
- Teach or reposition the mark sensor and use suitable printed contrast
- Sharpen or replace cutter parts and align the mandrel and transfer
How to verify the repair before full-speed production
A successful no-load cycle is not enough. Use the actual product and package, sample every relevant head or lane, and verify this condition: Confirm that skewed shrink-sleeve labels before the shrink tunnel is absent for multiple consecutive cycles, not only for one sample. Review the alarm history and keep diagnostic product segregated until the site’s quality procedure releases it.
- Confirm that skewed shrink-sleeve labels before the shrink tunnel is absent for multiple consecutive cycles, not only for one sample.
- Compare the repaired result for “Sleeves sit higher on one side of the bottle” with the approved quality limit and the last known-good baseline.
- Check adjacent stations and downstream package quality for side effects associated with bottle not vertical or centered.
- For “Shrink Sleeve Labels Are Skewed: Sensor, Cutter or Bottle?”, record the final settings, measurements, parts used and restart authorization.
Prevent the problem from returning
Use the repair evidence to improve the control plan. The following actions make recurrence visible early:
- Keep approved film and bottle samples
- Chart cut length and label height
- Clean sensors and rollers
- Inspect mandrels after jams
- Qualify new artwork at target speed
When to stop troubleshooting and call a specialist
Stop and contact the machine or component supplier when skewed shrink-sleeve labels before the shrink tunnel cannot be isolated with non-invasive checks, when it returns after an approved repair, or when calibration requires protected service tools. Specialist support is also required when the same protective fault returns after an approved repair or structural damage is suspected. Send the service engineer the fault history, photos, samples, trend data, recipe revision and work already completed.
Relevant equipment for this application
For a project-level comparison related to skewed shrink-sleeve labels before the shrink tunnel, see HZM Machinery’s Automatic Sleeve Labeling Machine. Use actual product, container and utility data when evaluating whether the configuration fits the duty.
Frequently asked questions
What should be checked first when skewed shrink-sleeve labels before the shrink tunnel?
Inspect the sleeve before heat is applied. Check bottle centering, film web tracking and tension, registration-mark detection, cutter condition, mandrel alignment and sleeve drop timing. Preserve the original settings and take representative samples before repair work begins.
How can we distinguish bottle not vertical or centered from web tracking or tension imbalance?
Unstable container presentation lets the sleeve contact one side first In contrast, the film tube reaches the mandrel twisted or stretched Compare the two mechanisms under the same operating condition by completing these checks: inspect unshrunk sleeves and mark the first point where they become skewed Then verify bottle guides, screw timing and centering with the approved format sample
Can production continue while skewed shrink-sleeve labels before the shrink tunnel?
Only when the plant’s documented risk assessment and quality procedure allow it. For skewed shrink-sleeve labels before the shrink tunnel, stop and segregate production when package integrity, sanitation, validated processing, pressure safety, electrical protection or an uncontrolled reject trend is involved.
What evidence will help the equipment supplier respond faster?
Provide the model and serial number, product and format, target speed, first fault, timestamps, photos or video, affected station pattern and maintenance history. For this issue, also include sleeves sit higher on one side of the bottle and the measured result from this check: check mandrel, cutter and drop-belt alignment after safe isolation
Talk to our engineering team
Need help planning your packaging line?
Share your product, bottle and capacity requirements for a practical equipment recommendation.
Equipment
Automatic Sleeve Labeling Machine
Automatic shrink sleeve labelling for beverage bottles, with SHB models from 9,000 to 27,000 bottles/hour.
Learn more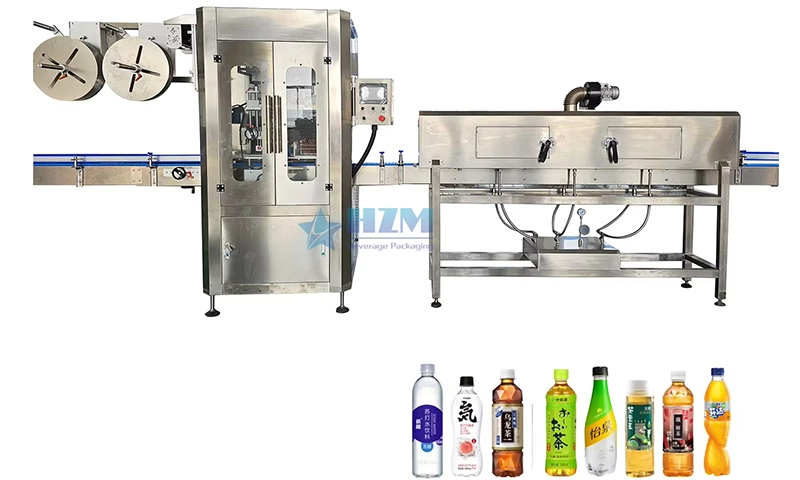
Equipment
Automatic Shrink Sleeve Bottles Labeling Capping Packing Machine
Automatic shrink sleeve application for beverage bottles, with SHB capacities of 9,000–27,000 bottles/hour.
Learn more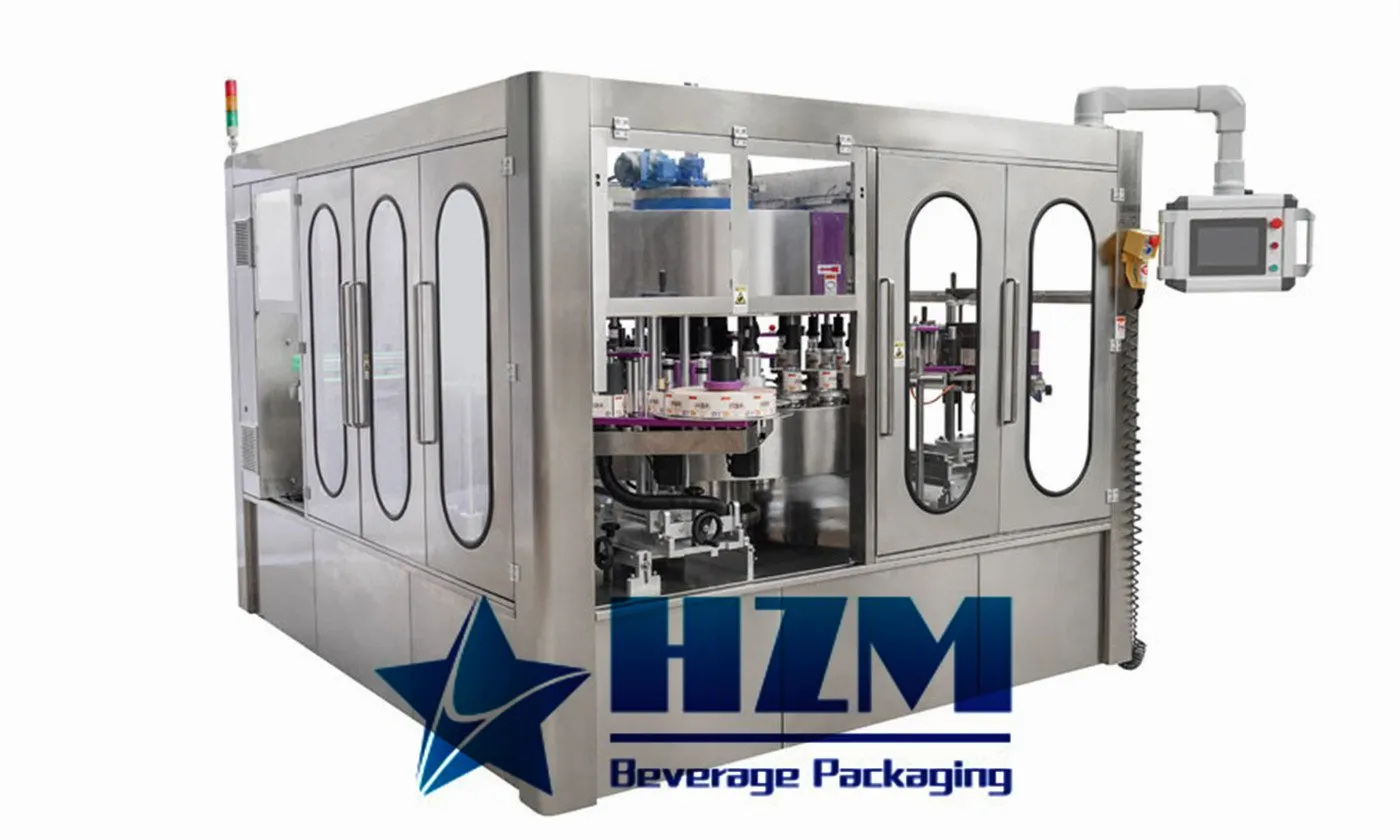
Equipment
Automatic Self-Adhesive Labeling Machine
Automatic self-adhesive labelling for cylindrical containers, with ALM models covering 90–600 bottles/minute.
Learn more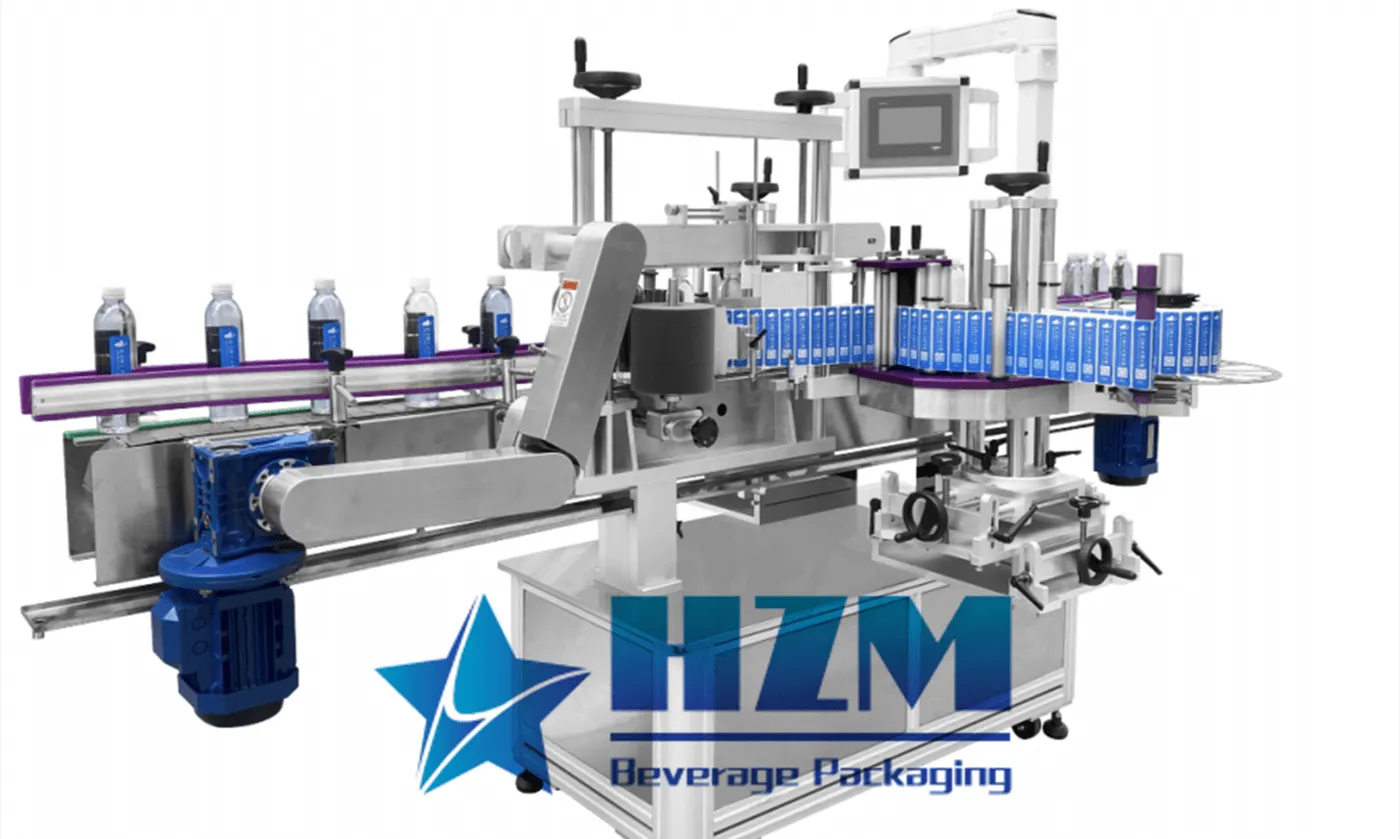
Equipment
Automatic Linear Type Adhesive Sticker Labeling Machine
The linear self-adhesive labelling machine applies pressure-sensitive labels to bottles and other containers.
Learn more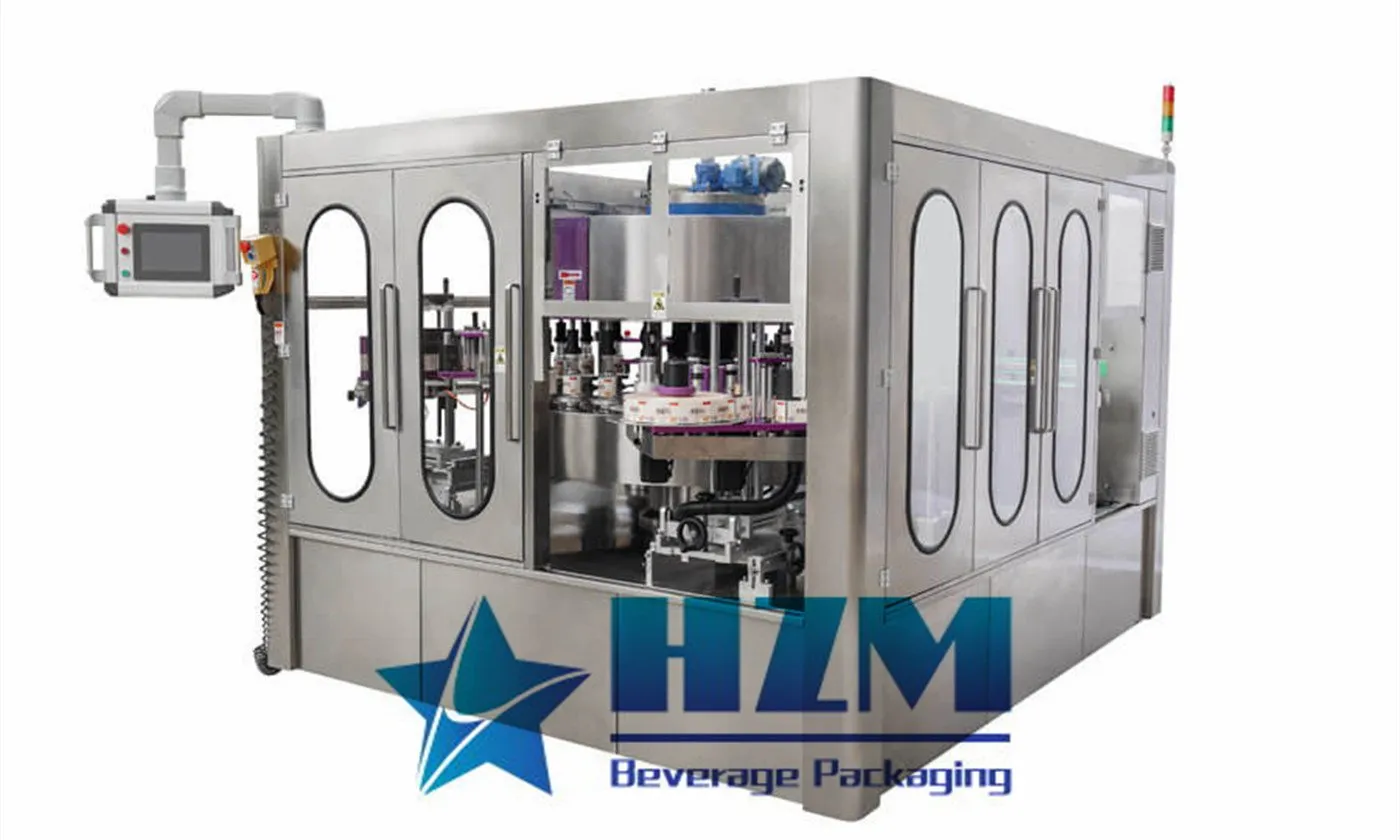
Equipment
Automatic Cold Glue Stick Labeling Machine
Cold-glue paper label application for beverage bottles, with LJ models from 12,000 to 32,000 bottles/hour.
Learn more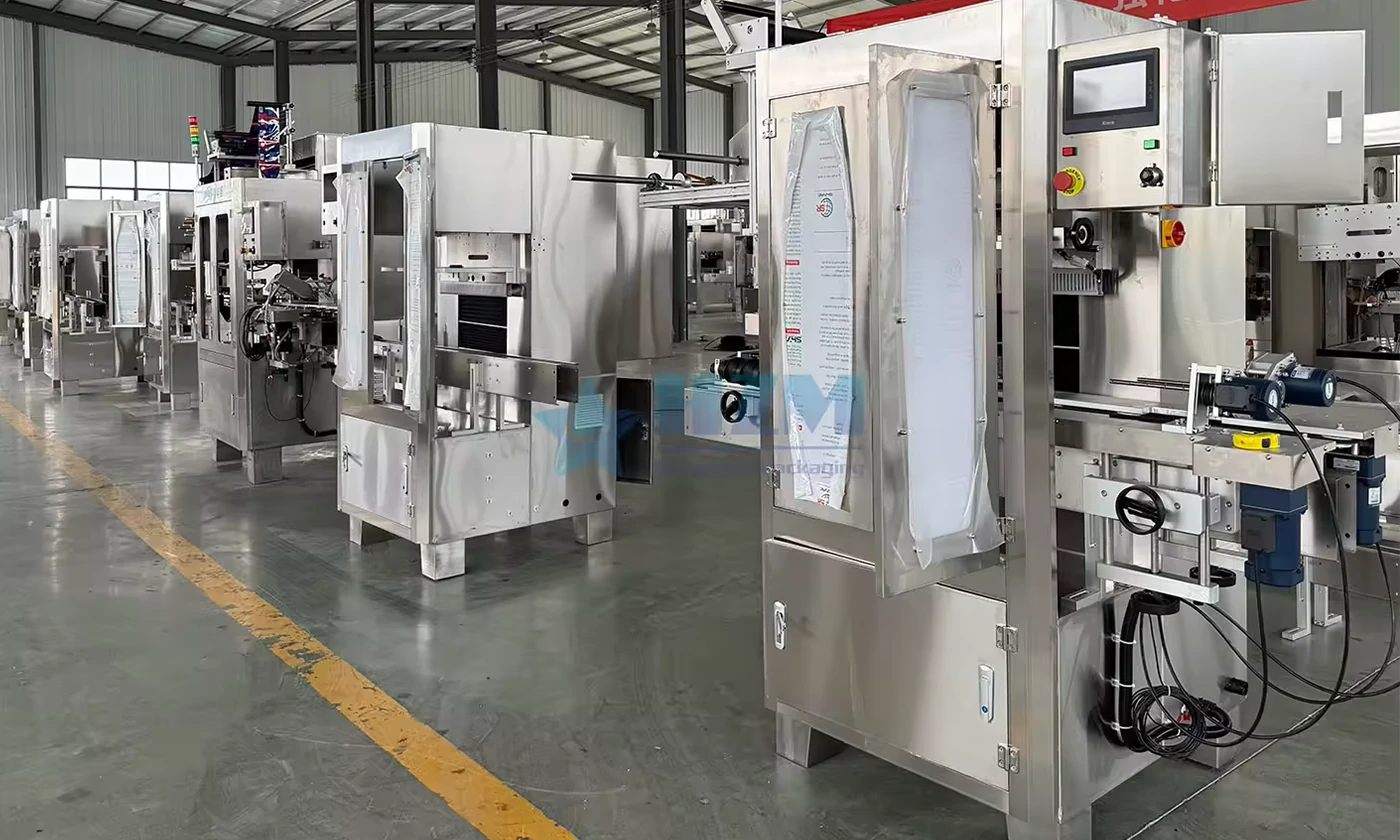
Equipment
Automatic High Speed Bottle Body Sleeve Labelling Machine
The automatic sleeve labelling machine applies shrink sleeves to bottle bodies for water and beverage packaging.
Learn more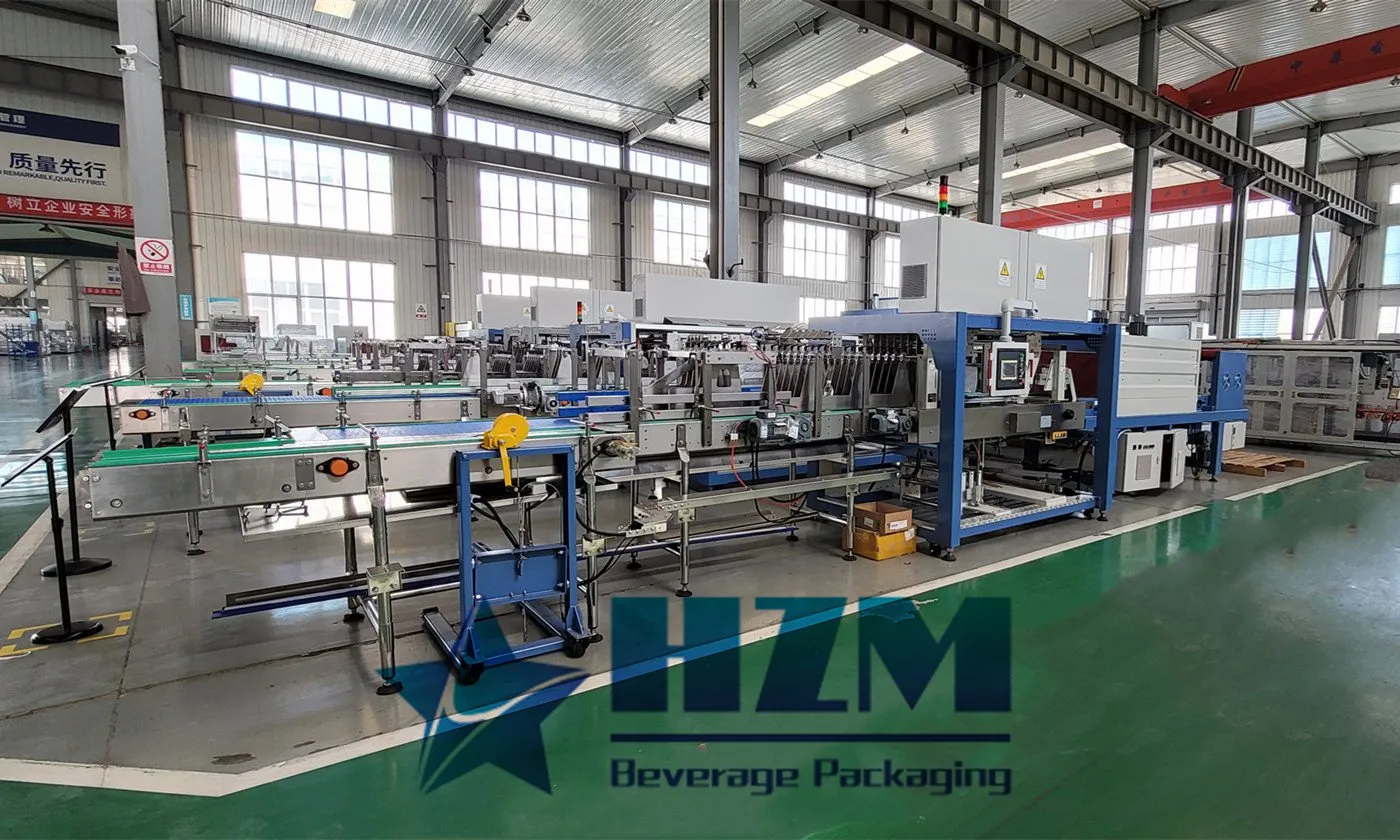
Equipment
Automatic Shrink Packing Machine
The automatic shrink packing machine wraps groups of bottles or cans in film and passes them through a heated shrink tunnel.
Learn more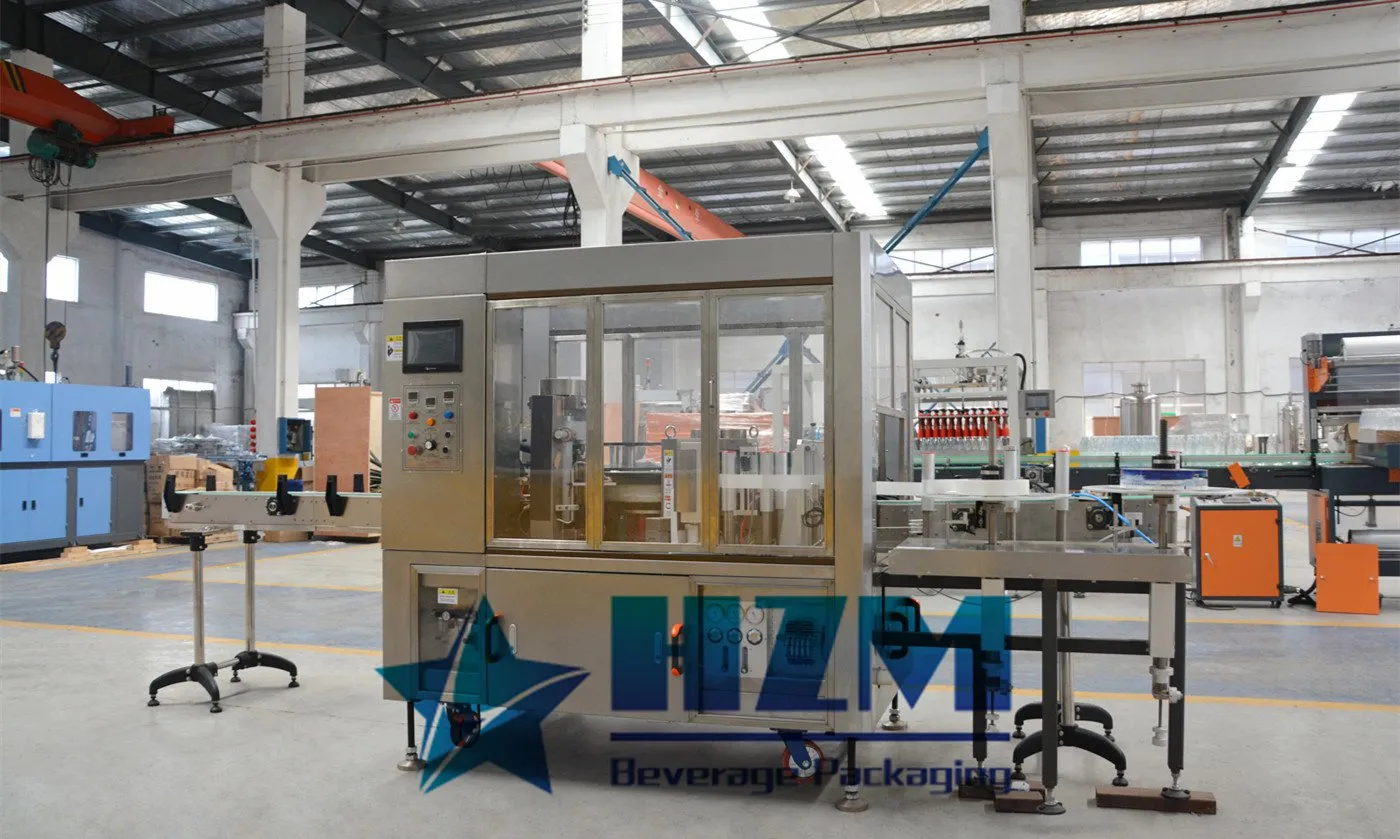
Equipment
Automatic Linear Type Hot Glue Labeling Machine
Linear hot-glue labelling for water and soft-drink bottles, using roll-fed OPP labels at 8,000–24,000 bottles/hour.
Learn more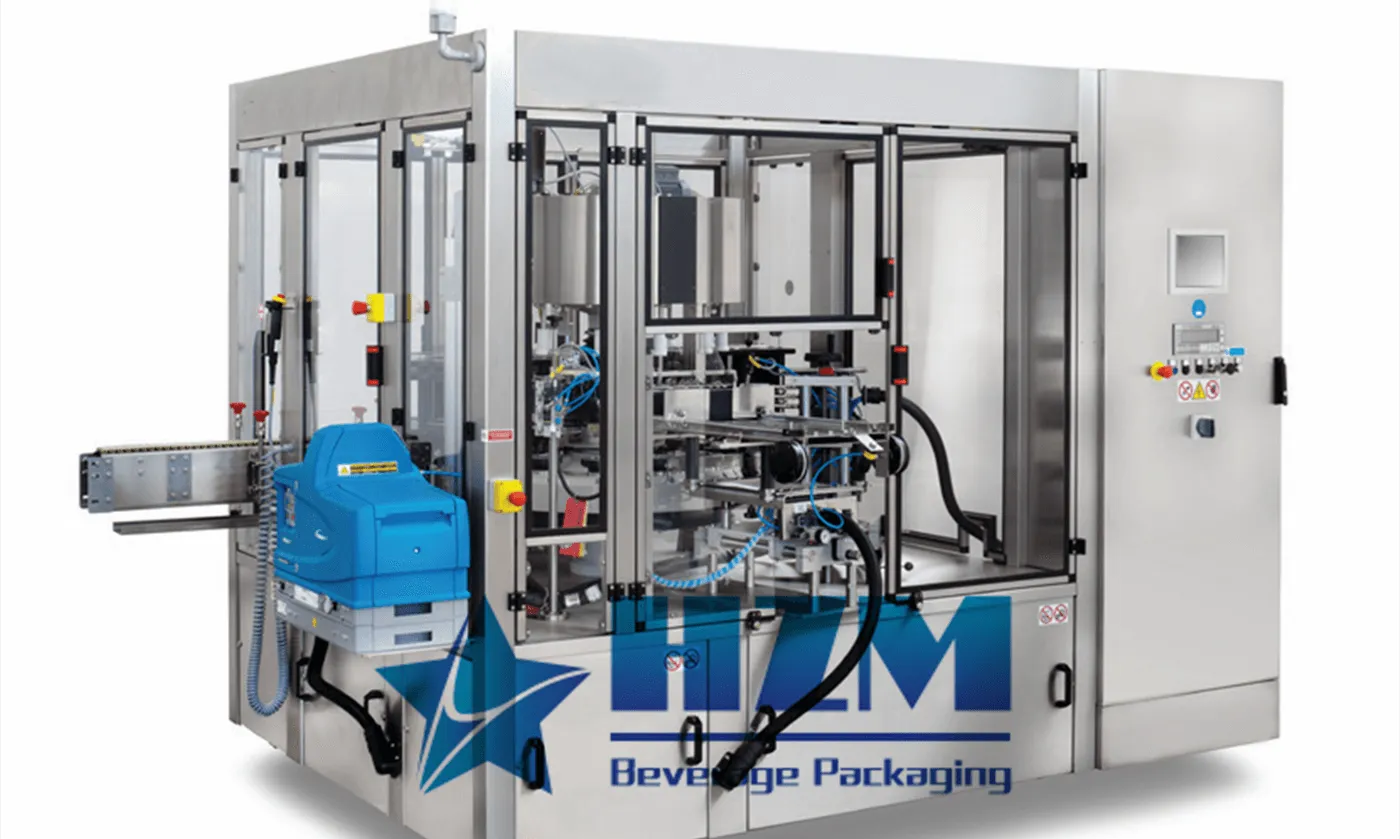
Equipment
Automatic BOPP Hot Glue Labeling Machine
Rotary BOPP hot-glue labelling for beverage containers, with RG models from 8,000 to 24,000 bottles/hour.
Learn more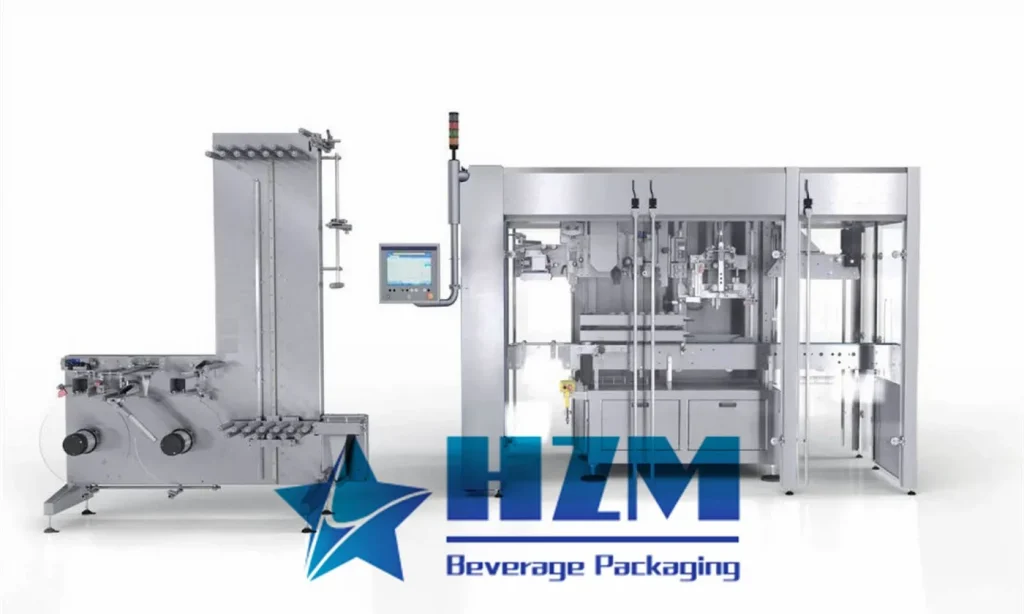
2023-11-03
Automatic 150BPM Sleeve Shrink Labeling Machine
We are a manufacturer specializing in the development, production, and sales of Automatic Sleeve Shrink Labeling Machines. We offer turnkey engineering solutions and have a team of professional after-sales service engineers, with a product warranty period of up to 24 months.
Learn more2026-08-28
Sleeve Labels Wrinkle After the Shrink Tunnel
Determine whether the sleeve was straight before entering the tunnel. Then check film shrink curve, tunnel-zone temperature, airflow or steam distribution, bottle moisture, conveyor speed and container geometry. Follow this practical fault-isolation, repair and prevention guide for bottling-line operators and maintenance teams.
Learn more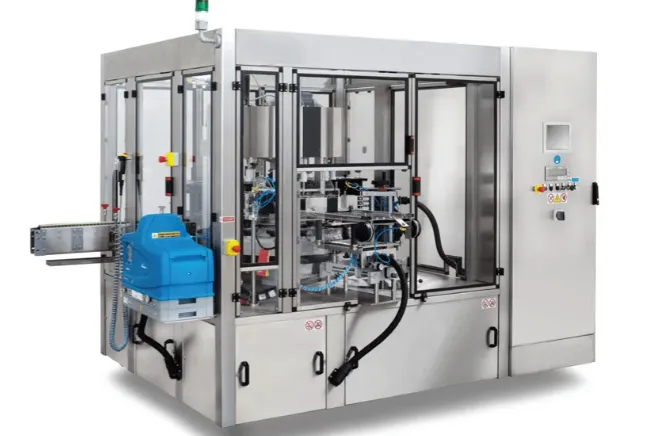
2023-06-01
How Do Label Machines Work?
Labels are vital aspects of every business because these help in different business aspects ranging from packaging to presentation, identification, and traceability. These serve as a communicating
Learn more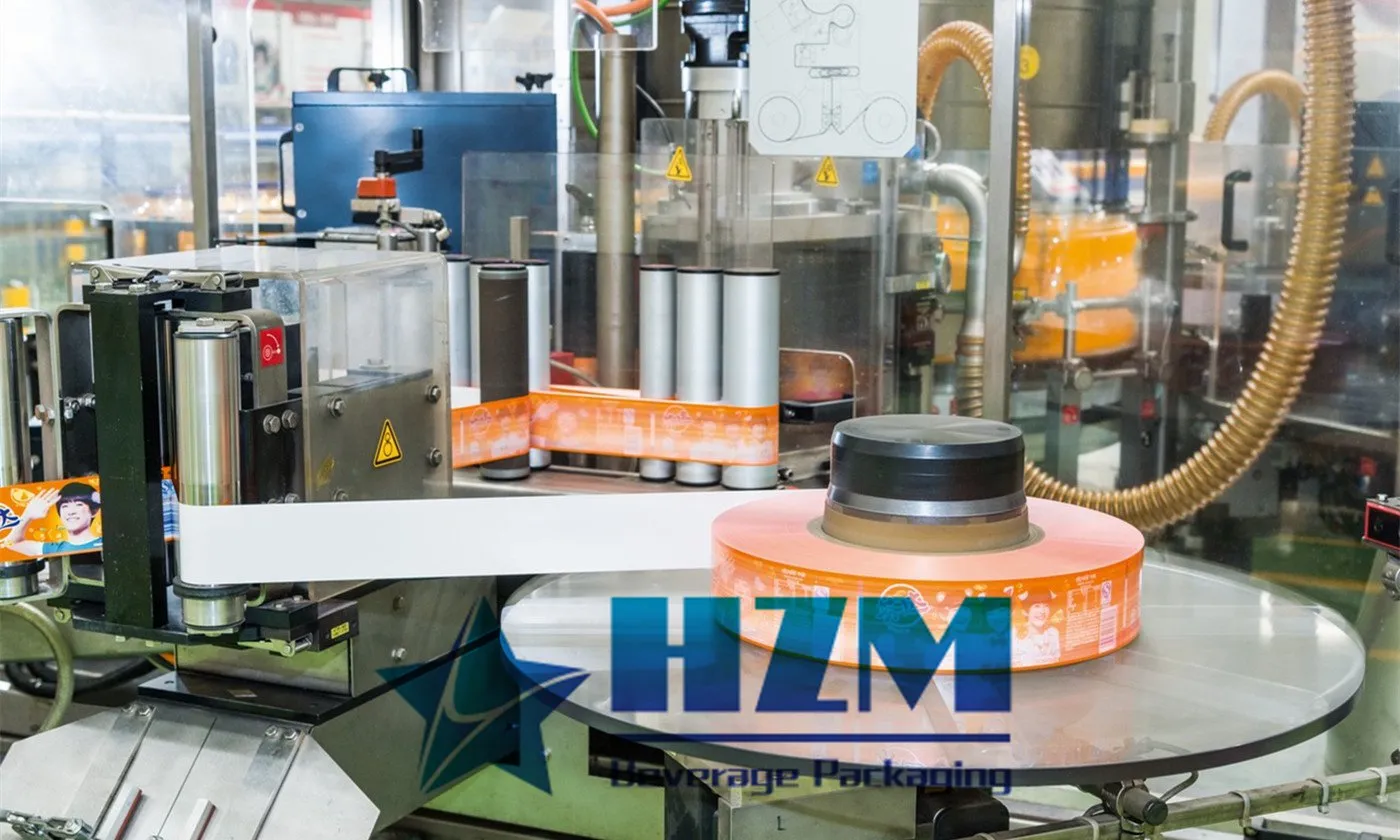
2024-02-29
Essential Maintenance Tips for Labeling Machines
Like countless other mechanical devices, the use of a labeling machine is inseparable from daily correct operation and maintenance. Only when both are carried out simultaneously can the labeling machine perform with maximum efficiency.
Learn more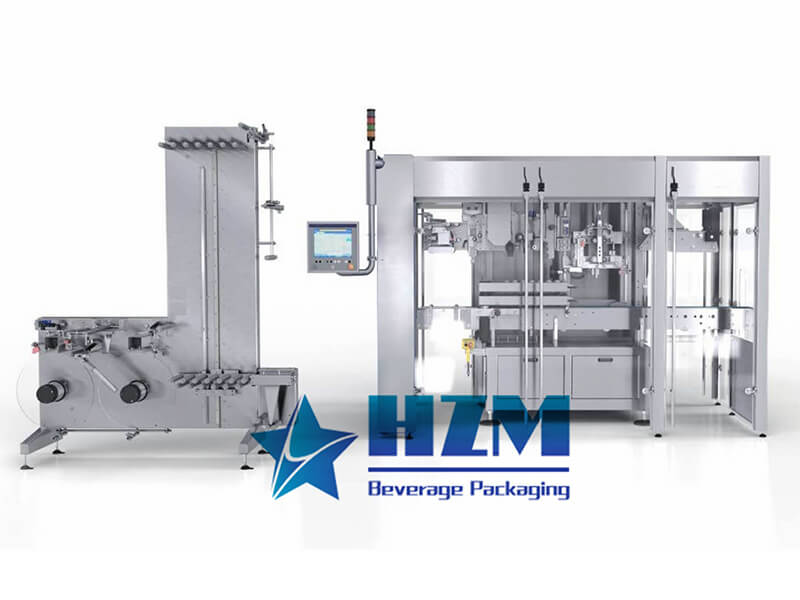
2023-03-24
What is a sleeve labeling machine? How does it work?
What is a sleeve labeling machine? What is it used for? In fact, the function of the sleeve labeling machine and the labeling machine is the same. They are both machines used to fix the label, but the difference from the labeling machine is that the sleeve labeling machine is a sleeve label, and the […]
Learn more2023-05-21
Automatic Sleeve Labeling Machines Purchasing price
Automatic Sleeve labeling machines are widely used label equipment in various industries, mainly for sleeve labeling and shrinking various bottled labels such as juice, tea drinks, dairy products, purified water, condiments, sports drinks, and more
Learn more