
Insights & Updates
Bottle Conveyor Jams at the Same Location Every Shift
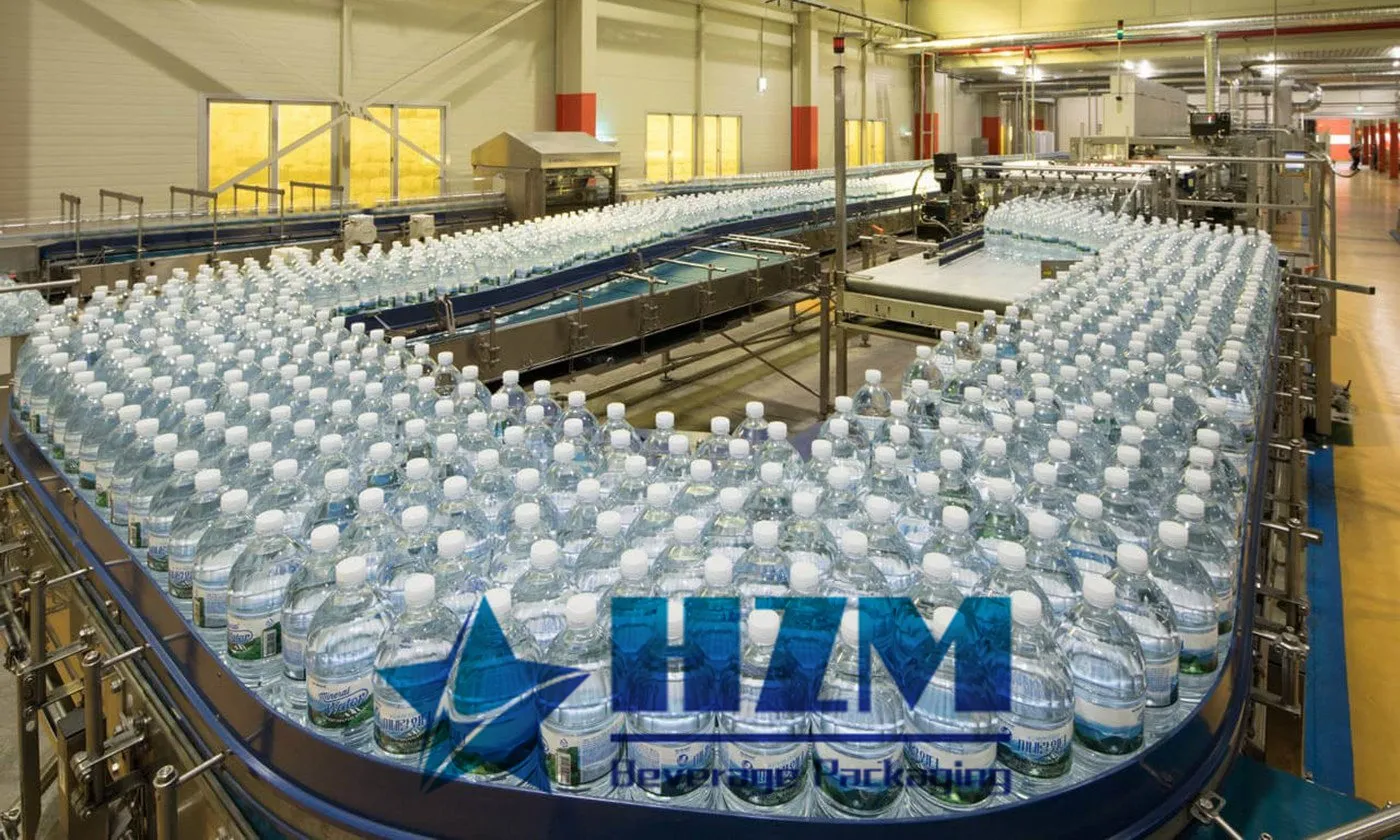
A repeatable diagnosis of repeated bottle jams at one conveyor location begins with three questions: when did it start, where does it first appear, and what changed immediately beforehand? Those answers are more valuable than a quick reset.
A conveyor problem should be treated as a line-balance problem as well as a mechanical one. Container geometry, guide settings, chain condition, lubrication, accumulation pressure, sensor logic and adjacent machine speeds all matter. In this case, bottles wedge at a guide or transfer plate is the key observation to preserve. Use the guide to rank likely causes and document the restored condition.
Quick answer: Mark the first contact point and inspect guide transitions, chain condition, dead plates, speed change, bottle dimensions, lubrication and upstream accumulation. The pile-up often occurs downstream of the actual interference.
What operators usually see
Before opening the machine, compare the visible and measured symptoms. Note whether each one is continuous, intermittent or tied to a specific station: For this case, preserve evidence that shows whether bottles wedge at a guide or transfer plate.
- Bottles wedge at a guide or transfer plate
- Jams increase when the line is full
- Scuff marks repeat at the same bottle height
- One container format is much less stable
Make the equipment safe and protect the product
Stop and lock out the affected conveyor and adjacent machines before clearing containers, adjusting guides, touching chains or testing a drive. Never defeat interlocks to observe a jam from inside a guarded zone.
Mark the exact jam location and record line speed, container format, guide clearance, chain current, lubrication status, accumulation state and upstream/downstream machine conditions. Explicitly record whether bottles wedge at a guide or transfer plate.
Most likely causes, in practical checking order
1. Abrupt guide or transfer transition
A step, sharp edge or changing clearance catches the bottle before it can realign To test this explanation without guessing, stop and mark the earliest abnormal bottle, not the final jam front Record the result before moving to the next cause.
2. Chain wear or speed mismatch
Pitch variation and differential speed disturb bottle spacing A practical confirmation step is to inspect dead plate height, guide joints and sharp wear marks. Compare the finding with a known-good run.
3. Excess accumulation pressure
Upstream containers continue pushing into a restricted zone Do not compensate for this condition in the recipe. First, measure guide clearance through the transition with tolerance-limit bottles Keep the original setting and measured result in the fault record.
4. Container dimensional or base variation
Oval, rocking or lightweight bottles have less stability margin Separate this cause from the others with one controlled check: compare adjacent conveyor speeds and chain condition Use the same product, format and speed for the comparison.
Step-by-step diagnostic procedure
Use the last known-good run as the baseline. If a check needs energized access or pressure exposure, use the manufacturer’s approved specialist procedure.
- Stop and mark the earliest abnormal bottle, not the final jam front
- Inspect dead plate height, guide joints and sharp wear marks
- Measure guide clearance through the transition with tolerance-limit bottles
- Compare adjacent conveyor speeds and chain condition
- Record accumulation state and line-control commands at the event
- Measure jammed bottles for diameter, base stability and scuff pattern
Corrective actions that address the root cause
Apply a correction only to the cause demonstrated by the checks. Save the old parameter, removed part and measured condition for review.
- Smooth and align transfer and guide transitions with approved parts
- Replace worn chain or sprockets and synchronize speeds
- Correct accumulation logic and relieve unnecessary back pressure
- Contain unstable containers or qualify revised handling settings
How to verify the repair before full-speed production
Before releasing full-speed production, reproduce the operating condition that originally exposed the fault. Then complete this acceptance check: Confirm that repeated bottle jams at one conveyor location is absent for multiple consecutive cycles, not only for one sample. Review the alarm history and keep diagnostic product segregated until the site’s quality procedure releases it.
- Confirm that repeated bottle jams at one conveyor location is absent for multiple consecutive cycles, not only for one sample.
- Compare the repaired result for “Bottles wedge at a guide or transfer plate” with the approved quality limit and the last known-good baseline.
- Check adjacent stations and downstream package quality for side effects associated with abrupt guide or transfer transition.
- For “Bottle Conveyor Jams at the Same Location Every Shift”, record the final settings, measurements, parts used and restart authorization.
Prevent the problem from returning
Add the checks below to the operator, sanitation or preventive-maintenance standard and assign a measurable acceptance condition.
- Keep a jam-location Pareto chart
- Inspect transfers with a reference bottle
- Trend chain elongation
- Test accumulation controls
- Include bottle stability in packaging specifications
When to stop troubleshooting and call a specialist
Stop and contact the machine or component supplier when repeated bottle jams at one conveyor location cannot be isolated with non-invasive checks, when it returns after an approved repair, or when calibration requires protected service tools. Specialist support is also required when the same protective fault returns after an approved repair or structural damage is suspected. Send the service engineer the fault history, photos, samples, trend data, recipe revision and work already completed.
Relevant equipment for this application
For a project-level comparison related to repeated bottle jams at one conveyor location, see HZM Machinery’s Bottle Conveyor. Use actual product, container and utility data when evaluating whether the configuration fits the duty.
Frequently asked questions
What should be checked first when repeated bottle jams at one conveyor location?
Mark the first contact point and inspect guide transitions, chain condition, dead plates, speed change, bottle dimensions, lubrication and upstream accumulation. The pile-up often occurs downstream of the actual interference. Preserve the original settings and take representative samples before repair work begins.
How can we distinguish abrupt guide or transfer transition from chain wear or speed mismatch?
A step, sharp edge or changing clearance catches the bottle before it can realign In contrast, pitch variation and differential speed disturb bottle spacing Compare the two mechanisms under the same operating condition by completing these checks: stop and mark the earliest abnormal bottle, not the final jam front Then inspect dead plate height, guide joints and sharp wear marks
Can production continue while repeated bottle jams at one conveyor location?
Only when the plant’s documented risk assessment and quality procedure allow it. For repeated bottle jams at one conveyor location, stop and segregate production when package integrity, sanitation, validated processing, pressure safety, electrical protection or an uncontrolled reject trend is involved.
What evidence will help the equipment supplier respond faster?
Provide the model and serial number, product and format, target speed, first fault, timestamps, photos or video, affected station pattern and maintenance history. For this issue, also include bottles wedge at a guide or transfer plate and the measured result from this check: measure jammed bottles for diameter, base stability and scuff pattern
Talk to our engineering team
Need help planning your packaging line?
Share your product, bottle and capacity requirements for a practical equipment recommendation.
Equipment
Bottle Conveyor
The bottle conveyor transfers containers between filling, labelling and packing machines.
Learn more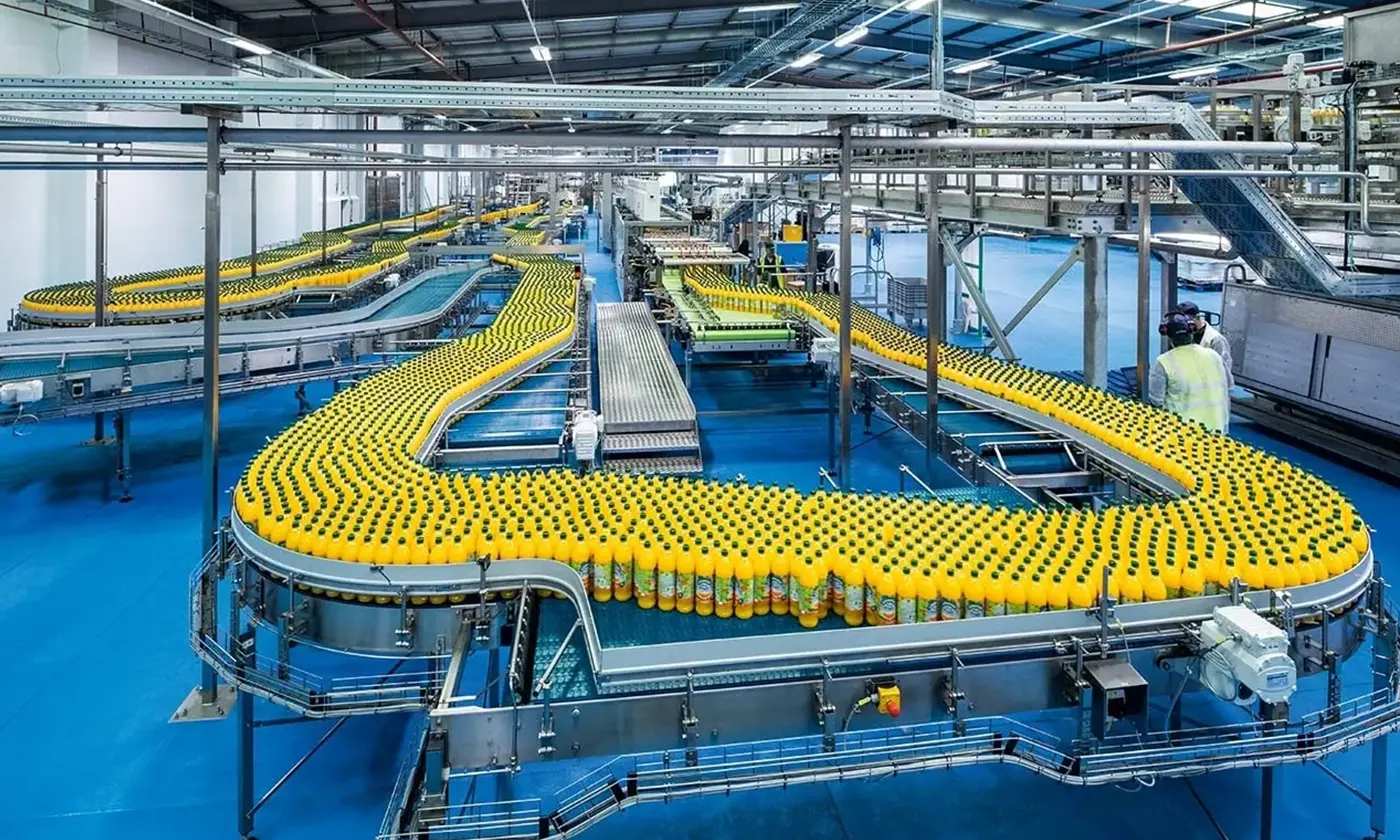
Equipment
Bottle Water & Beverage Conveyor System
The bottled-water and beverage conveyor system connects container supply, filling and packaging.
Learn more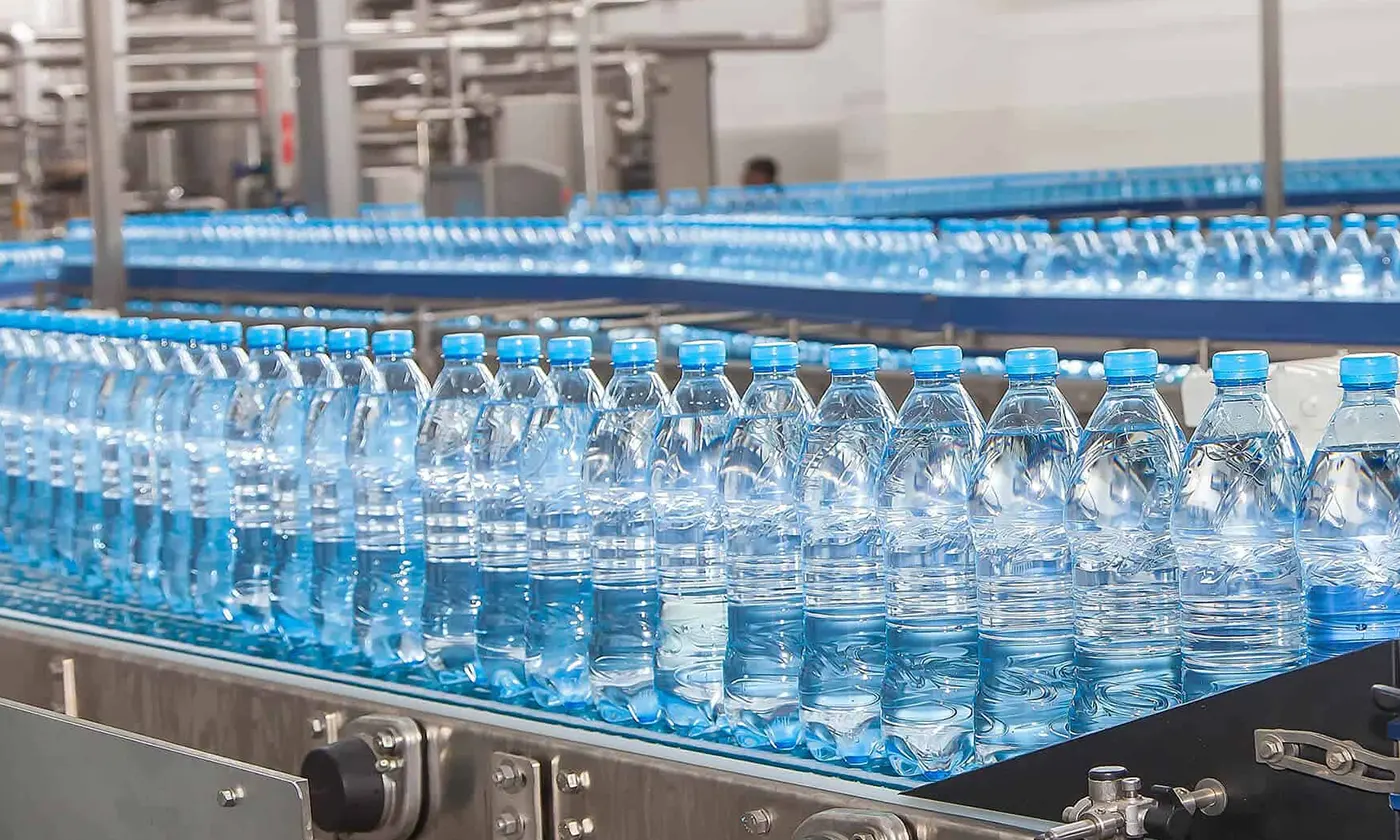
Equipment
Conveyor Belt System For PET Bottle And GLASS Bottle
The conveyor system transfers PET and glass bottles between production machines.
Learn more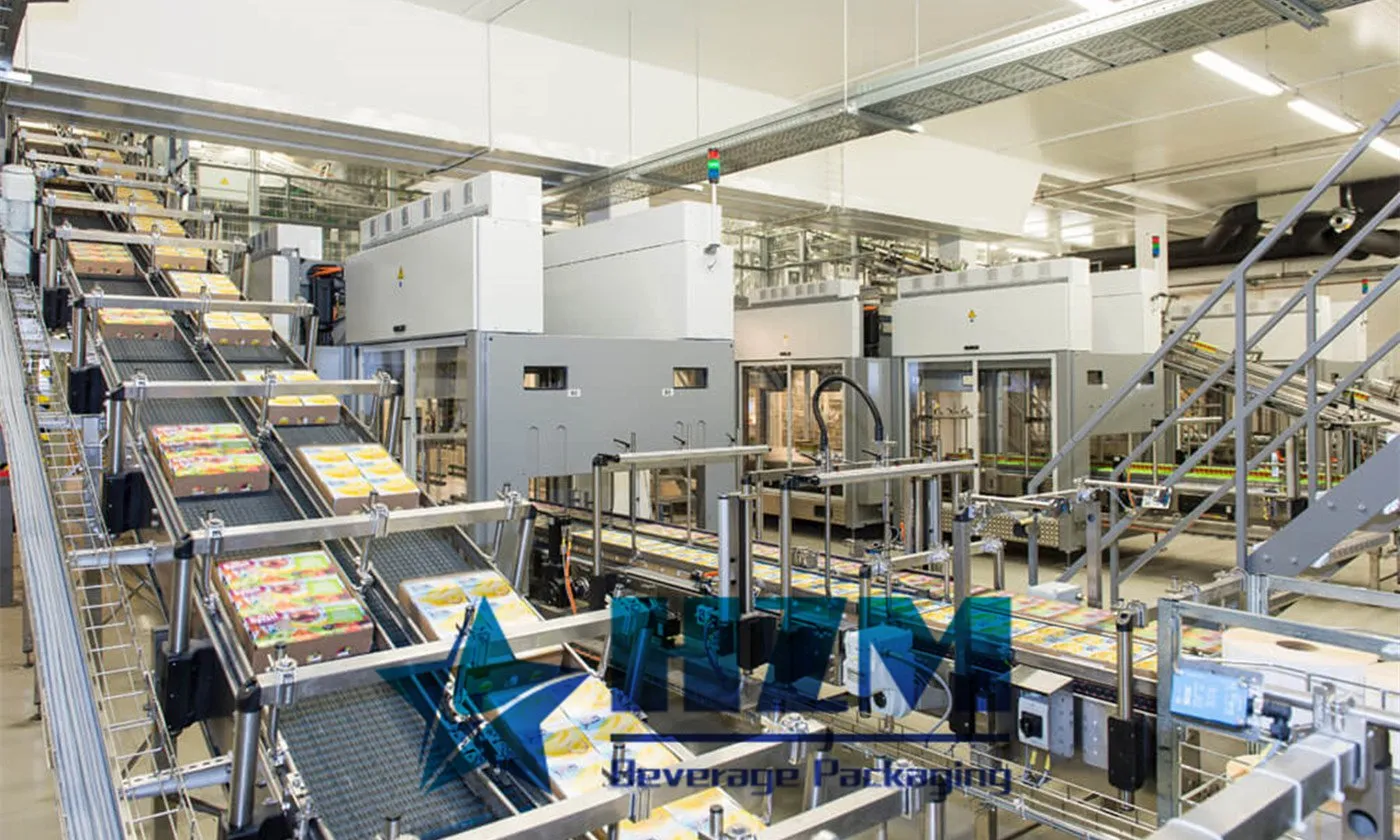
Equipment
Packs Conveyor
The packs conveyor moves finished packs, cartons and other packaged products between packing and handling stations.
Learn more
Equipment
Bottle Air Conveyor
The bottle air conveyor transfers empty PET bottles from the blowing machine to the filler.
Learn more
Equipment
Conveyor Belt For Bottle Water Production Line
This conveyor belt system moves bottles through a bottled-water production line, from empty-bottle feeding to filled-bottle labelling and packing.
Learn more2023-07-13
bottle conveyor
A bottle conveyor is a specialized manufacturing equipment utilized in factories and bottling plants to facilitate the smooth transportation of bottles. While sharing similarities with standard conveyor belts, the design of a bottle conveyor is tailored specifically to hold bottles upright and prevent spills
Learn more
2023-07-06
Your Reliable Conveyor Machine Manufacturer
In modern industrial production, Conveyor Machines are indispensable for efficient material transportation and automated production. When seeking a trusted manufacturer, HZM Machinery stands out as a reliable partner.
Learn more2026-08-30
PET Bottles Fall Over on the Conveyor
Evaluate bottle stability, fill level, base shape, guide height and clearance, conveyor speed transitions, air movement and accumulation. Lightweight bottles need controlled support without being squeezed. Follow this practical fault-isolation, repair and prevention guide for bottling-line operators and maintenance teams.
Learn more2023-07-12
Air conveyor systems
The air conveyor, also known as a pneumatic conveyor, serves the purpose of efficiently transporting empty bottles between machines within a filling line. It also acts as a buffer, allowing for automatic operation of the entire line. Primarily, it is employed to transfer empty PET bottles from the blowing machine to the filling machine, also known as the filler.
Learn more2026-09-11
Conveyor VFD Trips on Overcurrent: Electrical or Mechanical?
Record the exact fault and operating state before reset. With qualified electrical personnel, separate mechanical binding and acceleration load from motor, cable, parameter, supply and drive faults. Follow this practical fault-isolation, repair and prevention guide for bottling-line operators and maintenance teams.
Learn more2026-09-09
Conveyor Chain Is Noisy, Surging or Wearing Too Fast
Inspect lubrication, chain tension and elongation, sprocket alignment, return path, wear strips, contamination and load. Do not tighten a worn chain until the root cause is known. Follow this practical fault-isolation, repair and prevention guide for bottling-line operators and maintenance teams.
Learn more