
Insights & Updates
Loose Bottle Caps After Filling: How to Diagnose a Capper
Loose caps and low application torque after filling can turn a stable production run into a cycle of resets, rejects and unplanned adjustment. The useful evidence is in the pattern: which station, product, format, speed and time window changed first.
Filling faults are rarely solved by changing one timer at random. Product condition, tank pressure, valve mechanics, container handling and the active recipe must be separated so that a quality symptom is not confused with a machine symptom. The sections below connect caps can be removed with unusually little force with measurements so maintenance work addresses the failure mechanism.
Quick answer: Confirm the cap and neck finish first, then separate a single capping-head problem from a cap-feed or recipe problem. Inspect chuck wear, head height, clutch or magnetic torque setting, bottle control and cap presentation.
What operators usually see
Start by describing the defect precisely. These observations reveal whether the event follows a component, a material lot, a speed change or the entire process: For this case, preserve evidence that shows whether caps can be removed with unusually little force.
- Caps can be removed with unusually little force
- Closures leak during inversion or transport
- Only bottles from one capping head fail torque checks
- Torque drops after a cap or bottle supplier change
Make the equipment safe and protect the product
Stop automatic operation, isolate electrical and pneumatic energy, close and depressurize product circuits, and follow the machine lockout/tagout procedure before opening guards or removing a valve. Quarantine product made since the last confirmed good check.
Record filler speed, bowl or tank level, product temperature, pressure, fill result by valve or head, cap torque where applicable, and the exact time of each reject. A head-by-head pattern is far more useful than a line average. Explicitly record whether caps can be removed with unusually little force.
Most likely causes, in practical checking order
1. Cap or neck-finish mismatch
Dimensional variation, damaged tamper bands or contamination can prevent proper thread engagement To test this explanation without guessing, quarantine affected product and measure removal torque with the approved instrument and method Record the result before moving to the next cause.
2. Worn capping chuck or liner
A polished or damaged gripping surface slips before the required torque is reached A practical confirmation step is to sort results by capping head number and cap lot. Compare the finding with a known-good run.
3. Incorrect head height or bottle support
Insufficient vertical engagement causes the chuck to release early Do not compensate for this condition in the recipe. First, inspect cap dimensions, neck finish, threads and tamper band under good lighting Keep the original setting and measured result in the fault record.
4. Torque mechanism drift
A clutch, magnetic head or servo setting no longer delivers the validated application torque Separate this cause from the others with one controlled check: verify bottle hold-down and capping-head height with the changeover standard Use the same product, format and speed for the comparison.
Step-by-step diagnostic procedure
Begin with process conditions and external evidence, then move toward invasive inspection. Make only one controlled change between comparison runs.
- Quarantine affected product and measure removal torque with the approved instrument and method
- Sort results by capping head number and cap lot
- Inspect cap dimensions, neck finish, threads and tamper band under good lighting
- Verify bottle hold-down and capping-head height with the changeover standard
- Inspect the chuck or liner for wear, product contamination and correct part number
- Check the torque device or servo data against the validated setup without simply increasing it
Corrective actions that address the root cause
Choose the least invasive correction that restores the approved condition, then verify its effect before changing anything else.
- Reject damaged or out-of-specification caps and correct cap-feed handling
- Clean or replace the chuck, liner or worn torque component
- Set head height and bottle support to the approved format reference
- Calibrate the torque mechanism and prove both application and removal torque across every head
How to verify the repair before full-speed production
Keep product made during testing on hold. At low, normal and target speed, apply this first criterion: Confirm that loose caps and low application torque after filling is absent for multiple consecutive cycles, not only for one sample. Review the alarm history and keep diagnostic product segregated until the site’s quality procedure releases it.
- Confirm that loose caps and low application torque after filling is absent for multiple consecutive cycles, not only for one sample.
- Compare the repaired result for “Caps can be removed with unusually little force” with the approved quality limit and the last known-good baseline.
- Check adjacent stations and downstream package quality for side effects associated with cap or neck-finish mismatch.
- For “Loose Bottle Caps After Filling: How to Diagnose a Capper”, record the final settings, measurements, parts used and restart authorization.
Prevent the problem from returning
Turn the confirmed cause into a centerline, inspection or trend so the team can detect drift before the same shutdown returns.
- Incoming-inspect every new cap and preform or bottle lot
- Chart torque by head so a weak spindle is found early
- Clean chuck liners at defined intervals
- Protect capping recipes with access control
- Repeat torque checks after jams, changeovers and maintenance
When to stop troubleshooting and call a specialist
Stop and contact the machine or component supplier when loose caps and low application torque after filling cannot be isolated with non-invasive checks, when it returns after an approved repair, or when calibration requires protected service tools. Stop local work when safe diagnosis requires protected service tools, energized access or a change to a validated process. Send the service engineer the fault history, photos, samples, trend data, recipe revision and work already completed.
Relevant equipment for this application
Where loose caps and low application torque after filling reveals an application mismatch rather than a maintenance fault, review the Rinsing, Filling And Capping Monoblock Machines. A useful technical discussion includes the real bottle, closure, product properties, pack format and site conditions.
Frequently asked questions
What should be checked first when loose caps and low application torque after filling?
Confirm the cap and neck finish first, then separate a single capping-head problem from a cap-feed or recipe problem. Inspect chuck wear, head height, clutch or magnetic torque setting, bottle control and cap presentation. Preserve the original settings and take representative samples before repair work begins.
How can we distinguish cap or neck-finish mismatch from worn capping chuck or liner?
Dimensional variation, damaged tamper bands or contamination can prevent proper thread engagement In contrast, a polished or damaged gripping surface slips before the required torque is reached Compare the two mechanisms under the same operating condition by completing these checks: quarantine affected product and measure removal torque with the approved instrument and method Then sort results by capping head number and cap lot
Can production continue while loose caps and low application torque after filling?
Only when the plant’s documented risk assessment and quality procedure allow it. For loose caps and low application torque after filling, stop and segregate production when package integrity, sanitation, validated processing, pressure safety, electrical protection or an uncontrolled reject trend is involved.
What evidence will help the equipment supplier respond faster?
Provide the model and serial number, product and format, target speed, first fault, timestamps, photos or video, affected station pattern and maintenance history. For this issue, also include caps can be removed with unusually little force and the measured result from this check: check the torque device or servo data against the validated setup without simply increasing it
Talk to our engineering team
Need help planning your packaging line?
Share your product, bottle and capacity requirements for a practical equipment recommendation.
Equipment
Blowing-Filling-Capping Machine
A PET combiblock that combines preform heating, bottle blowing, filling and capping at 12,000–48,000 bottles/hour at 500 ml.
Learn more
Equipment
Bottle Washing-Filling-Capping Machine
Large-bottle water rinsing, filling and capping with design outputs of 1,500 bottles/hour at 5 L, 1,000 at 7 L and 700 at 10 L.
Learn more
Equipment
Automatic PET Bottle Blowing Filling Capping Machine – Best price beverage machinery
Automatic PET bottle blowing, filling and capping, with capacities of 12,000–48,000 bottles/hour at 500 ml and bottle volumes up to 2 L.
Learn more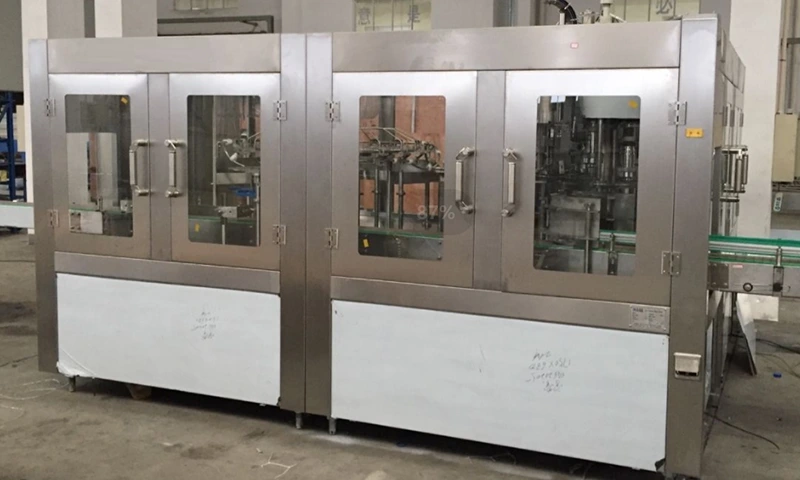
Equipment
10L Water Filling Machine 1200BPH – Automatic Washing Filling Capping Machine
RSXGF12-12-5(110Π) automatic rinsing, filling and capping for 10 L water bottles at 1,100–1,200 bottles/hour.
Learn moreEquipment
Rinsing, Filling And Capping Monoblock Machines
HZM monoblock machines combine bottle rinsing, filling and capping in a continuous operation.
Learn more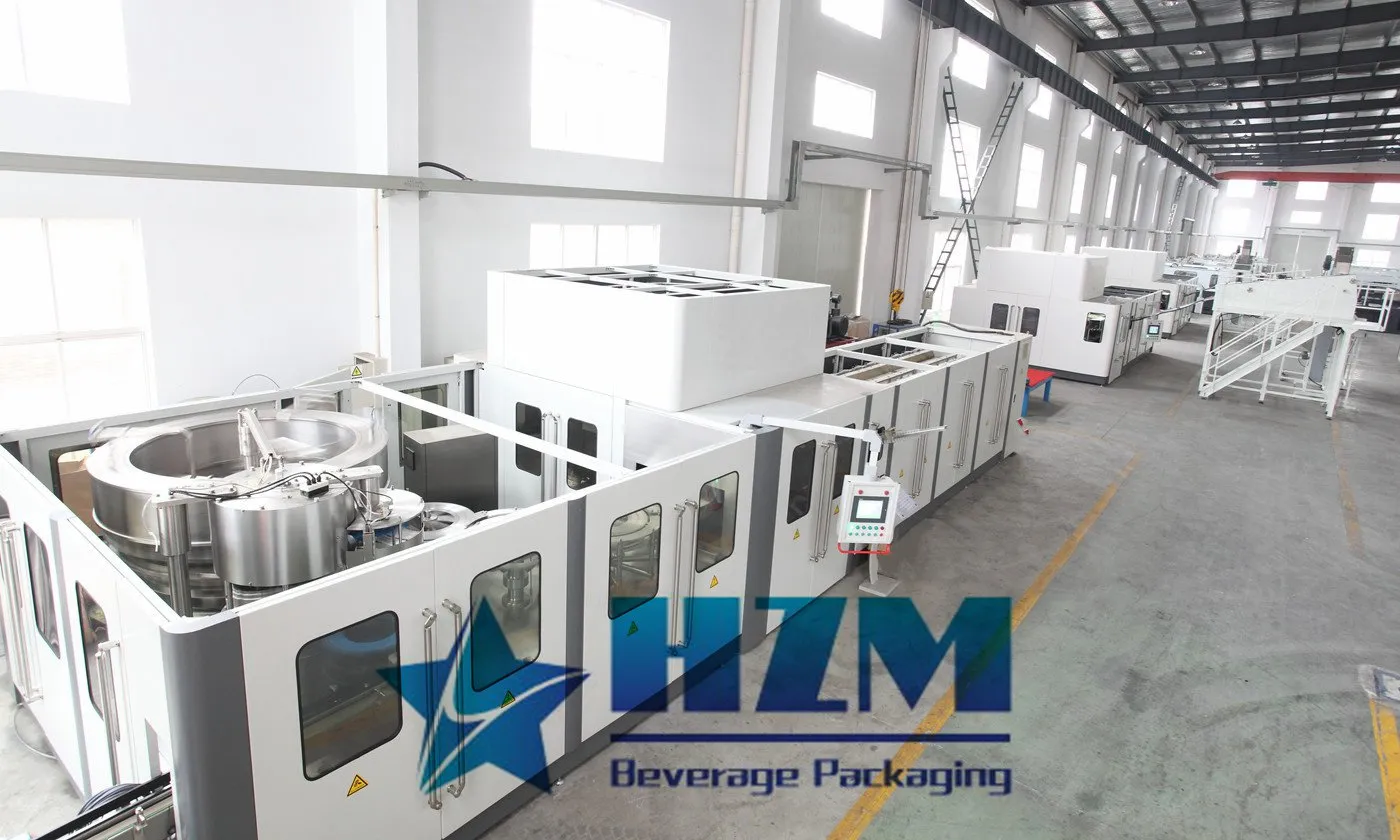
Equipment
Blowing Filling Capping Combiblock for Water and Beverage Packaging
PET bottle blowing, filling and capping in one combiblock for water and beverage production, from 12,000 to 48,000 bottles/hour at 500 ml.
Learn more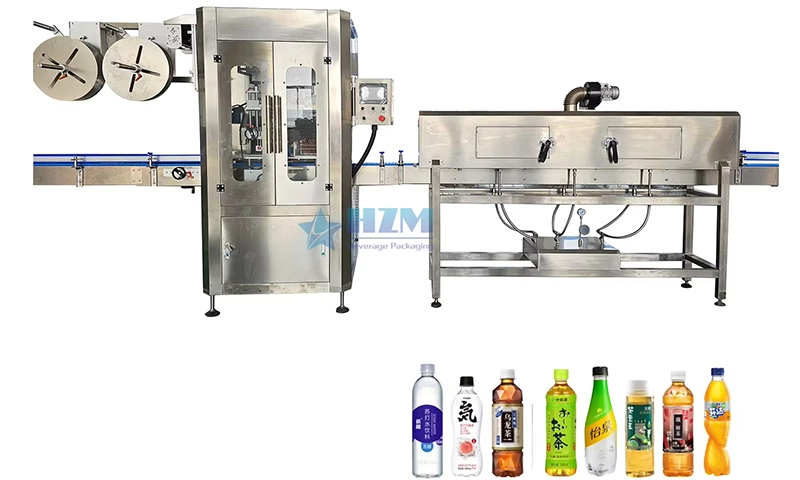
Equipment
Automatic Shrink Sleeve Bottles Labeling Capping Packing Machine
Automatic shrink sleeve application for beverage bottles, with SHB capacities of 9,000–27,000 bottles/hour.
Learn more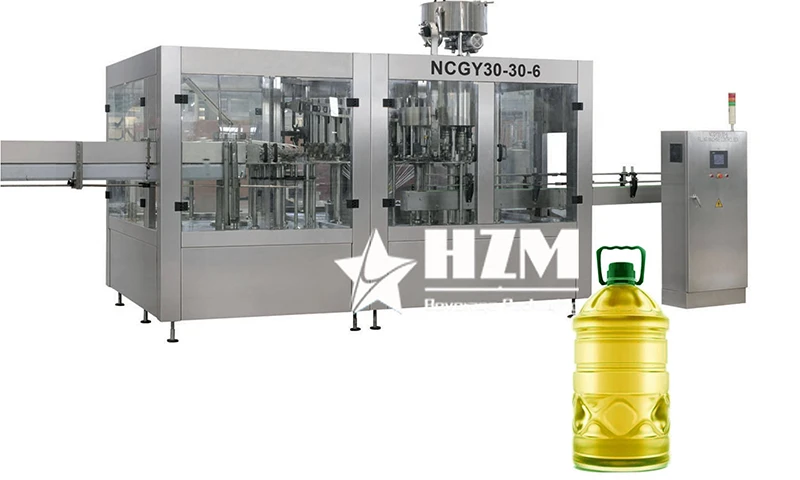
Equipment
2-in-1 Monoblock Edible Cooking Oil Filling and Capping Machine
The 2-in-1 monoblock fills and caps bottles of edible cooking oil in a continuous operation.
Learn more2023-06-09
Blow-Fill-Cap Combi Block Guide: Filler and Capper Acceptance Checks
Practical HZM guidance on blow-fill-cap combi block, focused on filler and capper acceptance checks, line integration, RFQ data and measurable acceptance checks.
Learn more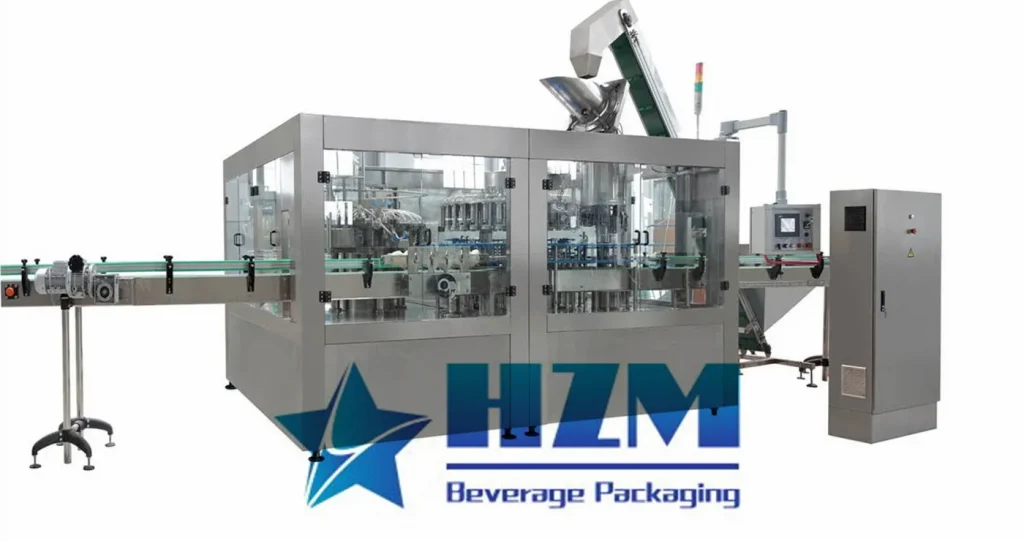
2023-08-09
Three-in-One Beverage Filling Machine: Filling, Capping, Labeling
The Three-in-One Beverage Filling Machine revolutionizes the beverage production process by integrating three crucial functions into one seamless operation
Learn more
2024-05-25
Working Principle of the Automatic Cap Sorting and Capping Machine
While the working principles of automatic capping machines may vary depending on the manufacturer, model, and application, they are generally designed to efficiently and accurately seal caps onto containers, meeting production needs and ensuring product quality.
Learn more2023-06-09
500ml PET bottle Dry Aseptic Filling Capping Machine
High quality 500ml PET bottle Dry Aseptic Filling Capping Machine from China, China's leading 500ml Dry Aseptic Filling Capping Machine product, with strict quality control 350ml Dry Aseptic Filling Capping Machine factories, producing high quality 54000bph Filling Capping Machine products.
Learn more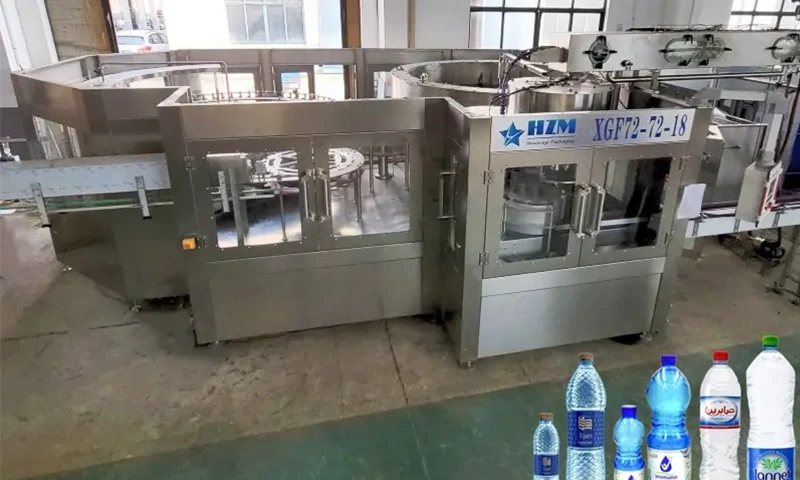
2023-11-11
3-in-1 Beverage Filling Machine: Combining Bottle Washing, Filling, and Capping
A 3-in-1 beverage filling machine is an efficient automated device that integrates three crucial steps in the beverage production process: bottle washing, filling, and capping. Here is a detailed introduction to the three-in-one beverage filling machine.
Learn more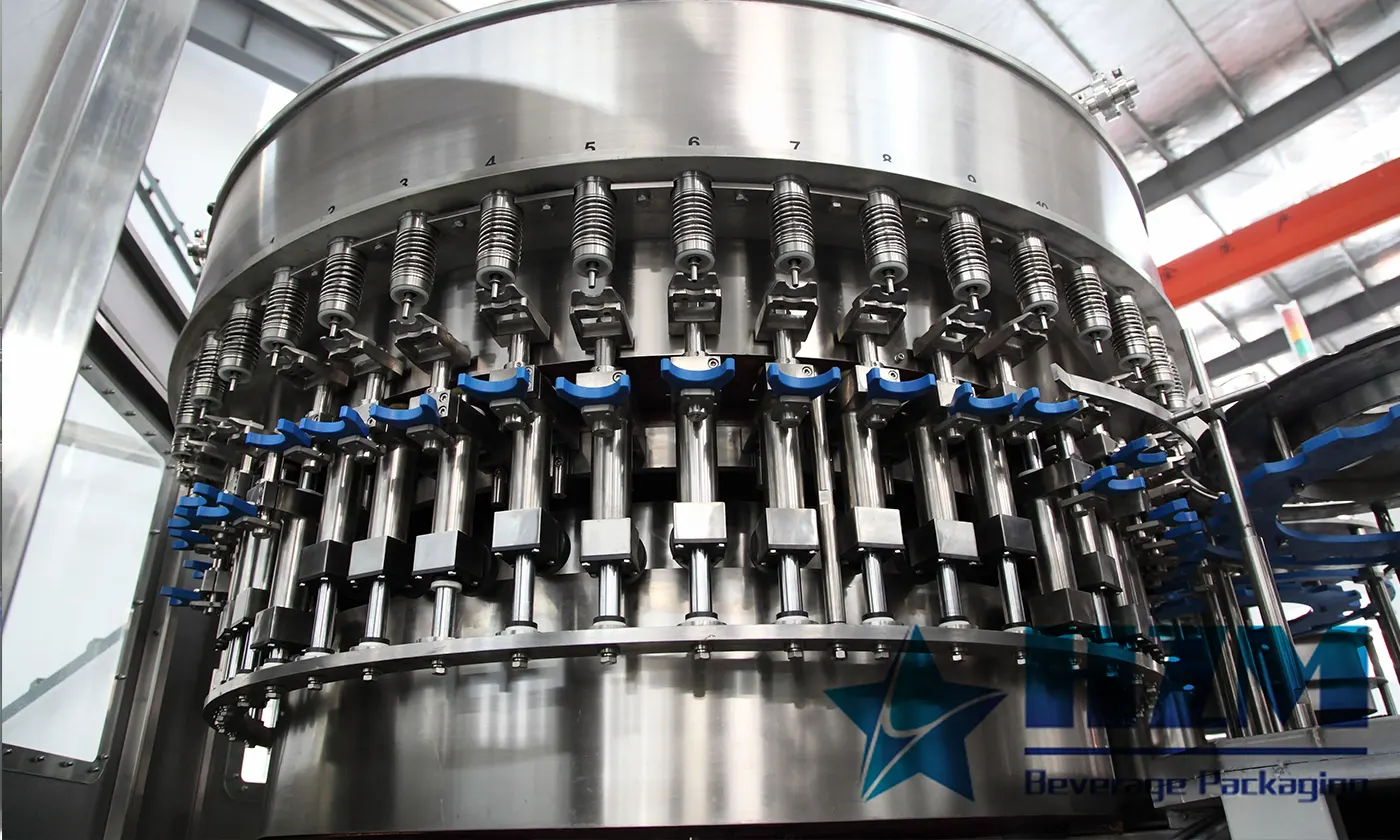
2026-07-24
Key Components of a Filling Machine: Rinsing, Filling and Capping Explained
Understand the main components of beverage filling equipment and how the rinser, filler, capper, product circuit, drives, sensors and controls work together.
Learn more