
Insights & Updates
Why Is a Bottled Water Filling Machine Filling Inaccurately?
When inaccurate fill volume on a bottled water filling machine appears, changing the nearest setpoint is tempting but risky. A durable repair starts by retaining samples, capturing the first alarm and separating a local head or lane problem from a line-wide process problem.
Filling faults are rarely solved by changing one timer at random. Product condition, tank pressure, valve mechanics, container handling and the active recipe must be separated so that a quality symptom is not confused with a machine symptom. For this fault, the first distinction is between unstable filler tank level or supply pressure and blocked vent tube or product passage. The procedure below moves from non-invasive checks to controlled repair and restart.
Quick answer: First determine whether every valve is high or low, or only selected valves vary. Then verify tank level and pressure, bottle presentation, valve cleanliness, venting and the active recipe before recalibrating anything.
What operators usually see
The failure pattern narrows the search more quickly than replacing parts. Mark samples and record which of these conditions are present: For this case, preserve evidence that shows whether all bottles are consistently underfilled or overfilled.
- All bottles are consistently underfilled or overfilled
- Only one or several filling valves produce off-level bottles
- Fill level changes as line speed increases
- The result drifts after a stop, product change or sanitation cycle
Make the equipment safe and protect the product
Stop automatic operation, isolate electrical and pneumatic energy, close and depressurize product circuits, and follow the machine lockout/tagout procedure before opening guards or removing a valve. Quarantine product made since the last confirmed good check.
Record filler speed, bowl or tank level, product temperature, pressure, fill result by valve or head, cap torque where applicable, and the exact time of each reject. A head-by-head pattern is far more useful than a line average. Explicitly record whether all bottles are consistently underfilled or overfilled.
Most likely causes, in practical checking order
1. Unstable filler tank level or supply pressure
A moving hydraulic head changes the driving force through every valve and usually creates a machine-wide pattern To test this explanation without guessing, collect at least three consecutive bottles from every filling head and plot the result by valve number Record the result before moving to the next cause.
2. Blocked vent tube or product passage
Mineral deposits, gasket fragments or foreign material restrict one valve and create a repeatable head-specific deviation A practical confirmation step is to trend tank level, inlet pressure, product temperature and filler speed during the same sampling window. Compare the finding with a known-good run.
3. Bottle lift or neck handling error
A bottle that does not seal or locate correctly changes venting and the effective filling time Do not compensate for this condition in the recipe. First, inspect the active bottle and product recipe against the approved changeover sheet Keep the original setting and measured result in the fault record.
4. Incorrect recipe or timing offset
A format copied from another bottle can contain unsuitable fill timing, height or valve parameters Separate this cause from the others with one controlled check: at reduced speed, observe bottle lift, centering and sealing without crossing a guard boundary Use the same product, format and speed for the comparison.
Step-by-step diagnostic procedure
The aim is to eliminate whole groups of causes with each check. Record actual values rather than “normal” or “looks good.”
- Collect at least three consecutive bottles from every filling head and plot the result by valve number
- Trend tank level, inlet pressure, product temperature and filler speed during the same sampling window
- Inspect the active bottle and product recipe against the approved changeover sheet
- At reduced speed, observe bottle lift, centering and sealing without crossing a guard boundary
- Safely remove and inspect the suspect valve, vent tube and seals under the maintenance procedure
- After mechanical checks, verify the plant’s calibrated volume or weight measurement method
Corrective actions that address the root cause
A reset is not a repair. Complete the mechanical, process or controls work indicated by the evidence and document the as-left state.
- Restore stable product supply and correct the tank-level control fault before touching individual valve settings
- Clean the restricted valve with the approved procedure and replace damaged hygienic seals with the specified parts
- Correct bottle guide, lift-cylinder or centering settings using an approved reference bottle
- Recalibrate only the affected function and save the verified recipe with change control
How to verify the repair before full-speed production
Restart at reduced speed with normal production materials, then increase output in steps. The first acceptance check is: Confirm that inaccurate fill volume on a bottled water filling machine is absent for multiple consecutive cycles, not only for one sample. Review the alarm history and keep diagnostic product segregated until the site’s quality procedure releases it.
- Confirm that inaccurate fill volume on a bottled water filling machine is absent for multiple consecutive cycles, not only for one sample.
- Compare the repaired result for “All bottles are consistently underfilled or overfilled” with the approved quality limit and the last known-good baseline.
- Check adjacent stations and downstream package quality for side effects associated with unstable filler tank level or supply pressure.
- For “Why Is a Bottled Water Filling Machine Filling Inaccurately?”, record the final settings, measurements, parts used and restart authorization.
Prevent the problem from returning
The most effective preventive action is an observable limit with a named response, not a general instruction to “check regularly.”
- Maintain a head-by-head fill chart so gradual valve drift is visible
- Verify tank-level stability at the start of every production run
- Include vent tubes and valve seats in post-CIP inspection
- Lock approved recipes and document every parameter change
- Use calibrated checkweighing or volumetric checks at defined intervals
When to stop troubleshooting and call a specialist
Stop and contact the machine or component supplier when inaccurate fill volume on a bottled water filling machine cannot be isolated with non-invasive checks, when it returns after an approved repair, or when calibration requires protected service tools. Specialist support is also required when the same protective fault returns after an approved repair or structural damage is suspected. Send the service engineer the fault history, photos, samples, trend data, recipe revision and work already completed.
Relevant equipment for this application
For a project-level comparison related to inaccurate fill volume on a bottled water filling machine, see HZM Machinery’s Automatic Water Bottle Filling Machine. Use actual product, container and utility data when evaluating whether the configuration fits the duty.
Frequently asked questions
What should be checked first when inaccurate fill volume on a bottled water filling machine?
First determine whether every valve is high or low, or only selected valves vary. Then verify tank level and pressure, bottle presentation, valve cleanliness, venting and the active recipe before recalibrating anything. Preserve the original settings and take representative samples before repair work begins.
How can we distinguish unstable filler tank level or supply pressure from blocked vent tube or product passage?
A moving hydraulic head changes the driving force through every valve and usually creates a machine-wide pattern In contrast, mineral deposits, gasket fragments or foreign material restrict one valve and create a repeatable head-specific deviation Compare the two mechanisms under the same operating condition by completing these checks: collect at least three consecutive bottles from every filling head and plot the result by valve number Then trend tank level, inlet pressure, product temperature and filler speed during the same sampling window
Can production continue while inaccurate fill volume on a bottled water filling machine?
Only when the plant’s documented risk assessment and quality procedure allow it. For inaccurate fill volume on a bottled water filling machine, stop and segregate production when package integrity, sanitation, validated processing, pressure safety, electrical protection or an uncontrolled reject trend is involved.
What evidence will help the equipment supplier respond faster?
Provide the model and serial number, product and format, target speed, first fault, timestamps, photos or video, affected station pattern and maintenance history. For this issue, also include all bottles are consistently underfilled or overfilled and the measured result from this check: after mechanical checks, verify the plant’s calibrated volume or weight measurement method
Talk to our engineering team
Need help planning your packaging line?
Share your product, bottle and capacity requirements for a practical equipment recommendation.
Equipment
Automatic Water Bottle Filling Machine
Automatic rinsing, filling and capping for purified and mineral water in PET bottles, with capacities of 5,000–42,000 bottles/hour at 500 ml.
Learn more
Equipment
3-In-1 Water Bottle Filling Machine
A 3-in-1 PET bottle rinsing, filling and capping machine for drinking water, from 5,000 to 18,000 bottles/hour at 500 ml.
Learn more
Equipment
PET Bottle Water Filling Machine
PET bottle water filling with automatic rinsing and capping, for purified water, mineral water and still drinking water.
Learn more
Equipment
Automatic Drinking Water Bottling Machine
Drinking-water bottling equipment with automatic rinsing, filling and capping, plus conveying, labelling and packing options.
Learn more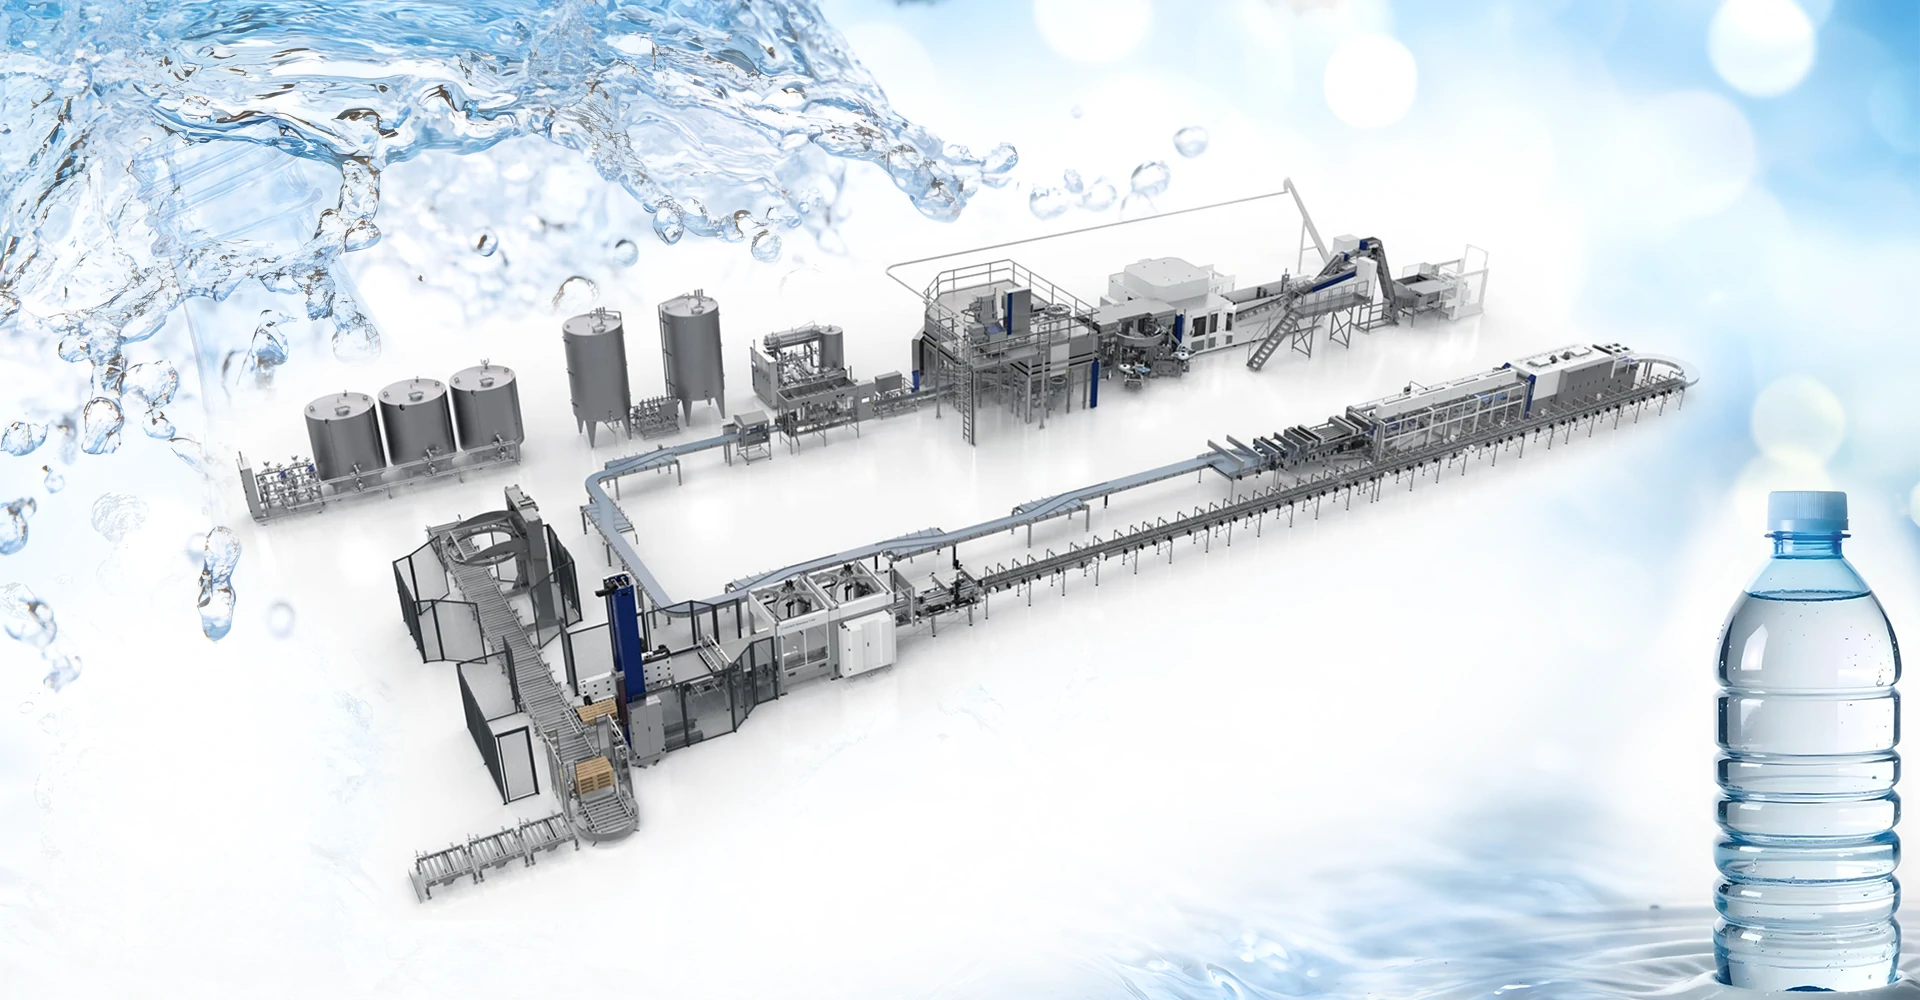
Equipment
Drinking water production line – Bottled Water Filling Machine Manufacturer
PET-bottled drinking-water production with automatic rinsing, filling and capping, plus water treatment and packaging equipment.
Learn more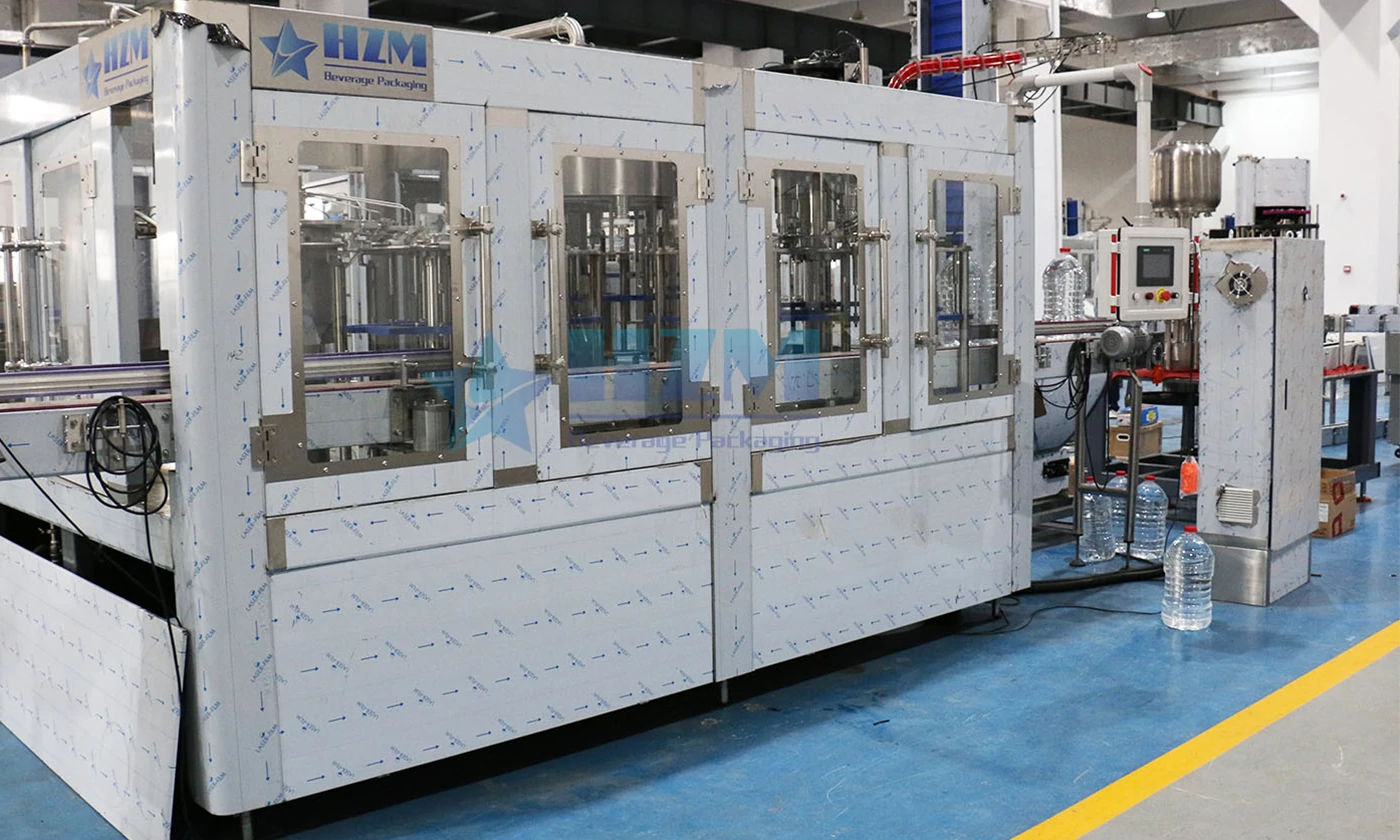
Equipment
5L-10L Large Bottle Drinking Water production line
XGF12-12-4 rinsing, filling and capping for 5 L and 10 L water bottles, with stable outputs of 1,200 and 700 bottles/hour respectively.
Learn more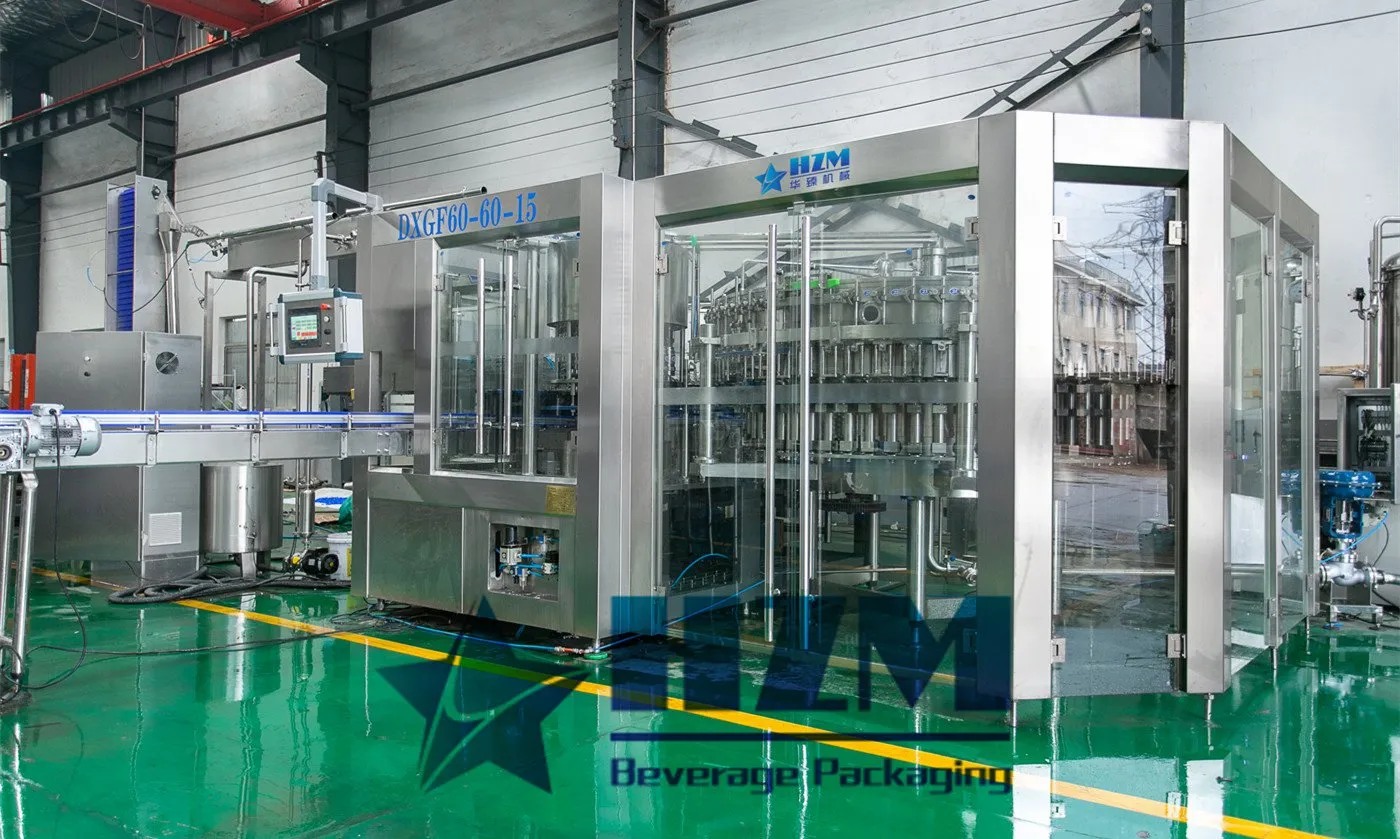
Equipment
Soda Water Filling Machine
Soda water filling equipment with bottle rinsing, isobaric filling and capping for PET-bottled sparkling water.
Learn more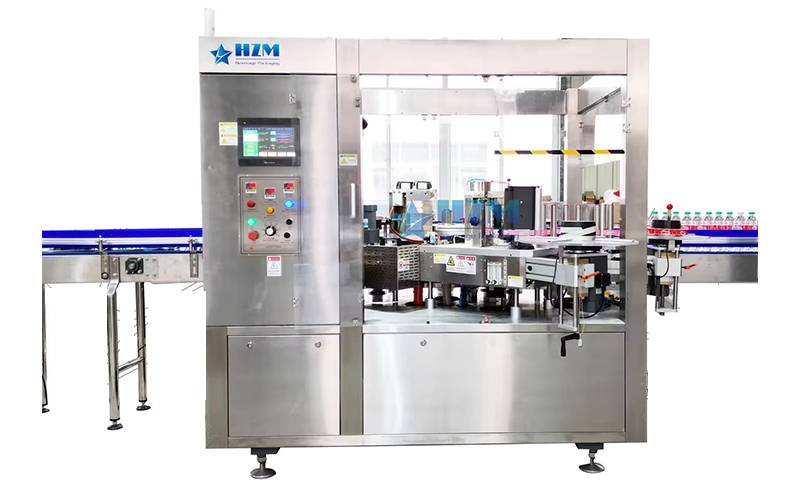
Equipment
Automatic Water Bottle Labeling Machine
Automatic hot-glue labelling for water and beverage bottles, with HG models from 8,000 to 24,000 bottles/hour.
Learn more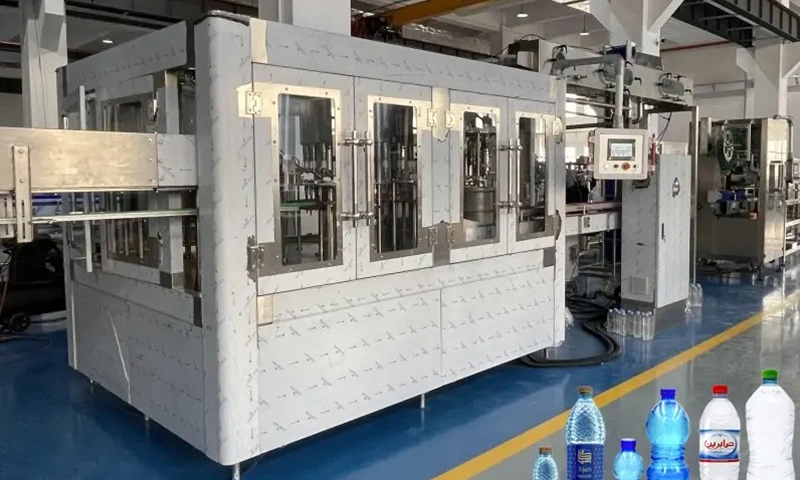
Equipment
Automatic Mineral Water Bottle Filling Machine
Automatic mineral-water bottling with rinsing, filling and capping, from 5,000 to 18,000 bottles/hour at 500 ml.
Learn more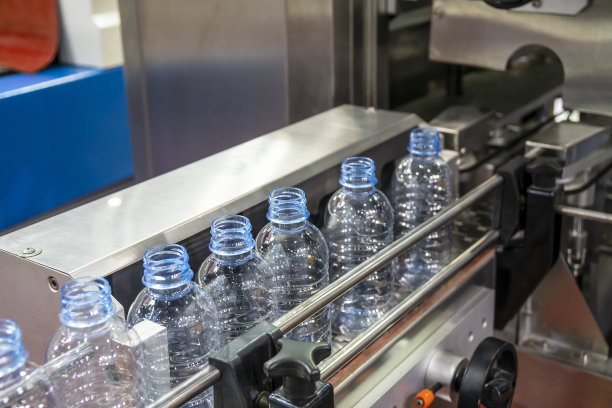
2023-09-14
Water Bottle Filling Machine Prices
Water bottle filling machines are highly automated filling equipment used for various containers, including water bottles, beverage bottles, and wine bottles. The application of this equipment is incredibly diverse, spanning across industries such as food, beverages, and household products
Learn more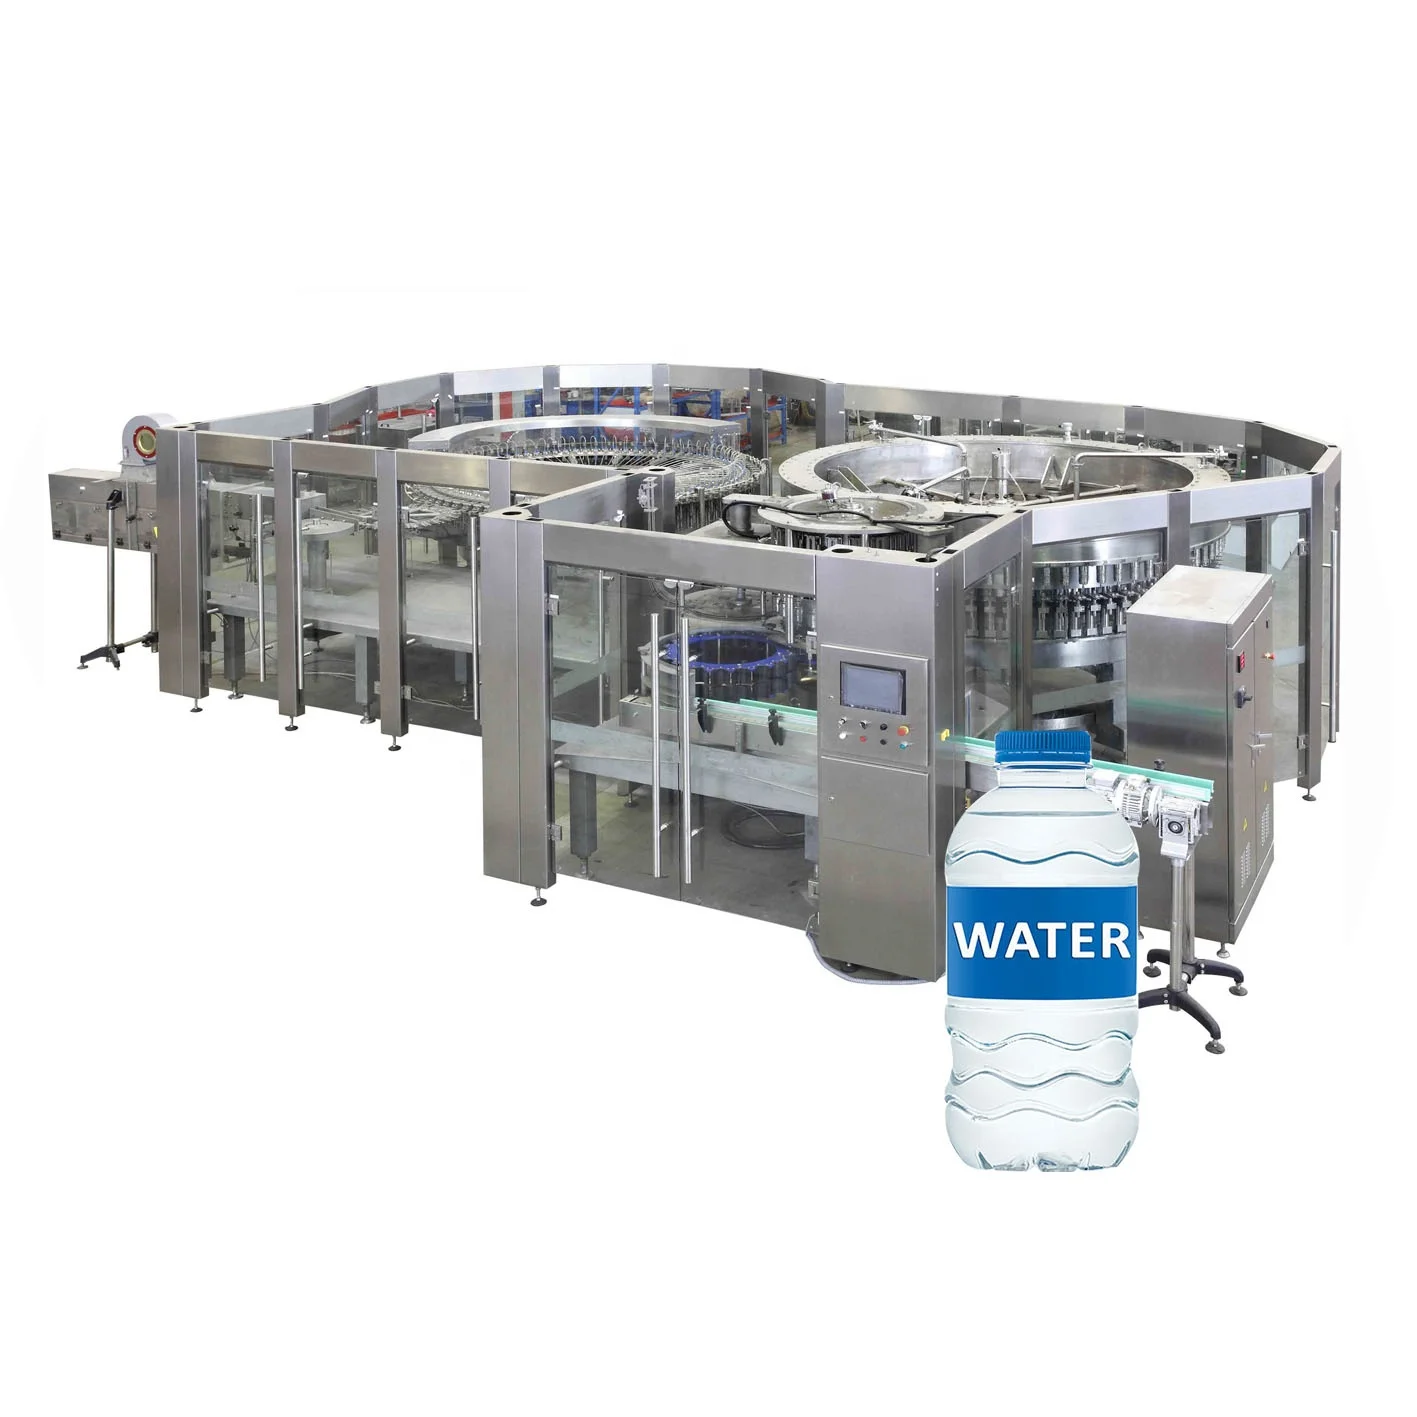
2023-11-24
Water Bottle Filling Machine Solutions
Water bottle filling machines come in various configurations, from small-scale, semi-automatic machines suitable for small businesses to fully automated, high-speed machines used in large-scale production facilities. They play a crucial role in ensuring the efficiency and quality of the water bottling process.
Learn more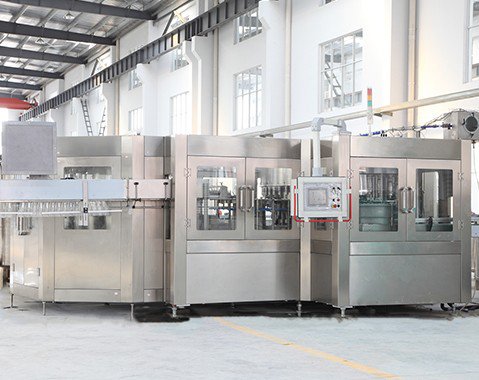
2023-03-24
What are the Advantages of Automatic Water Filling Machine?
The automatic water filling machine is a widely used packaging machine that offers a number of advantages to the packaging industry. Such a machine eliminates the manual work of filling bottles. When production reaches a certain level, it becomes necessary to use a filling machine. Below are the most common advantages of an automatic water […]
Learn more
2023-03-24
What is the Working Principle of 3 in 1 Water Filling Machine?
Water filling machines are used by perse beverage companies. In the 1990s, the companies were using manual machines. Several labors were needed to handle and use the machine. After that, the semi-automatic filling machines took over the market. Since 2000, the technology has been evolved. The manufacturers include advanced technological innovation into the equipment. Every […]
Learn more
2023-06-27
What is the Working Principle of 3 in 1 Water Filling Machine?
Do you want to set up a unit where you will be manufacturing non-carbonated drinks and filling them into bottles? Now you must decide whether you want to get different machines with different functions like one for cleaning, filling and one for capping or you would like to get 3 in 1 water filling machine?
Learn more
2023-12-24
Water Filling Machine for Sale
If you are interested in purchasing a water filling machine, please contact us today. We would be happy to discuss your needs and recommend the best machine for your application.
Learn more