
Insights & Updates
Edible Oil Filling Problems: How to Control Drips, Foam and Viscosity
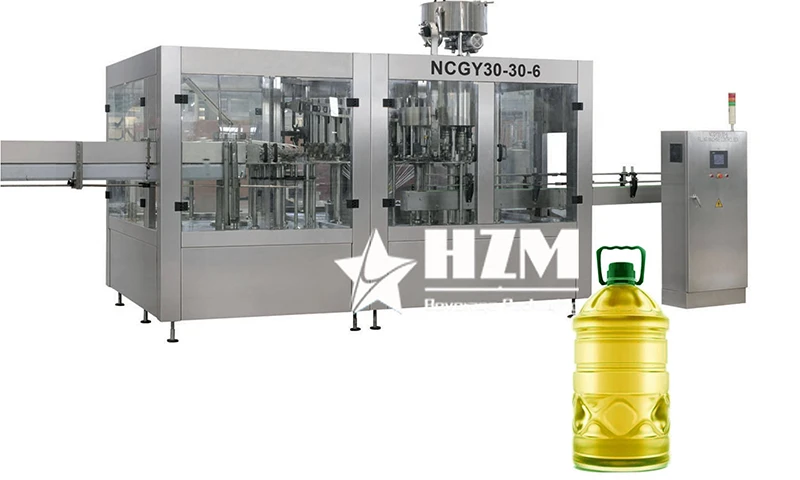
Edible oil looks simple because it does not foam like a carbonated drink, yet production teams often fight strings from nozzles, drops on bottle necks, changing fill weight and unstable flow between a cool morning and a warm afternoon. Viscosity, entrained air, product temperature and nozzle design all influence the result.
A clean, accurate oil line needs stable product conditions, a suitable metering method, controlled fast/slow filling and a sharp cutoff. Troubleshooting should compare patterns by filling position and temperature rather than raising the target to hide underfills.
Quick answer: Keep oil temperature and supply pressure stable, match the metering and nozzle to viscosity and bottle neck, use a controlled final-fill stage, inspect cutoff seals and anti-drip function, and verify net weight by filling position. Recalibrate recipes when product grade or temperature range changes.
Understand the Effect of Temperature
Oil viscosity generally decreases as temperature rises. A timing-based filler may deliver a different amount when flow changes, and even a metered system can behave differently at the nozzle during cutoff. Record product temperature at the filler and correlate it with fill error, strings and foam.
Avoid uncontrolled heating merely to increase speed. The chosen range must protect product quality, operator safety and packaging performance. Insulated tanks or piping may improve stability where ambient variation is large.
Choose the Metering Method for the Product
Flowmeter, piston, weighing and other methods have different strengths depending on viscosity, conductivity, container size, accuracy and cleaning requirements. The best choice uses the actual oil grades and temperature range. Provide samples or reliable viscosity data to the supplier.
HZM’s PET bottle edible oil bottling line can be configured around output and package needs, but the acceptance test should demonstrate every major recipe.
Use Fast and Slow Filling Stages
A high main-flow rate supports capacity, while a slower final stage improves cutoff and reduces splashing near the neck. The switch point must leave enough volume for accurate finishing without extending the cycle unnecessarily. Bottom-up or diving nozzles may help for certain products and packages.
Observe whether turbulence entrains air. Small bubbles can make visual level misleading and may later collapse, changing the apparent fill.
Stop Drips and Product Strings
Inspect nozzle tips, seals, valve response and product pressure. A worn seal may cause one station to drip consistently. Anti-drip or suck-back settings should create a clean cutoff without pulling air or product residue into unhygienic areas. Allow sufficient pause before the bottle transfers.
Keep drip trays clean and monitor oil accumulation. A wet bottle neck can affect cap grip, label adhesion and pack appearance. Do not accept frequent cleanup as normal operation.
Control Product Supply to the Filler
Tank level, pump speed and return flow can change supply pressure. Use a stable feed arrangement and inspect filters for rising restriction. Air entering at pump seals, low tank level or turbulent returns can create bubbles and erratic meter response.
Trend pressure and flow during line acceleration and deceleration. Problems that appear only at the highest rate may indicate that product supply is undersized rather than a filling-valve fault.
Calibrate by Filling Position
| Observed pattern | Investigation |
|---|---|
| One head always low | Meter calibration, valve, nozzle or air pocket |
| All heads drift with temperature | Recipe compensation and product condition |
| Random over/underfill | Supply pressure, bottle presence and cutoff stability |
| Good weight but uneven level | Bottle internal volume and entrained air |
Use a calibrated scale and tare each container correctly. Net-weight control avoids errors caused by bottle-weight variation. Confirm applicable legal metrology and labeling requirements in the target market.
Verify Capping and Downstream Cleanliness
Oil on the neck finish can reduce closure grip and attract dust. Check cap torque, tamper evidence and leaks after storage. Conveyor belts, guides and labeler contact parts should remain dry; a small recurring leak can spread across the line.
A 2-in-1 edible oil filling and capping monoblock shortens the path to closure, but correct nozzle cutoff and bottle handling remain essential.
Frequently Asked Questions
Why does fill weight change during the day?
Product temperature, viscosity, supply pressure and aeration may change. Record these conditions with fill-weight data before recalibrating.
Should edible oil be filled by volume or weight?
Either can be appropriate depending on product, container, required accuracy and regulation. Compare total performance using actual oil grades and operating temperature.
Can suck-back eliminate every drip?
It can improve cutoff when correctly designed, but worn seals, excessive pressure, poor timing or unsuitable nozzle geometry must still be corrected.
Plan the Next Step with HZM Machinery
Provide oil type, viscosity or temperature range, bottle and cap drawings, target accuracy and capacity to HZM. Compare edible oil filling machine configurations with a commercial-product trial.
Talk to our engineering team
Need help planning your packaging line?
Share your product, bottle and capacity requirements for a practical equipment recommendation.
Equipment
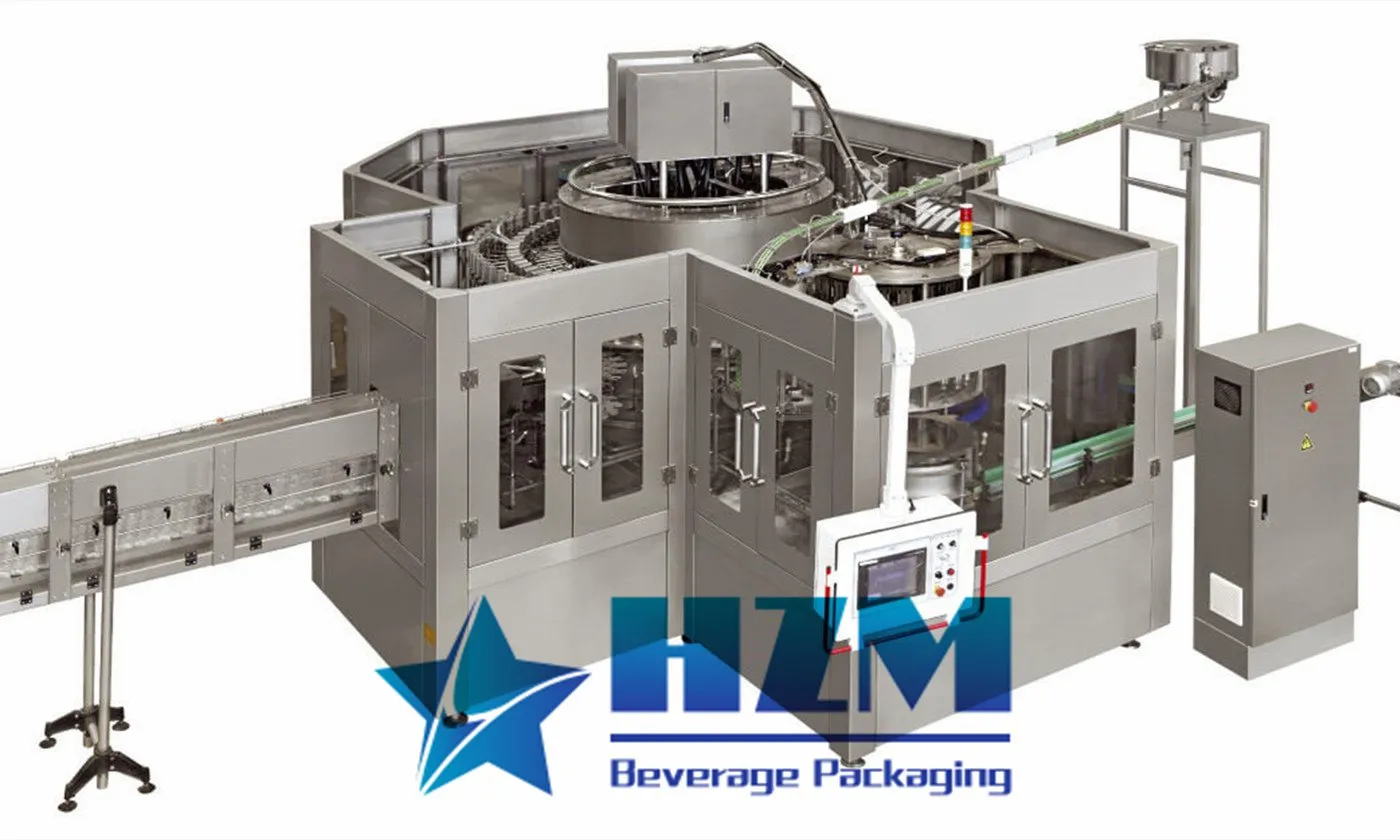
Edible Oil Filling Machine
Rotary edible oil filling and capping with GYH models from 3,500 to 10,000 bottles/hour at 500 ml.
Learn moreEquipment
Automatic Edible Oil Filling Machine | Cooking Oil Bottling & Packing Line
Automatic cooking oil filling and capping with GYH models from 3,500 to 10,000 bottles/hour at 500 ml.
Learn more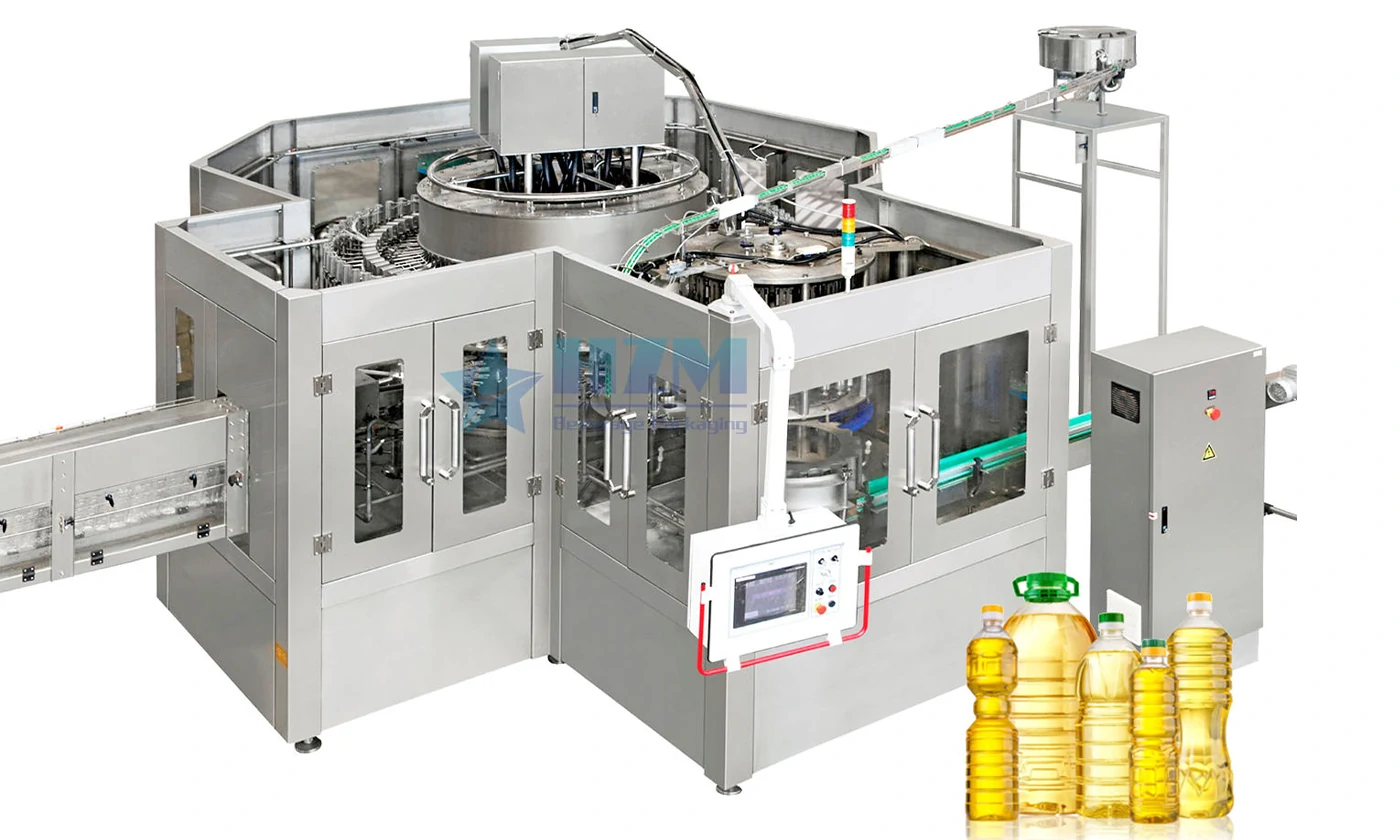
Equipment
PET Bottle Edible Oil Bottling Line | Automatic Rotary Type Edible Oil Filling Machine
The PET bottle edible oil bottling line combines rotary oil filling and capping with bottle conveying and downstream packaging.
Learn moreEquipment
2-in-1 Monoblock Edible Cooking Oil Filling and Capping Machine
The 2-in-1 monoblock fills and caps bottles of edible cooking oil in a continuous operation.
Learn more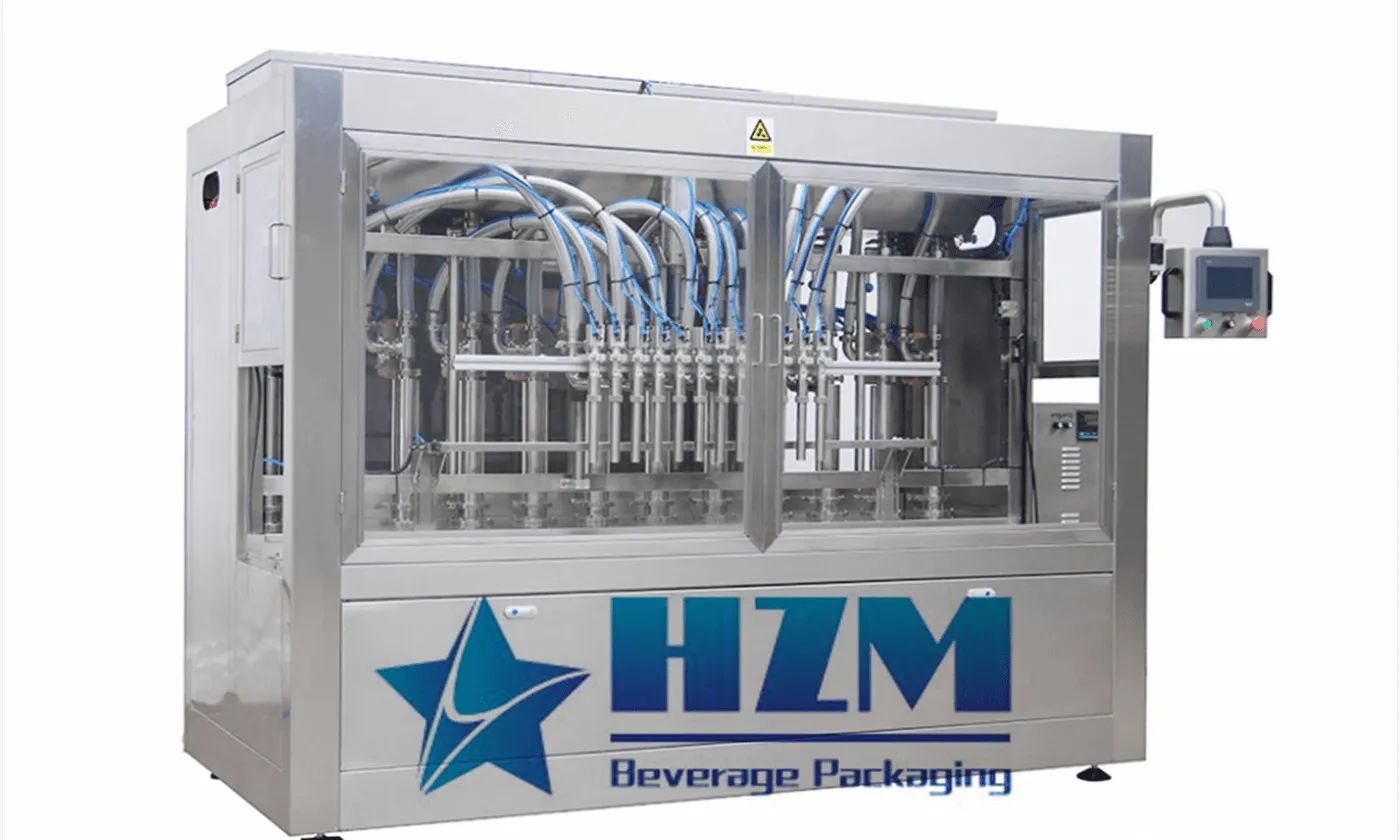
Equipment
Linear Type Oil Filling Machine
The linear oil filling machine fills bottled edible oils and compatible liquid food products.
Learn more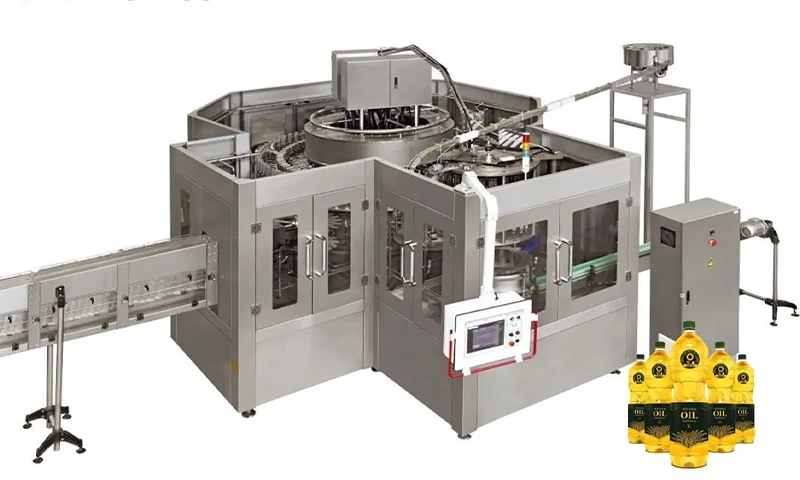
Equipment
Olive Oil Filling Machine
Olive oil bottle filling and capping with GYH models from 3,500 to 10,000 bottles/hour at 500 ml.
Learn more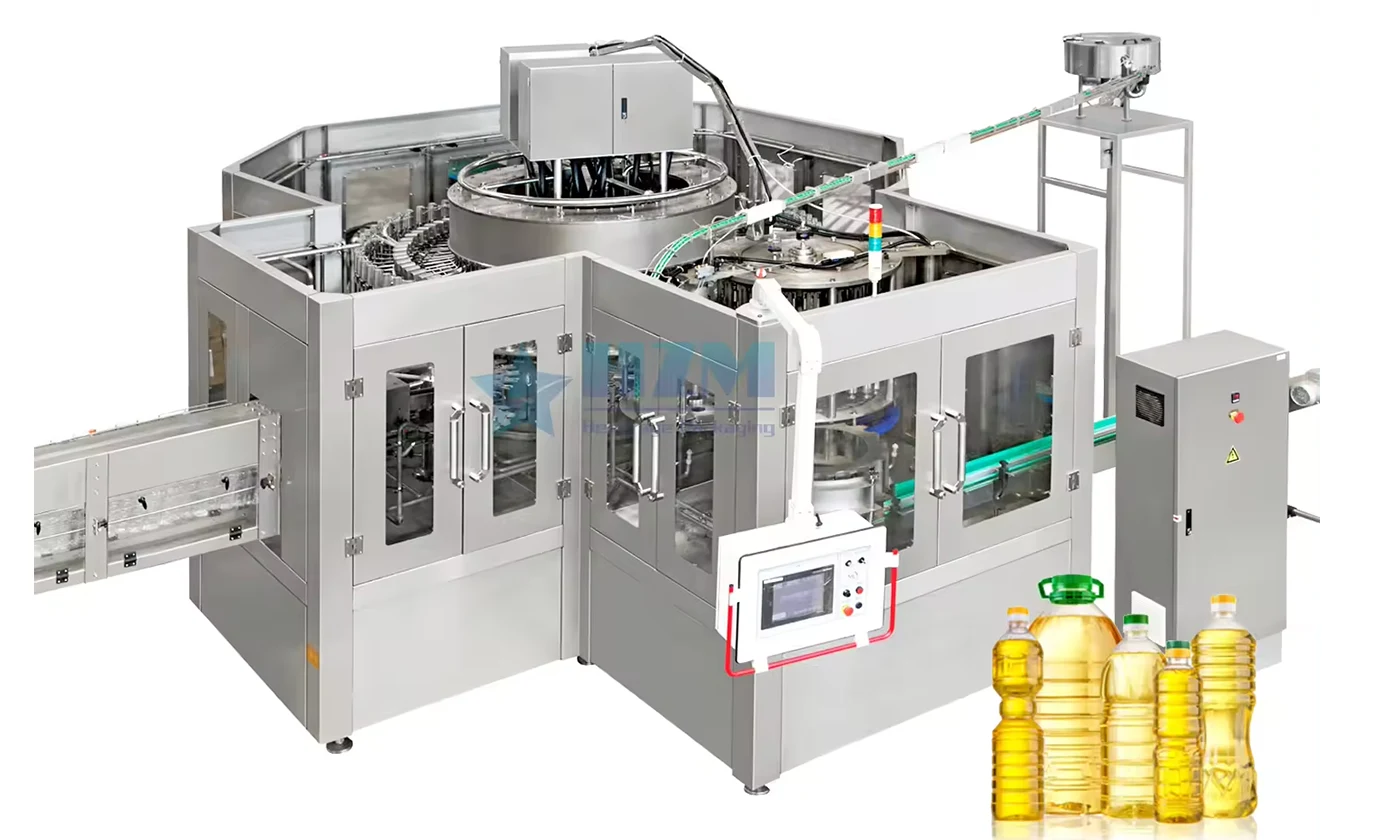
Equipment
Automatic Cooking Oil Filling Machine
The automatic cooking oil filling machine fills and caps bottles of edible oil.
Learn more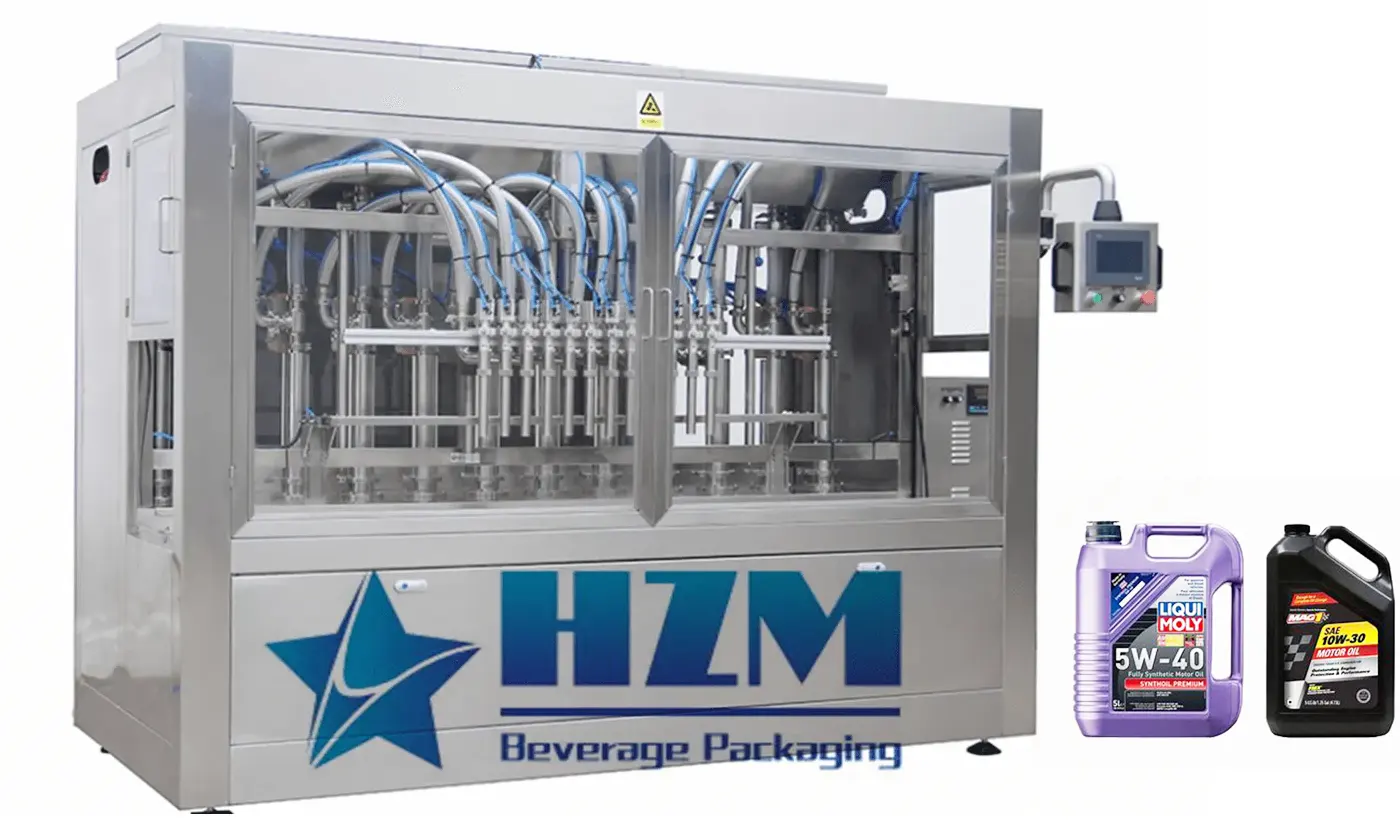
Equipment
Automotive Lubricants Oil Filling Machine
This automotive lubricating-oil filling machine doses oil into bottles and containers on a linear filling line.
Learn more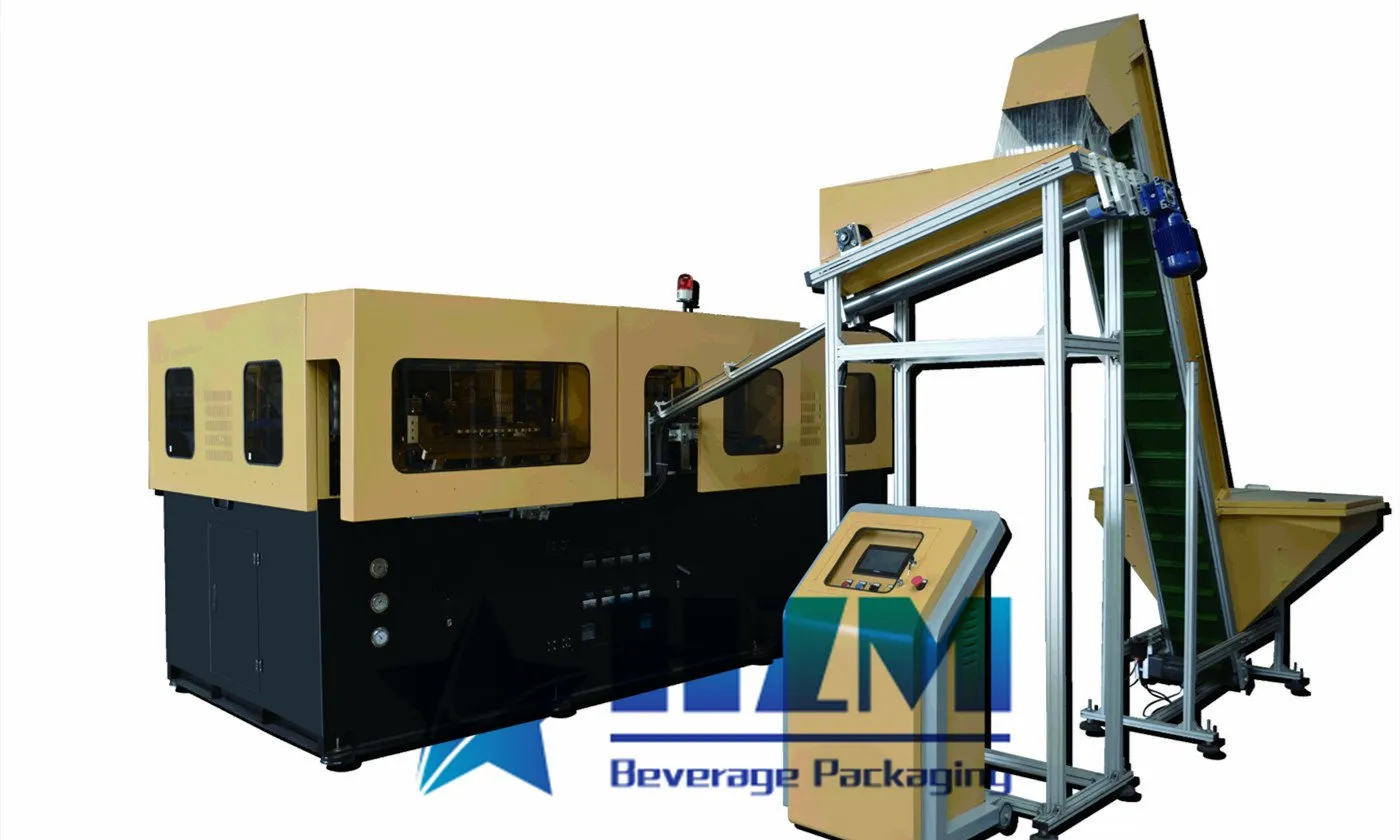
Equipment
Automatic Oil Bottle Wide Neck PET Bottle Blowing Machine
PET blow moulding equipment for large edible-oil, drinking-water and wide-neck bottles, with bottle sizes up to 5–10 L by model.
Learn more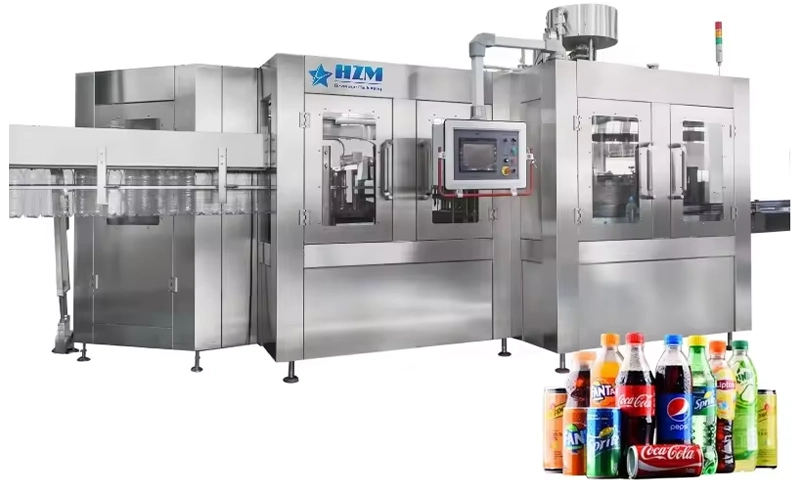
2026-07-29
Carbonated Drink Filling Problems: How to Reduce Foaming and CO₂ Loss
Troubleshoot foaming, low fill and carbonation loss by controlling beverage temperature, pressure balance, CO₂ mixing, filling valves and container handling.
Learn more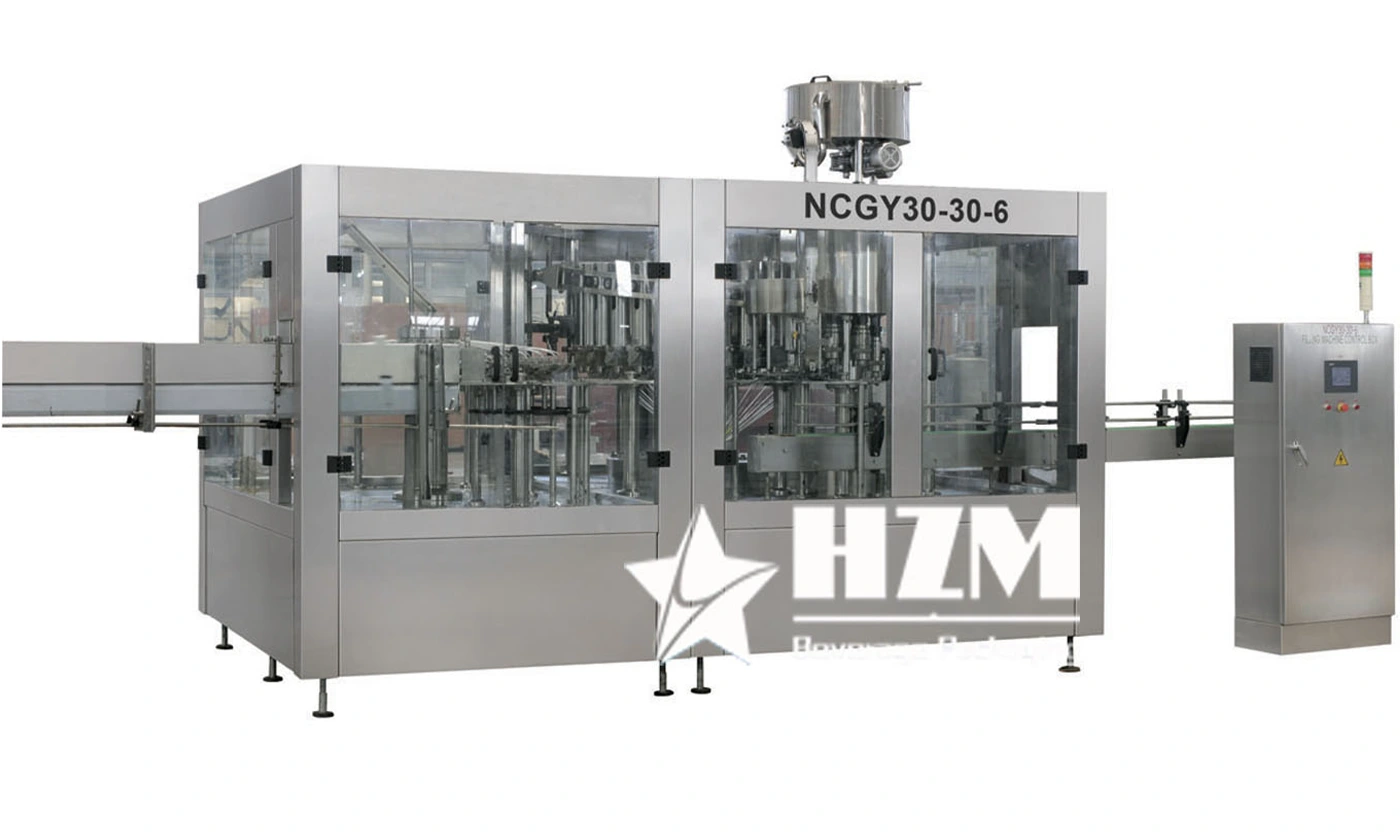
2023-11-26
Introduction to the Edible Oil Filling Production Line
The edible oil filling production line is a modern bottling production system designed to enhance the efficiency and quality of edible oil production while meeting the demands of standardized production. This assembly line consists of various individual machines, including bottle sorting, filling, capping, aluminum foil sealing, and adhesive labeling equipment.
Learn more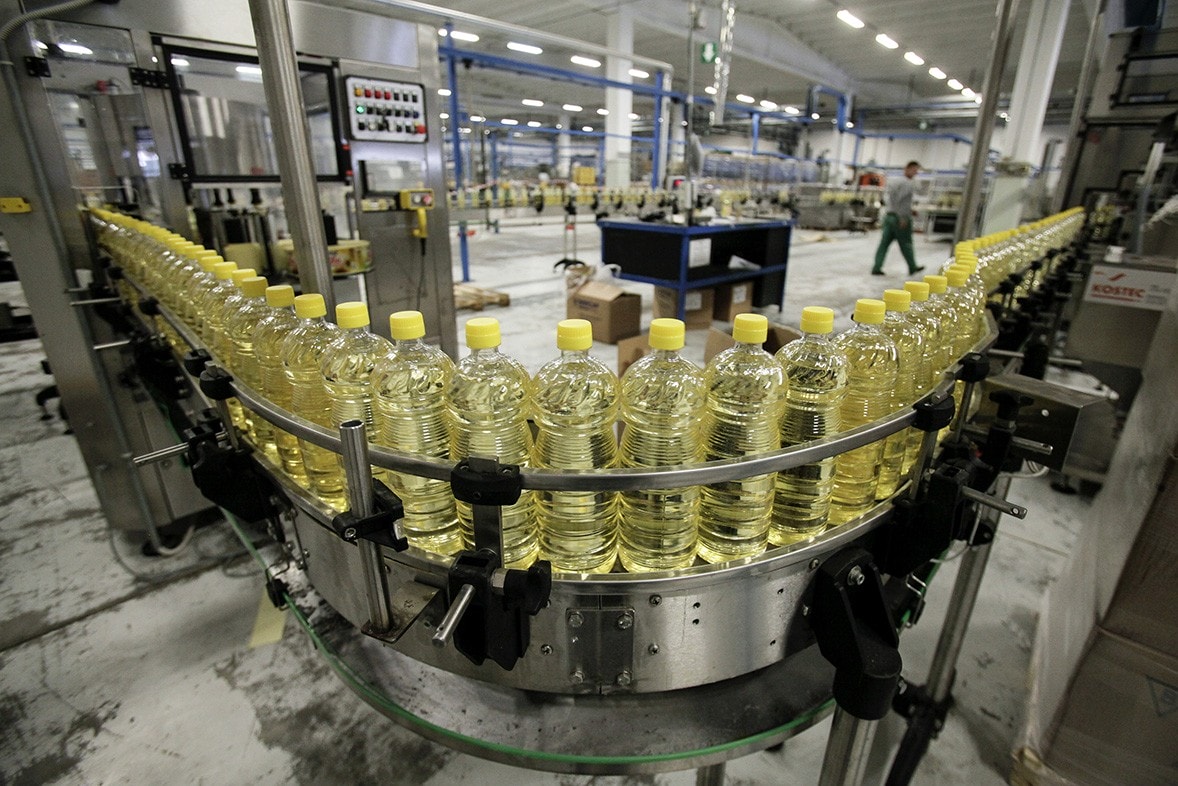
2023-11-20
Edible Oil Production Line Equipment and Costs
As a professional edible oil packaging machine solution provider, HZM Machinery offers tailor-made complete edible oil filling production line solutions to meet customer needs.
Learn more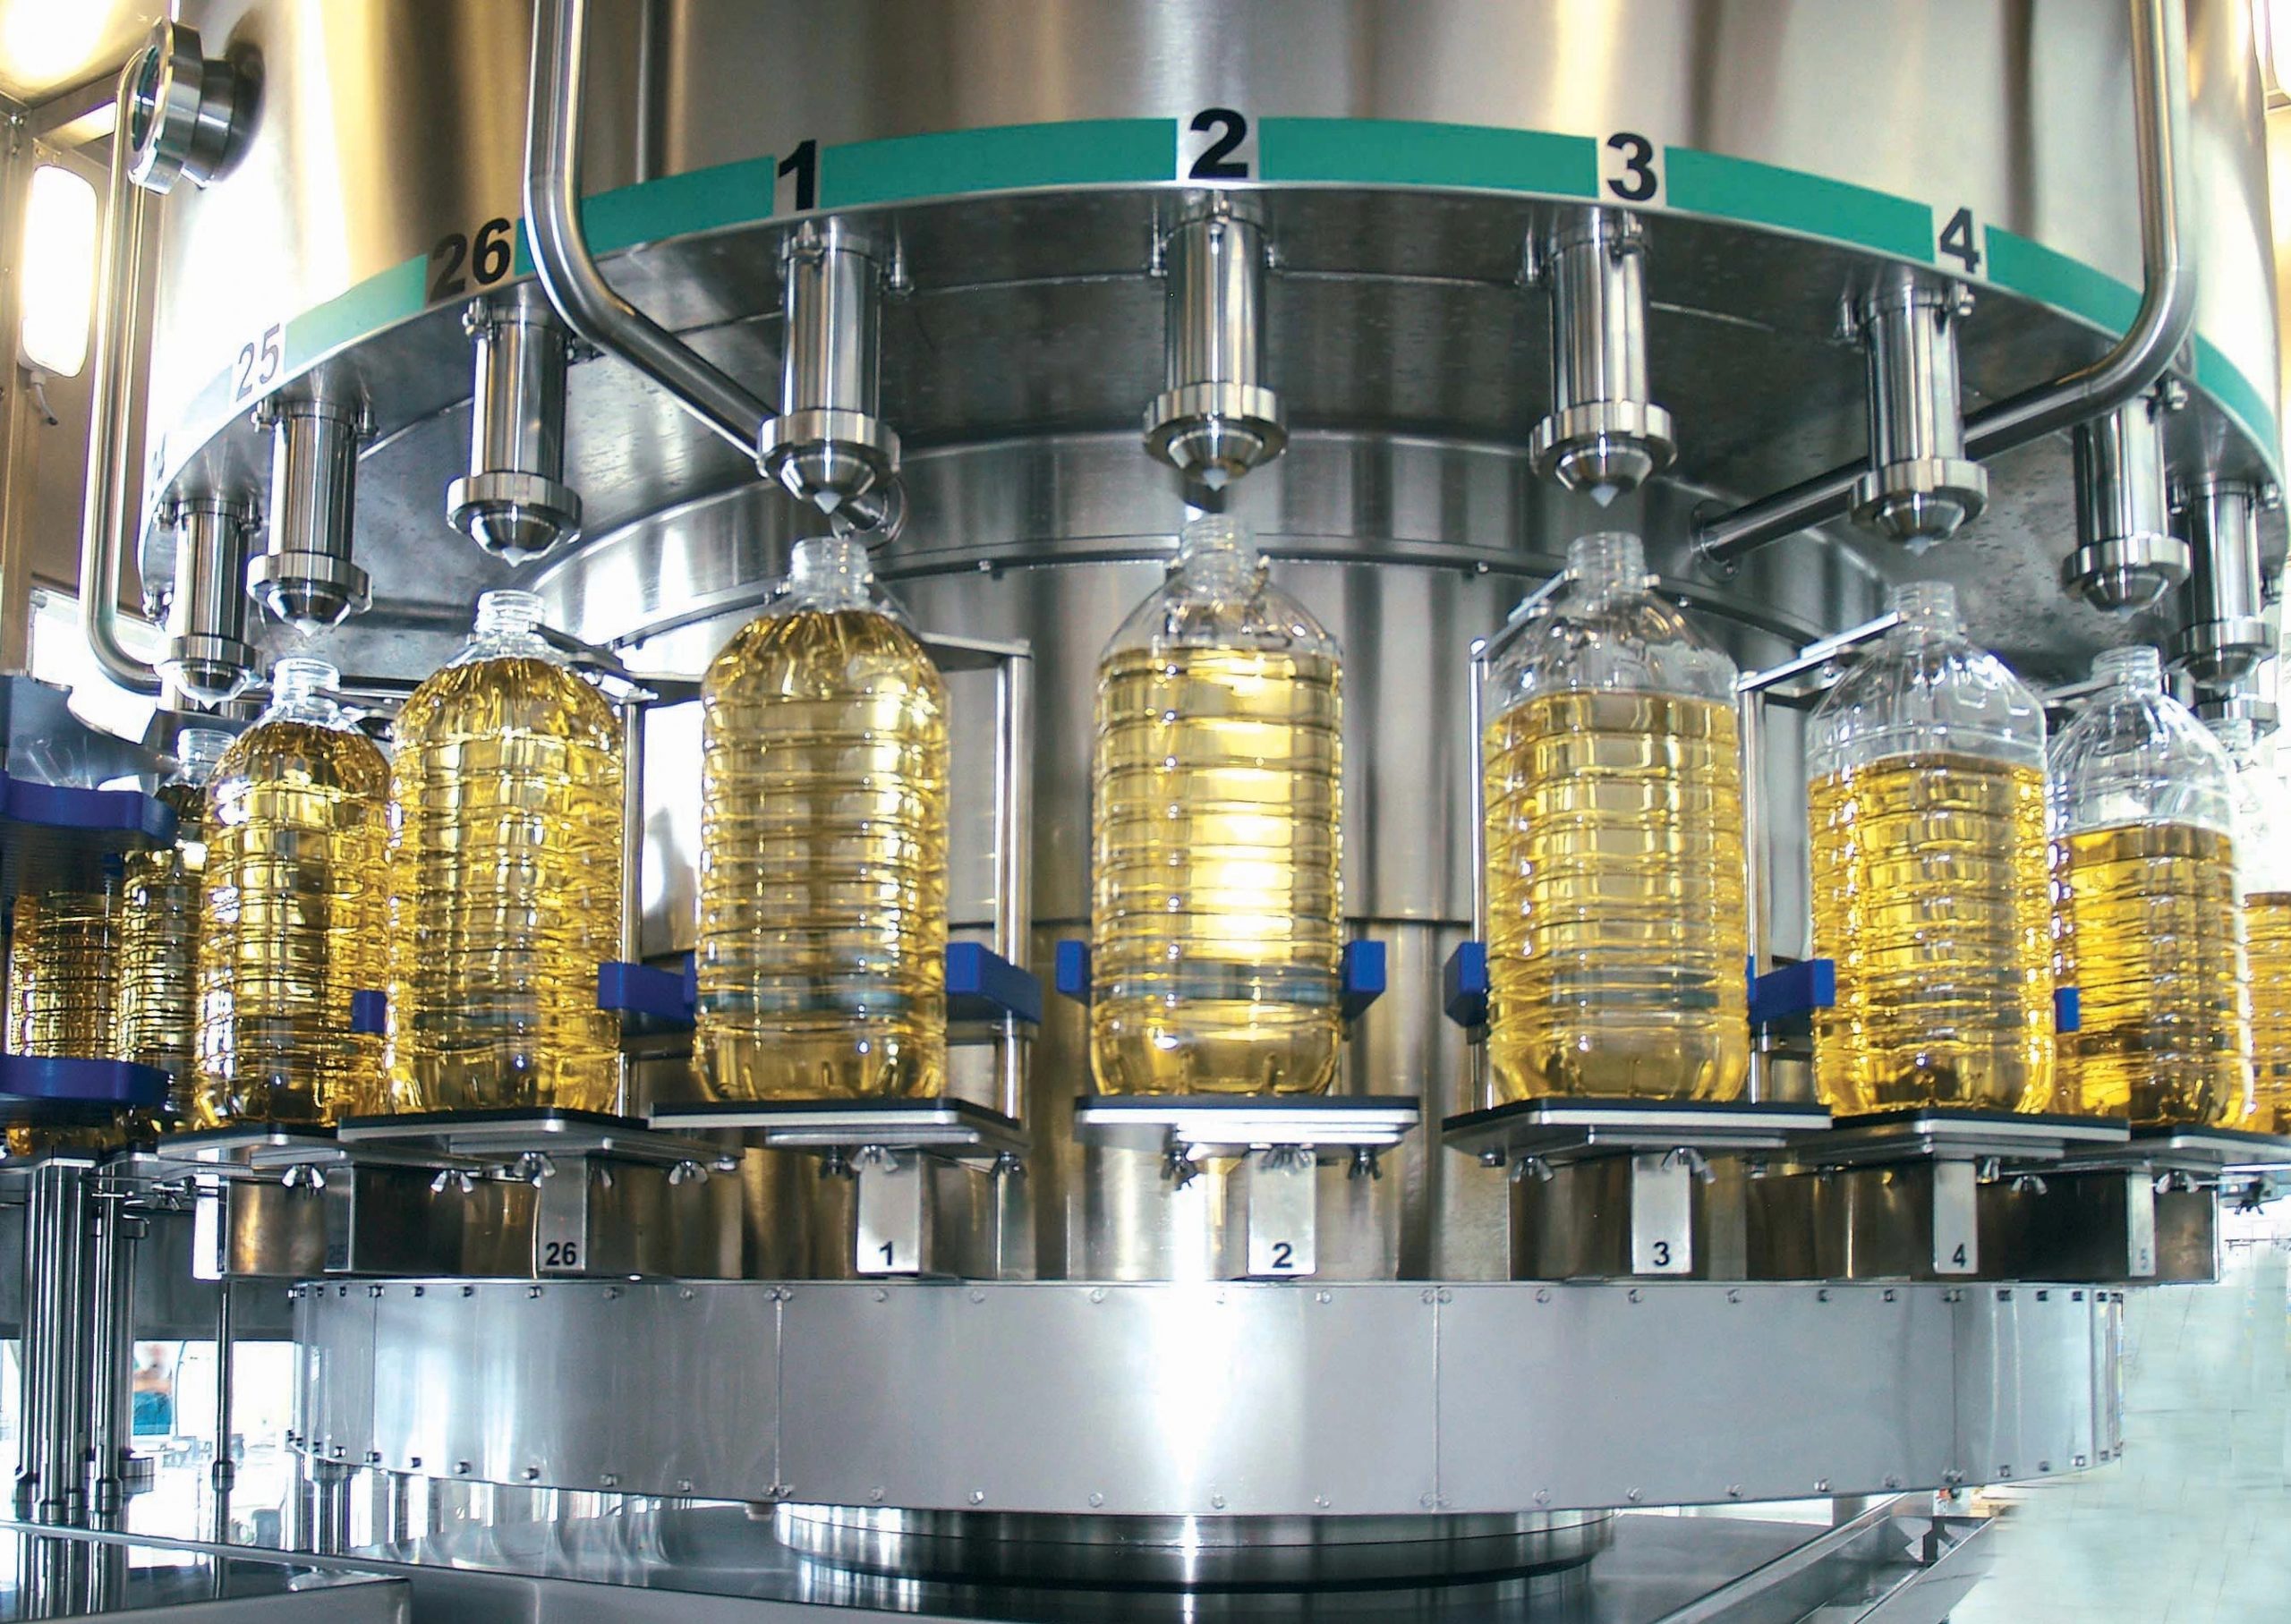
2023-10-22
What is an edible oil filling machine?
An edible oil filling machine is a specialized mechanical device used for filling and packaging edible oils. It is widely employed in the production and packaging processes of oil-based products to ensure precise filling, sealing, and packaging of these products.
Learn more2024-01-06
Edible Oil production process
The edible oil production process is a multi-stage operation that involves extracting oil from oilseeds, refining it, and packaging it for sale.
Learn more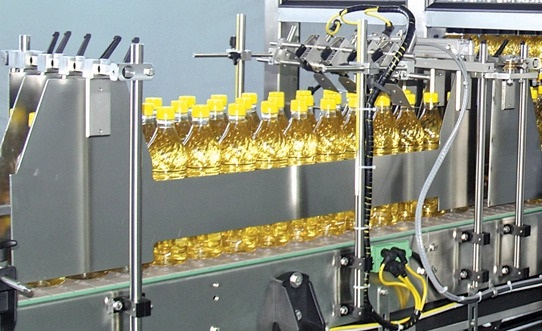
2023-09-25
Overview of Equipment for Edible Oil Filling Production Line
However, the key challenge lies in understanding how to configure the equipment for an edible oil filling production line, which is crucial for packaging edible oil. Below, let us provide a detailed explanation of the equipment typically required for a complete edible oil filling production line.
Learn more