
PET Bottles Collapse After Filling or Capping: What to Check
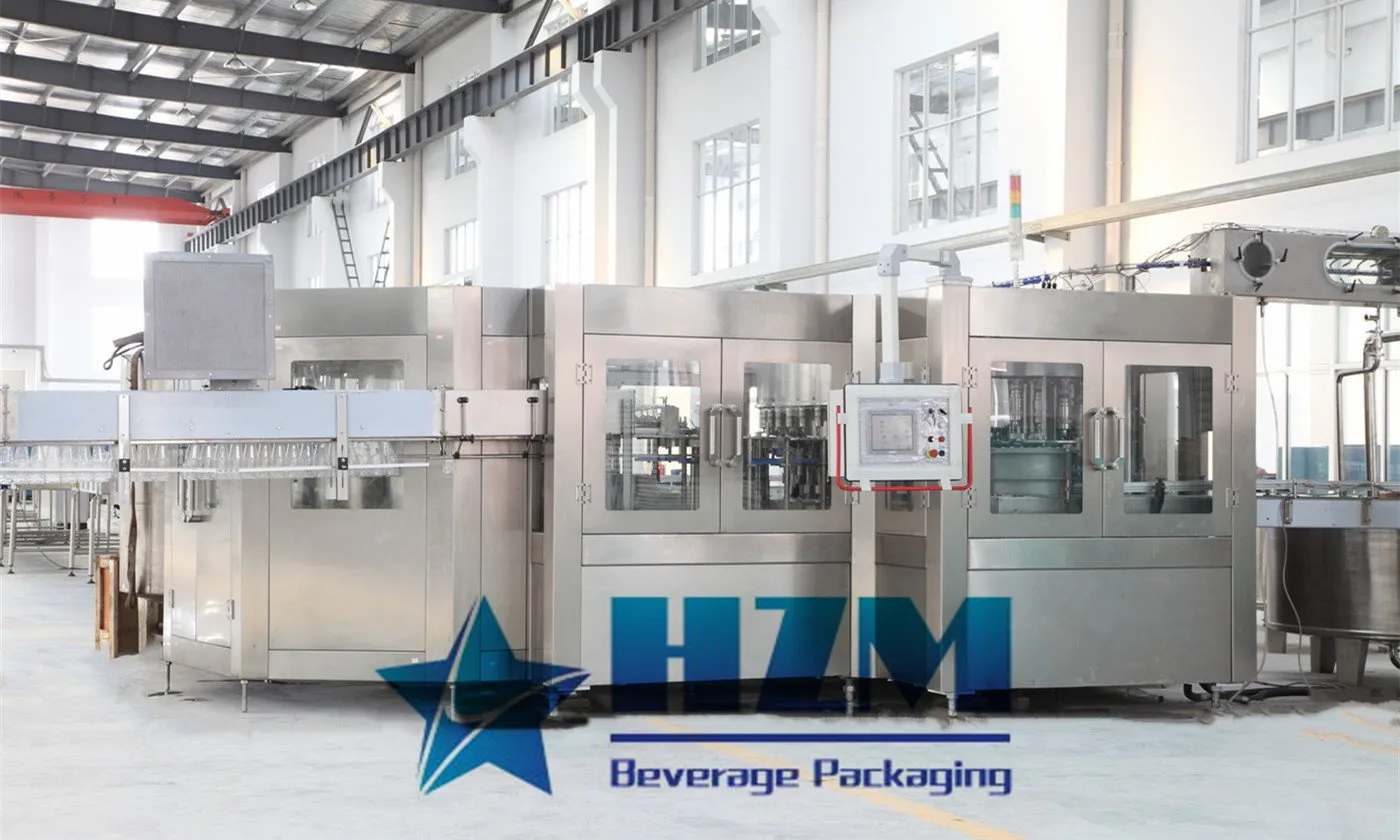
PET bottles collapsing after filling or capping is easiest to solve while the original evidence is still available. Keep affected samples, record the operating state and resist making several adjustments at once.
Filling faults are rarely solved by changing one timer at random. Product condition, tank pressure, valve mechanics, container handling and the active recipe must be separated so that a quality symptom is not confused with a machine symptom. For this fault, the first distinction is between internal vacuum during cooling and bottle material distribution too thin. The procedure below moves from non-invasive checks to controlled repair and restart.
Quick answer: Identify whether collapse comes from vacuum, heat, weak bottle distribution or mechanical squeezing. Check product temperature, headspace pressure, cooling, cap timing, bottle design and guide compression as a connected system.
What operators usually see
The failure pattern narrows the search more quickly than replacing parts. Mark samples and record which of these conditions are present: For this case, preserve evidence that shows whether sidewalls panel inward after the cap is applied.
- Sidewalls panel inward after the cap is applied
- Bottles deform while cooling after hot or warm filling
- Only certain cavities or preform lots collapse
- Guides leave matching compression marks
Make the equipment safe and protect the product
Stop automatic operation, isolate electrical and pneumatic energy, close and depressurize product circuits, and follow the machine lockout/tagout procedure before opening guards or removing a valve. Quarantine product made since the last confirmed good check.
Record filler speed, bowl or tank level, product temperature, pressure, fill result by valve or head, cap torque where applicable, and the exact time of each reject. A head-by-head pattern is far more useful than a line average. Explicitly record whether sidewalls panel inward after the cap is applied.
Most likely causes, in practical checking order
1. Internal vacuum during cooling
A sealed warm product contracts and pulls unsupported panels inward To test this explanation without guessing, record the exact point where deformation first becomes visible Record the result before moving to the next cause.
2. Bottle material distribution too thin
Blow-process drift leaves weak sidewalls or an underformed base A practical confirmation step is to measure product and bottle temperature through filling and cooling. Compare the finding with a known-good run.
3. Excess guide or transfer pressure
Rails, starwheels or accumulation squeeze a lightweight container Do not compensate for this condition in the recipe. First, map collapsed bottles to blow-moulder cavity and preform lot Keep the original setting and measured result in the fault record.
4. Incorrect headspace or closure condition
Fill level and cap sealing change the gas volume available to absorb pressure change Separate this cause from the others with one controlled check: inspect wall-thickness distribution and bottle dimensions with the approved method Use the same product, format and speed for the comparison.
Step-by-step diagnostic procedure
The aim is to eliminate whole groups of causes with each check. Record actual values rather than “normal” or “looks good.”
- Record the exact point where deformation first becomes visible
- Measure product and bottle temperature through filling and cooling
- Map collapsed bottles to blow-moulder cavity and preform lot
- Inspect wall-thickness distribution and bottle dimensions with the approved method
- Check guide clearances and accumulation pressure using an undamaged bottle
- Compare fill level, headspace and cap condition between good and bad samples
Corrective actions that address the root cause
A reset is not a repair. Complete the mechanical, process or controls work indicated by the evidence and document the as-left state.
- Restore validated fill and cooling temperatures and the approved container process
- Correct blow heating, pressure or mould cooling for even material distribution
- Open or align handling guides so they control without compressing the bottle
- Correct fill level and closure settings while maintaining package-integrity requirements
How to verify the repair before full-speed production
Restart at reduced speed with normal production materials, then increase output in steps. The first acceptance check is: Confirm that pet bottles collapsing after filling or capping is absent for multiple consecutive cycles, not only for one sample. Review the alarm history and keep diagnostic product segregated until the site’s quality procedure releases it.
- Confirm that pet bottles collapsing after filling or capping is absent for multiple consecutive cycles, not only for one sample.
- Compare the repaired result for “Sidewalls panel inward after the cap is applied” with the approved quality limit and the last known-good baseline.
- Check adjacent stations and downstream package quality for side effects associated with internal vacuum during cooling.
- For “PET Bottles Collapse After Filling or Capping: What to Check”, record the final settings, measurements, parts used and restart authorization.
Prevent the problem from returning
The most effective preventive action is an observable limit with a named response, not a general instruction to “check regularly.”
- Retain cavity-coded bottle samples
- Link blower and filler quality data
- Verify hot- or warm-fill cooling profile at startup
- Use format gauges for lightweight-bottle guides
- Review bottle vacuum resistance before lightweighting or speed changes
When to stop troubleshooting and call a specialist
Stop and contact the machine or component supplier when pet bottles collapsing after filling or capping cannot be isolated with non-invasive checks, when it returns after an approved repair, or when calibration requires protected service tools. Escalate immediately for a damaged pressure boundary, uncontrolled motion, food-safety risk, exposed conductor or repeated protective trip. Send the service engineer the fault history, photos, samples, trend data, recipe revision and work already completed.
Relevant equipment for this application
The site example most closely related to pET bottles collapsing after filling or capping is the PET Bottle Water Filling Machine. Equipment selection should be checked against samples, quality limits, required sustained output and available utilities.
Frequently asked questions
What should be checked first when pET bottles collapsing after filling or capping?
Identify whether collapse comes from vacuum, heat, weak bottle distribution or mechanical squeezing. Check product temperature, headspace pressure, cooling, cap timing, bottle design and guide compression as a connected system. Preserve the original settings and take representative samples before repair work begins.
How can we distinguish internal vacuum during cooling from bottle material distribution too thin?
A sealed warm product contracts and pulls unsupported panels inward In contrast, blow-process drift leaves weak sidewalls or an underformed base Compare the two mechanisms under the same operating condition by completing these checks: record the exact point where deformation first becomes visible Then measure product and bottle temperature through filling and cooling
Can production continue while pET bottles collapsing after filling or capping?
Only when the plant’s documented risk assessment and quality procedure allow it. For pET bottles collapsing after filling or capping, stop and segregate production when package integrity, sanitation, validated processing, pressure safety, electrical protection or an uncontrolled reject trend is involved.
What evidence will help the equipment supplier respond faster?
Provide the model and serial number, product and format, target speed, first fault, timestamps, photos or video, affected station pattern and maintenance history. For this issue, also include sidewalls panel inward after the cap is applied and the measured result from this check: compare fill level, headspace and cap condition between good and bad samples
Need help planning your packaging line?
Share your product, bottle and capacity requirements for a practical equipment recommendation.
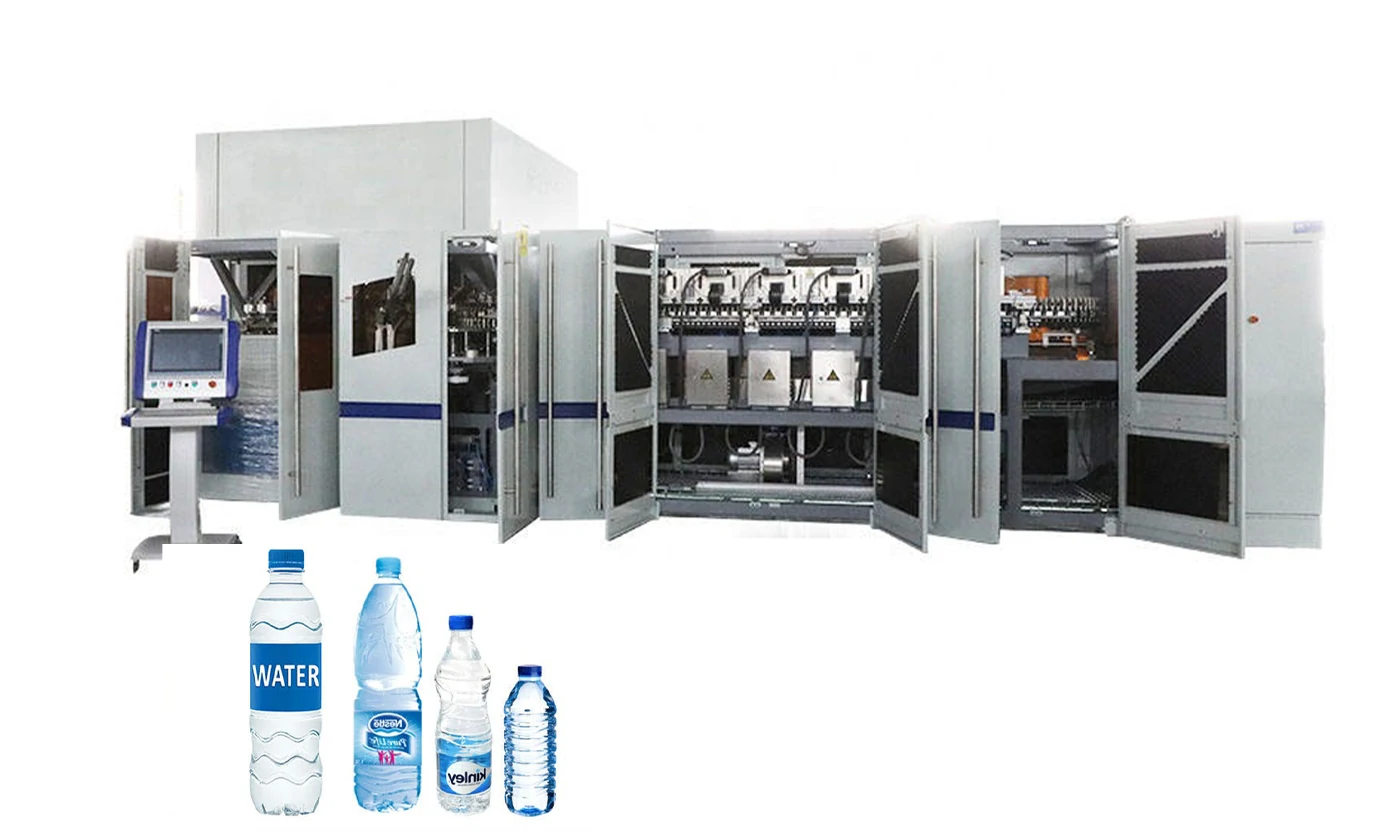
Automatic PET Bottle Blowing Filling Capping Machine – Best price beverage machinery
Automatic PET bottle blowing, filling and capping, with capacities of 12,000–48,000 bottles/hour at 500 ml and bottle volumes up to 2 L.
Learn more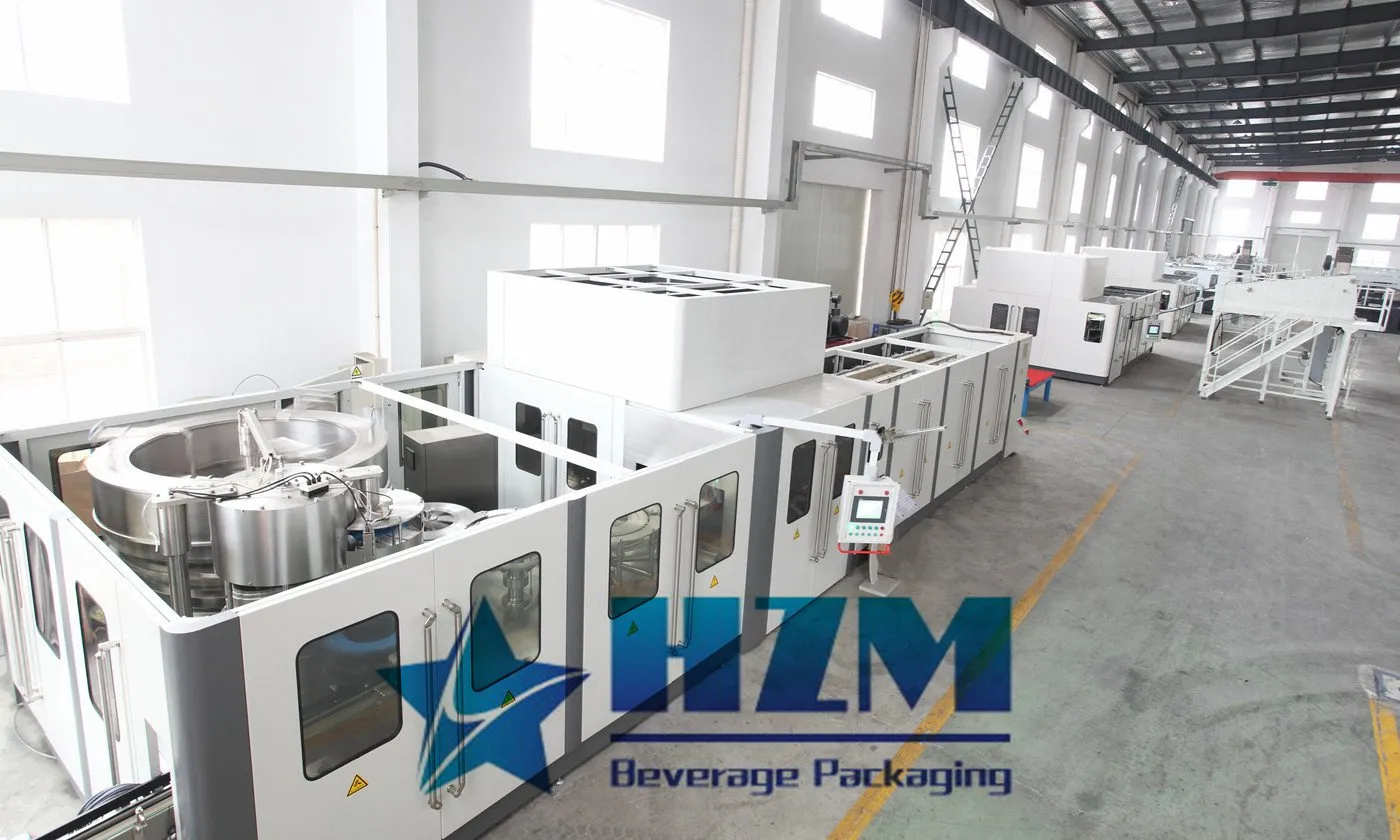
Blowing-Filling-Capping Machine
A PET combiblock that combines preform heating, bottle blowing, filling and capping at 12,000–48,000 bottles/hour at 500 ml.
Learn more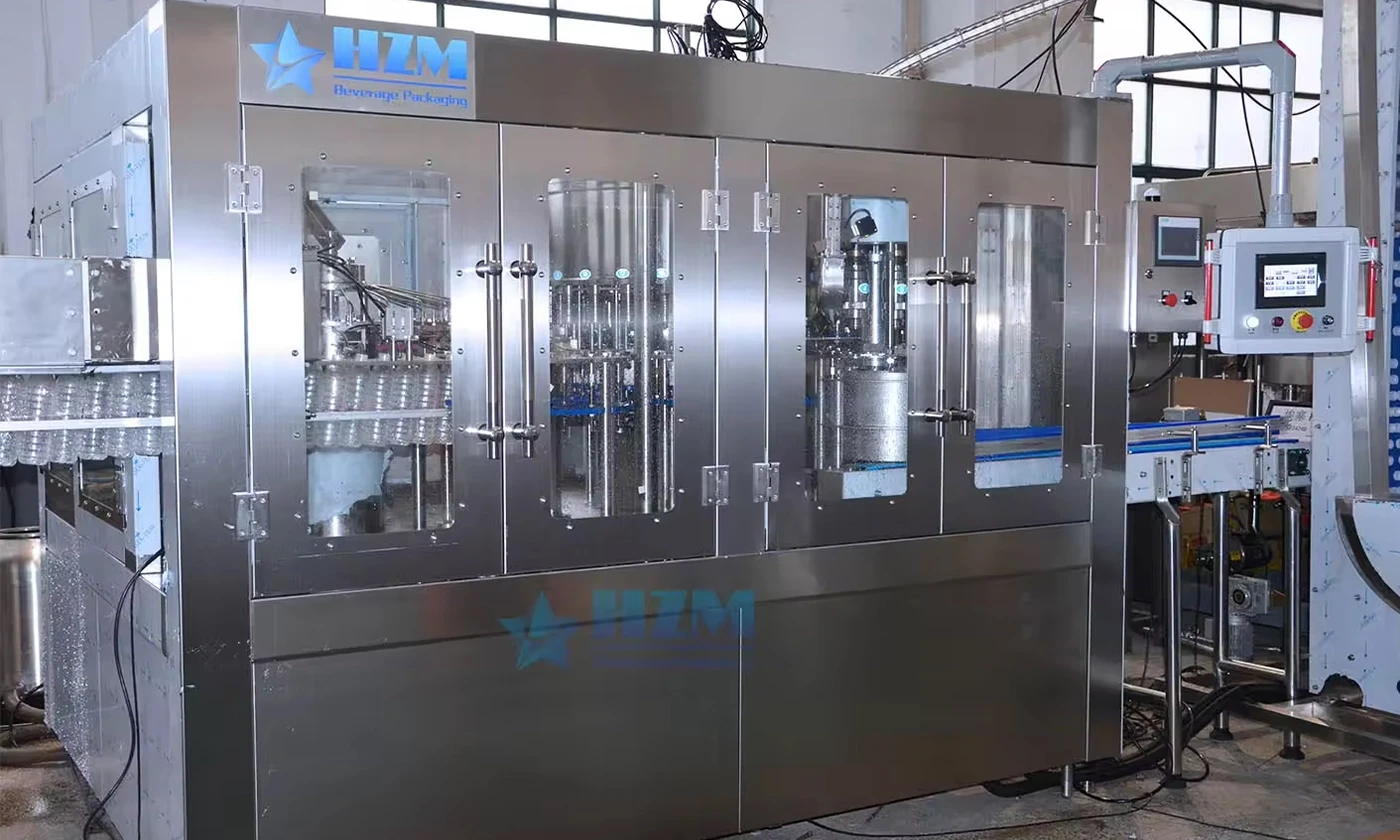
Bottle Washing-Filling-Capping Machine
Large-bottle water rinsing, filling and capping with design outputs of 1,500 bottles/hour at 5 L, 1,000 at 7 L and 700 at 10 L.
Learn more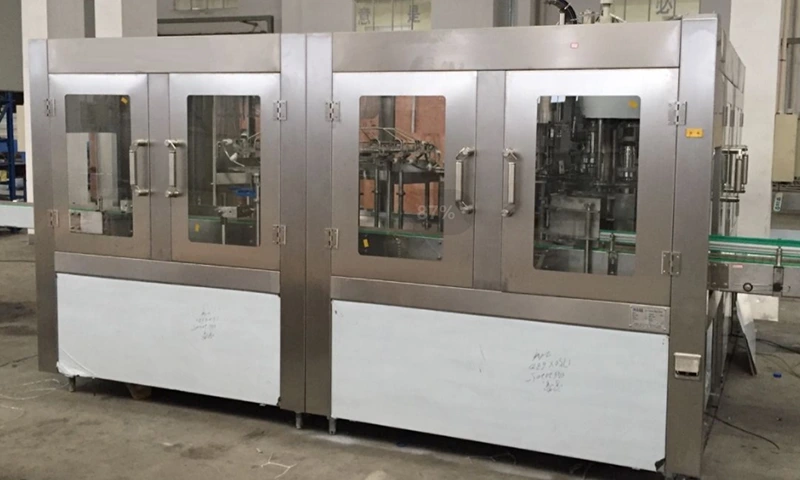
10L Water Filling Machine 1200BPH – Automatic Washing Filling Capping Machine
RSXGF12-12-5(110Π) automatic rinsing, filling and capping for 10 L water bottles at 1,100–1,200 bottles/hour.
Learn more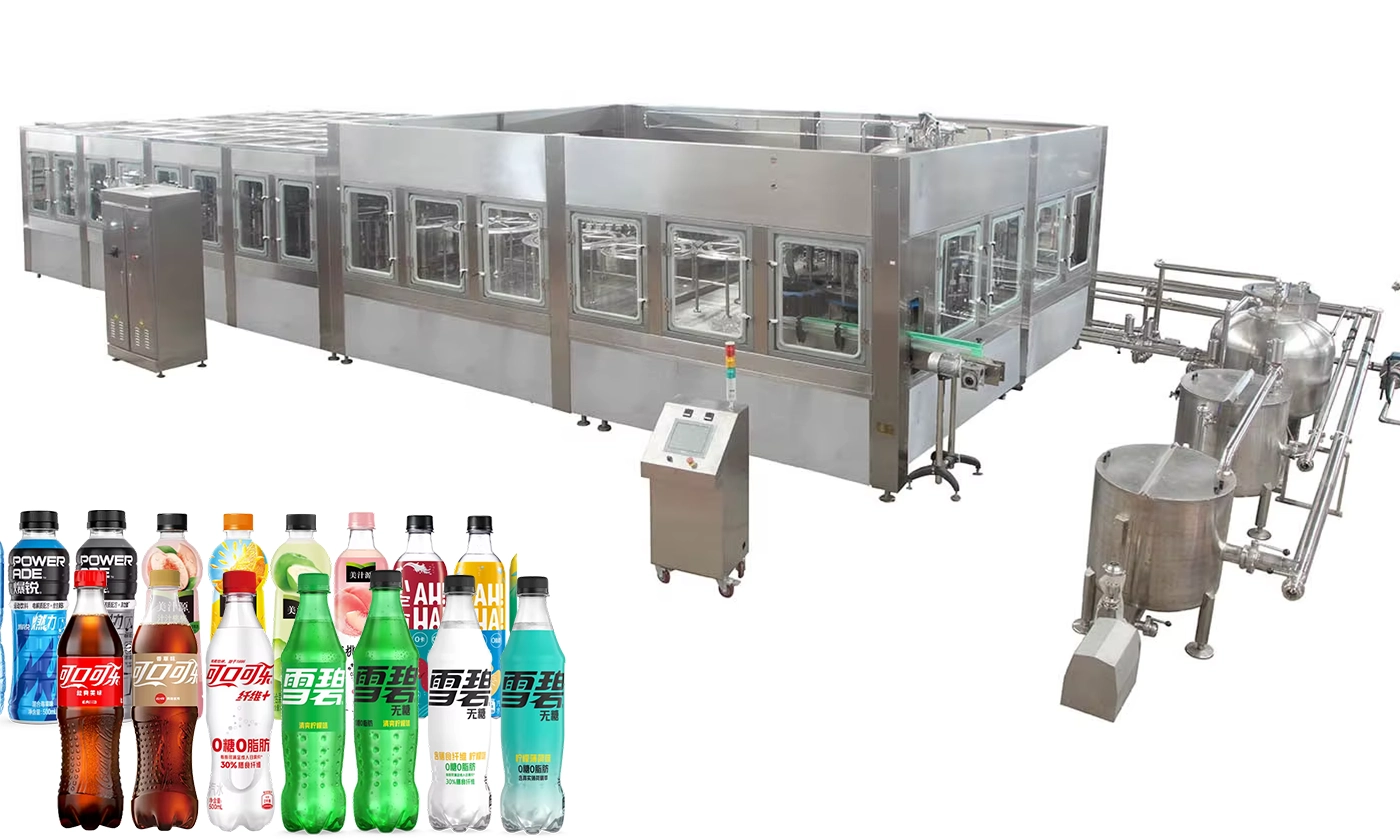
Rinsing, Filling And Capping Monoblock Machines
HZM monoblock machines combine bottle rinsing, filling and capping in a continuous operation.
Learn more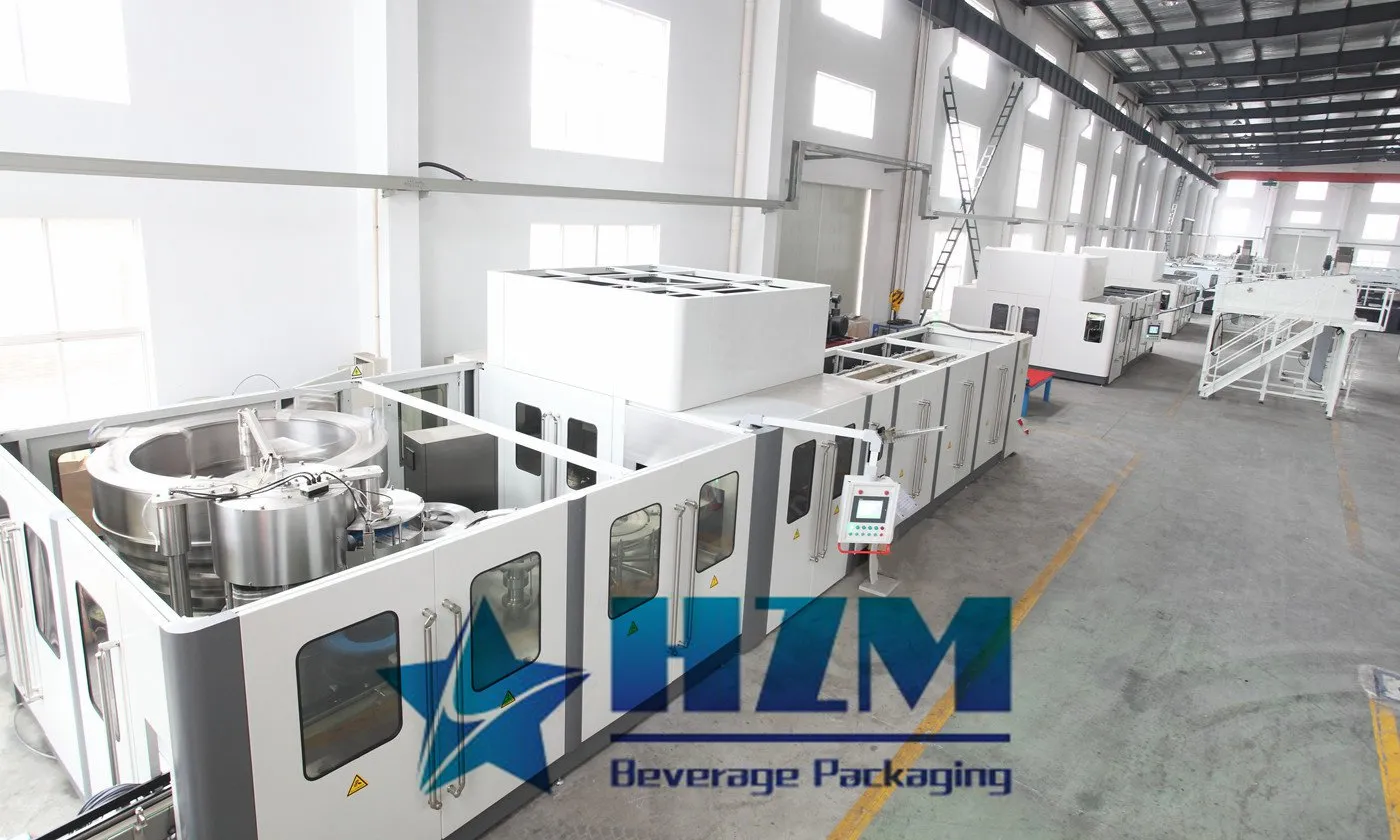
Blowing Filling Capping Combiblock for Water and Beverage Packaging
PET bottle blowing, filling and capping in one combiblock for water and beverage production, from 12,000 to 48,000 bottles/hour at 500 ml.
Learn more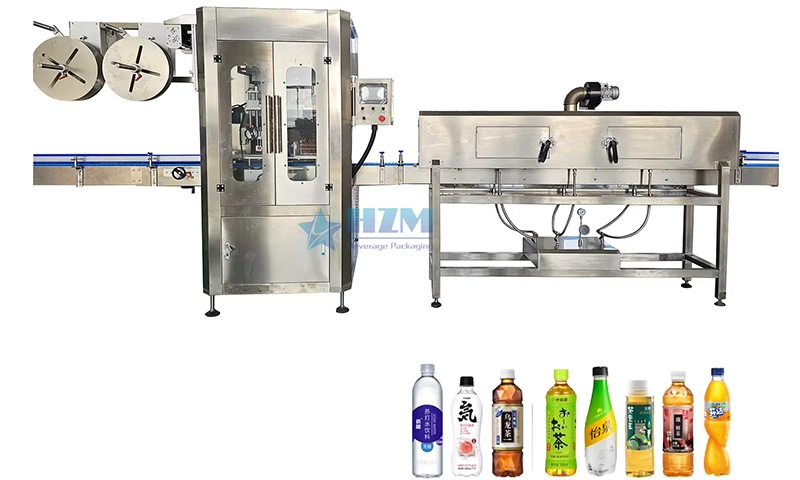
Automatic Shrink Sleeve Bottles Labeling Capping Packing Machine
Automatic shrink sleeve application for beverage bottles, with SHB capacities of 9,000–27,000 bottles/hour.
Learn more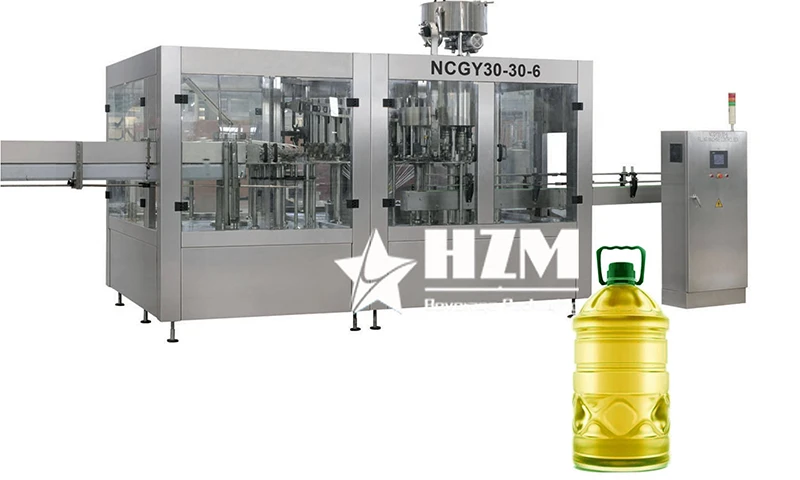
2-in-1 Monoblock Edible Cooking Oil Filling and Capping Machine
The 2-in-1 monoblock fills and caps bottles of edible cooking oil in a continuous operation.
Learn more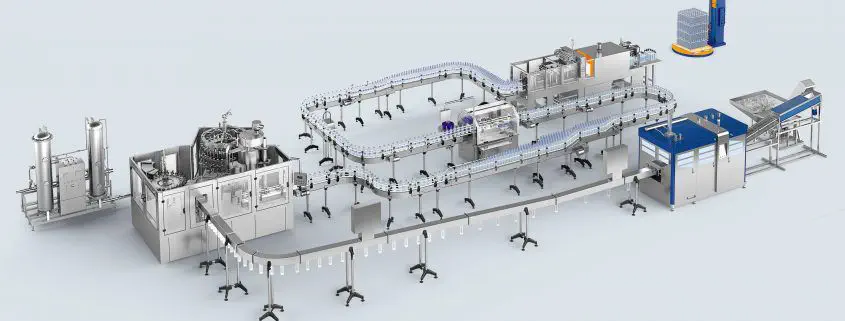
What to Check During a Filler Factory Inspection
Factory inspection should verify the machine ordered, the parts supplied and the agreed operating tests.
Learn more500ml PET bottle Dry Aseptic Filling Capping Machine
High quality 500ml PET bottle Dry Aseptic Filling Capping Machine from China, China's leading 500ml Dry Aseptic Filling Capping Machine product, with strict quality control 350ml Dry Aseptic Filling Capping Machine factories, producing high quality 54000bph Filling Capping Machine products.
Learn more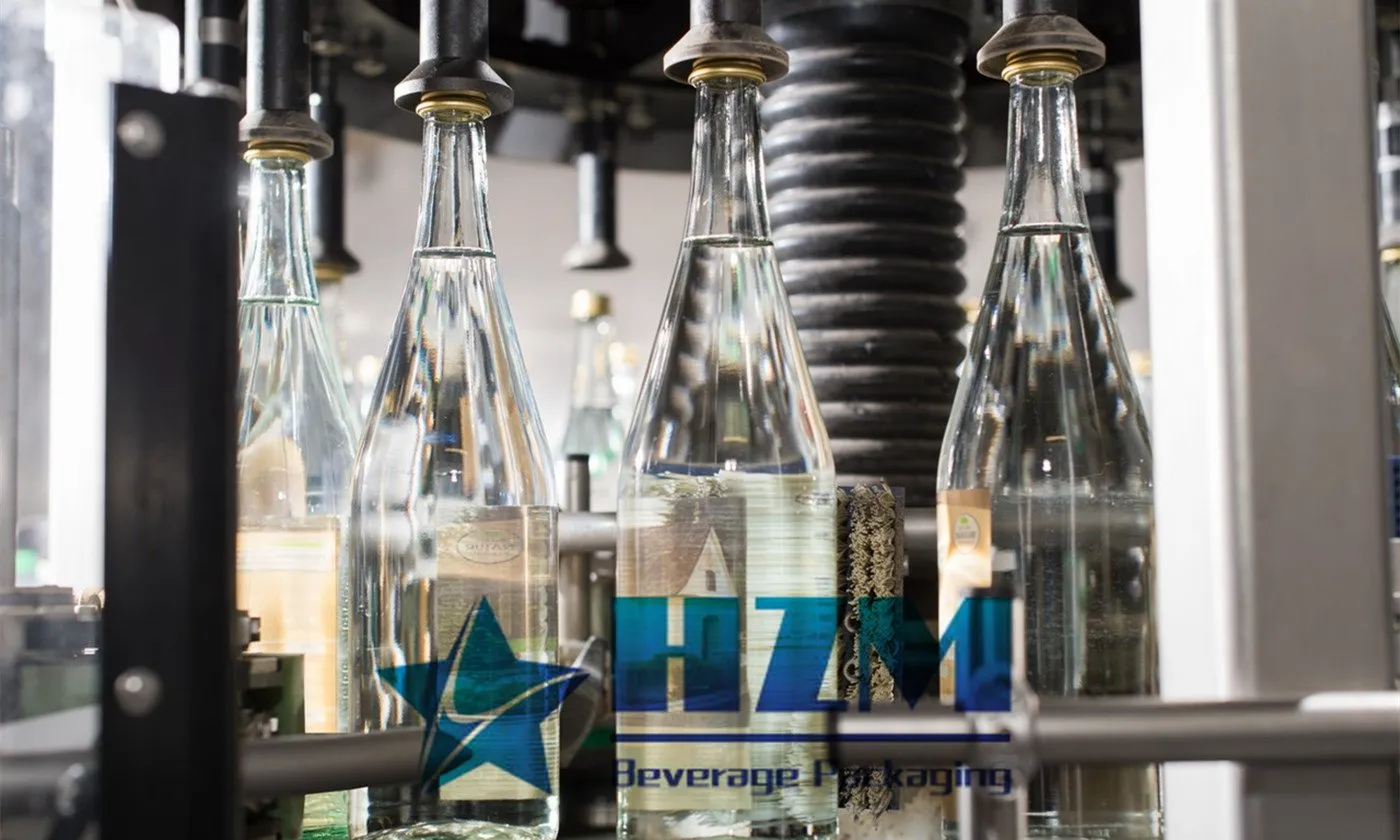
Working Principle of the Automatic Cap Sorting and Capping Machine
While the working principles of automatic capping machines may vary depending on the manufacturer, model, and application, they are generally designed to efficiently and accurately seal caps onto containers, meeting production needs and ensuring product quality.
Learn more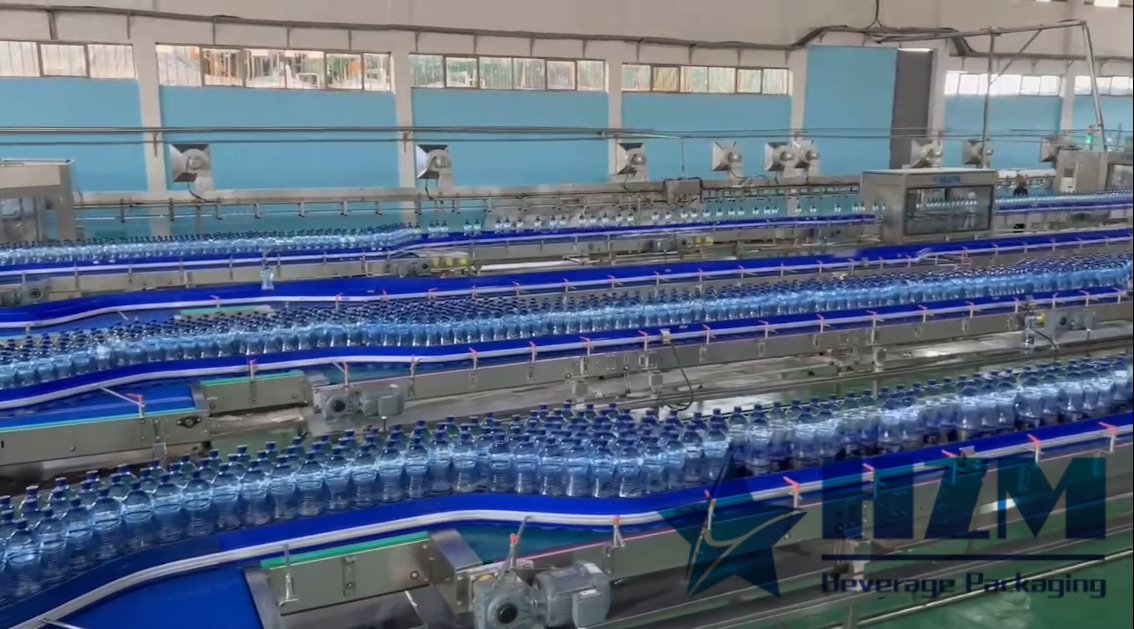
Cap Feeding and Application on Water Bottles
Check cap presentation before changing the capper. Damaged, inverted or inconsistent caps can create faults that resemble an application-head problem.
Learn more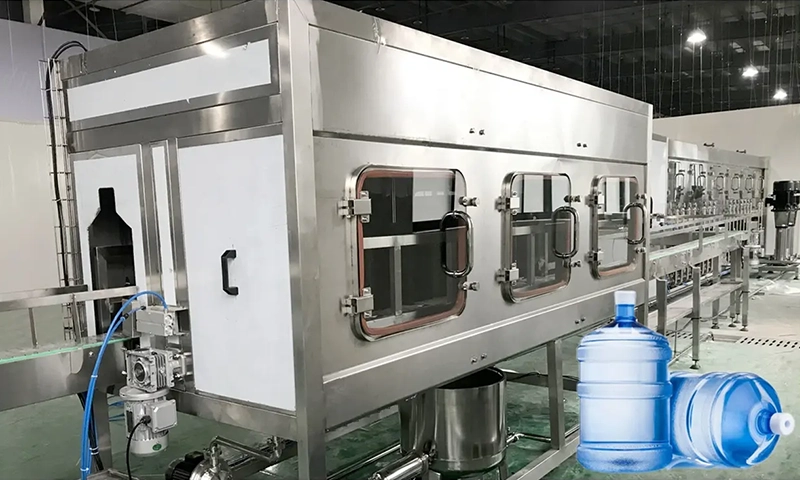
Why Do 5-Gallon Bottles Leak After Capping?
Separate closure damage from neck damage and capping-machine setup.
Learn more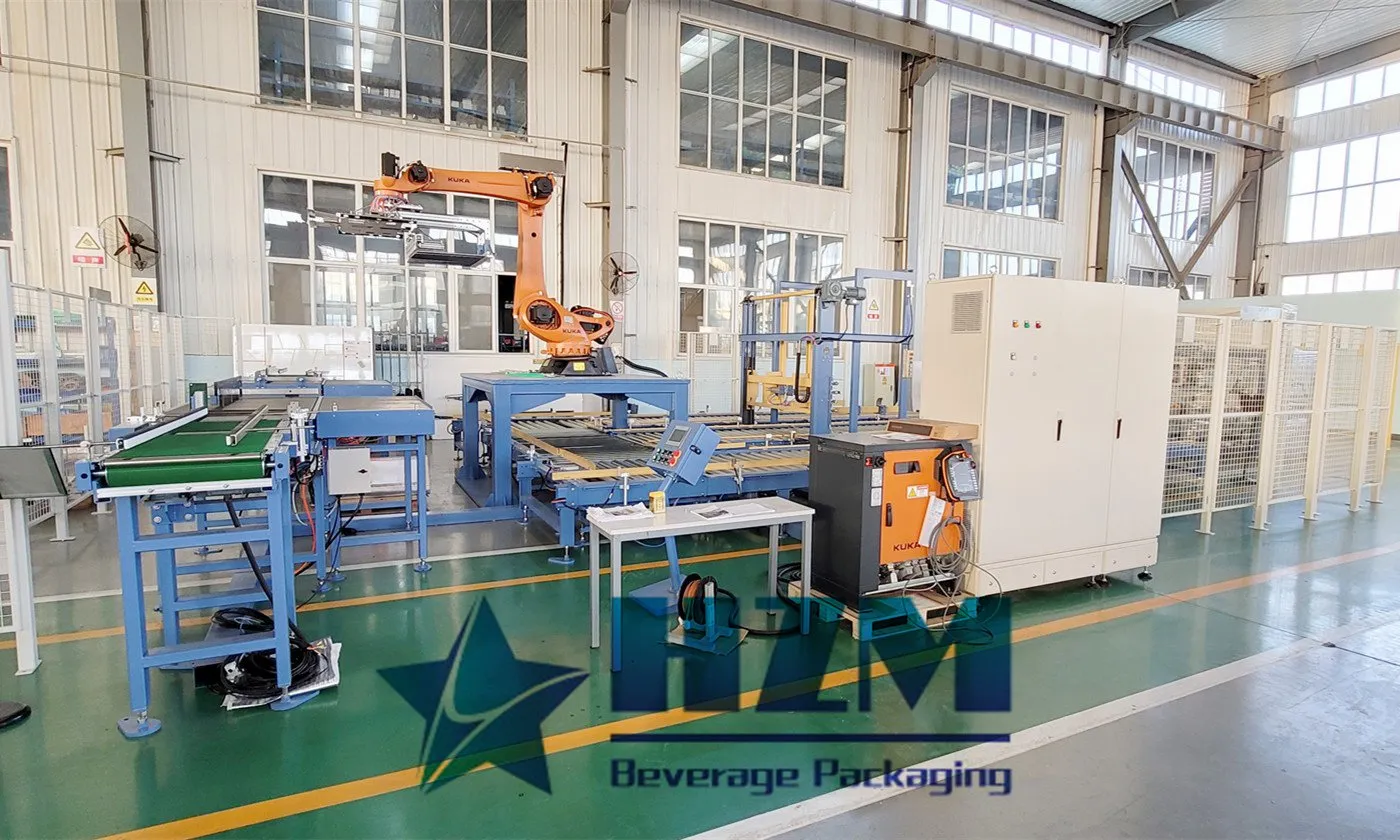
Pallet Loads Lean or Collapse: Palletizer Troubleshooting
Check the load from the bottom up: pallet condition, pack strength, layer pattern, centering, interlayer placement, compression, robot or pusher position and stretch wrapping. A perfect top layer cannot correct a weak base. Follow this practical fault-isolation, repair and prevention guide for bottling-line operators and maintenance teams.
Learn more