
Insights & Updates
PET Bottles Burst During Blowing or Pressure Test
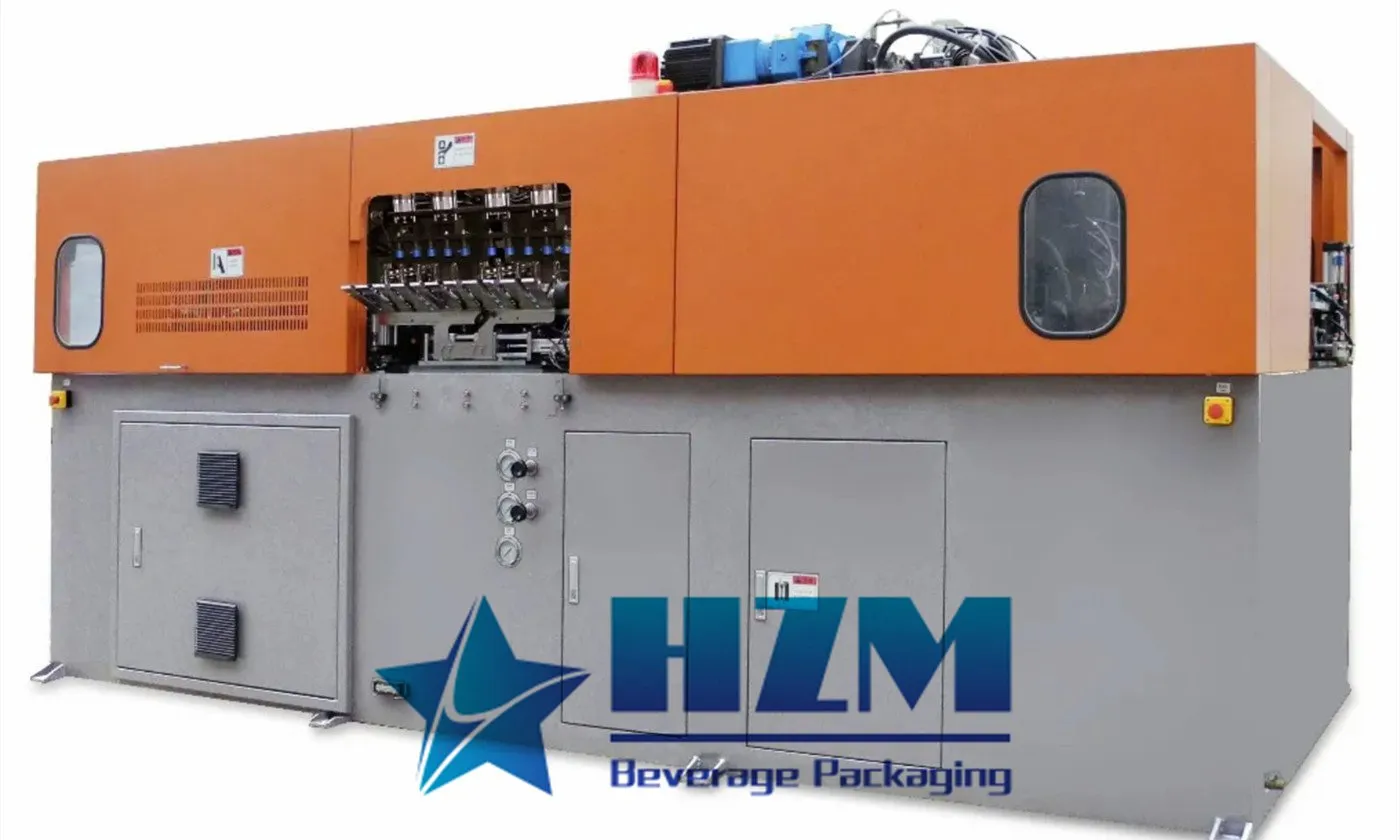
PET bottles bursting during blow moulding or pressure testing should be investigated before small losses become a repeat breakdown. Operators need a safe test sequence that protects product, preserves the original settings and proves the cause with measured data.
A PET bottle defect can originate in preform quality, heating, stretching, pre-blow, final blow, mould cooling or transfer. The location and symmetry of the defect usually reveal which process window moved. The sections below connect bottles rupture inside one mould cavity with measurements so maintenance work addresses the failure mechanism.
Quick answer: Stop and identify whether failure starts at a material-thin zone, a preform defect, a damaged mould surface, excessive pressure or incomplete cooling. Preserve cavity-coded fragments and pressure data.
What operators usually see
Start by describing the defect precisely. These observations reveal whether the event follows a component, a material lot, a speed change or the entire process: For this case, preserve evidence that shows whether bottles rupture inside one mould cavity.
- Bottles rupture inside one mould cavity
- Micro-holes appear before a full burst
- Failures cluster at the base gate or sidewall
- Burst rate increases with rPET or a new preform lot
Make the equipment safe and protect the product
Isolate high-pressure air, electrical power, heating circuits and motion energy before entering the guarded area. Treat hot oven components and pressurized blowing circuits as stored-energy hazards.
Keep samples by cavity and timestamp. Record preform lot, resin or rPET content, oven profile, pre-blow timing and pressure, final pressure, stretch-rod position, mould temperature and cooling-water conditions. Explicitly record whether bottles rupture inside one mould cavity.
Most likely causes, in practical checking order
1. Thin or poorly distributed material
A weak zone cannot withstand final blow or package pressure To test this explanation without guessing, isolate high-pressure air and collect fragments using the approved safety procedure Record the result before moving to the next cause.
2. Preform contamination or damage
Moisture, inclusions, scratches and gate defects create crack initiators A practical confirmation step is to map every failure to cavity, preform lot and rupture location. Compare the finding with a known-good run.
3. Excess or unstable final-blow pressure
Control or valve faults expose the bottle to unintended pressure Do not compensate for this condition in the recipe. First, inspect preforms for gate, wall and contamination defects Keep the original setting and measured result in the fault record.
4. Mould or transfer damage
Burrs, trapped debris and impacts puncture or score hot PET Separate this cause from the others with one controlled check: review pre-blow and final-blow pressure curves and sensor calibration Use the same product, format and speed for the comparison.
Step-by-step diagnostic procedure
Begin with process conditions and external evidence, then move toward invasive inspection. Make only one controlled change between comparison runs.
- Isolate high-pressure air and collect fragments using the approved safety procedure
- Map every failure to cavity, preform lot and rupture location
- Inspect preforms for gate, wall and contamination defects
- Review pre-blow and final-blow pressure curves and sensor calibration
- Measure material distribution on surviving bottles
- Inspect mould surfaces, vents and transfers for sharp damage
Corrective actions that address the root cause
Choose the least invasive correction that restores the approved condition, then verify its effect before changing anything else.
- Correct heating and stretch distribution at the weak region
- Contain defective preforms and address storage or supplier cause
- Repair pressure regulation, valves or sensors and restore limits
- Clean, polish or repair mould and handling damage through qualified service
How to verify the repair before full-speed production
Keep product made during testing on hold. At low, normal and target speed, apply this first criterion: Confirm that pet bottles bursting during blow moulding or pressure testing is absent for multiple consecutive cycles, not only for one sample. Review the alarm history and keep diagnostic product segregated until the site’s quality procedure releases it.
- Confirm that pet bottles bursting during blow moulding or pressure testing is absent for multiple consecutive cycles, not only for one sample.
- Compare the repaired result for “Bottles rupture inside one mould cavity” with the approved quality limit and the last known-good baseline.
- Check adjacent stations and downstream package quality for side effects associated with thin or poorly distributed material.
- For “PET Bottles Burst During Blowing or Pressure Test”, record the final settings, measurements, parts used and restart authorization.
Prevent the problem from returning
Turn the confirmed cause into a centerline, inspection or trend so the team can detect drift before the same shutdown returns.
- Use automatic pressure-curve or micro-hole monitoring where available
- Trend burst tests by cavity
- Protect preforms from moisture, dust and scratching
- Inspect moulds after fragments or jams
- Verify safety relief and pressure sensors
When to stop troubleshooting and call a specialist
Stop and contact the machine or component supplier when pet bottles bursting during blow moulding or pressure testing cannot be isolated with non-invasive checks, when it returns after an approved repair, or when calibration requires protected service tools. Escalate immediately for a damaged pressure boundary, uncontrolled motion, food-safety risk, exposed conductor or repeated protective trip. Send the service engineer the fault history, photos, samples, trend data, recipe revision and work already completed.
Relevant equipment for this application
The site example most closely related to pET bottles bursting during blow moulding or pressure testing is the Full Electric Servo Type Blow Molding Machine. Equipment selection should be checked against samples, quality limits, required sustained output and available utilities.
Frequently asked questions
What should be checked first when pET bottles bursting during blow moulding or pressure testing?
Stop and identify whether failure starts at a material-thin zone, a preform defect, a damaged mould surface, excessive pressure or incomplete cooling. Preserve cavity-coded fragments and pressure data. Preserve the original settings and take representative samples before repair work begins.
How can we distinguish thin or poorly distributed material from preform contamination or damage?
A weak zone cannot withstand final blow or package pressure In contrast, moisture, inclusions, scratches and gate defects create crack initiators Compare the two mechanisms under the same operating condition by completing these checks: isolate high-pressure air and collect fragments using the approved safety procedure Then map every failure to cavity, preform lot and rupture location
Can production continue while pET bottles bursting during blow moulding or pressure testing?
Only when the plant’s documented risk assessment and quality procedure allow it. For pET bottles bursting during blow moulding or pressure testing, stop and segregate production when package integrity, sanitation, validated processing, pressure safety, electrical protection or an uncontrolled reject trend is involved.
What evidence will help the equipment supplier respond faster?
Provide the model and serial number, product and format, target speed, first fault, timestamps, photos or video, affected station pattern and maintenance history. For this issue, also include bottles rupture inside one mould cavity and the measured result from this check: inspect mould surfaces, vents and transfers for sharp damage
Talk to our engineering team
Need help planning your packaging line?
Share your product, bottle and capacity requirements for a practical equipment recommendation.
Equipment
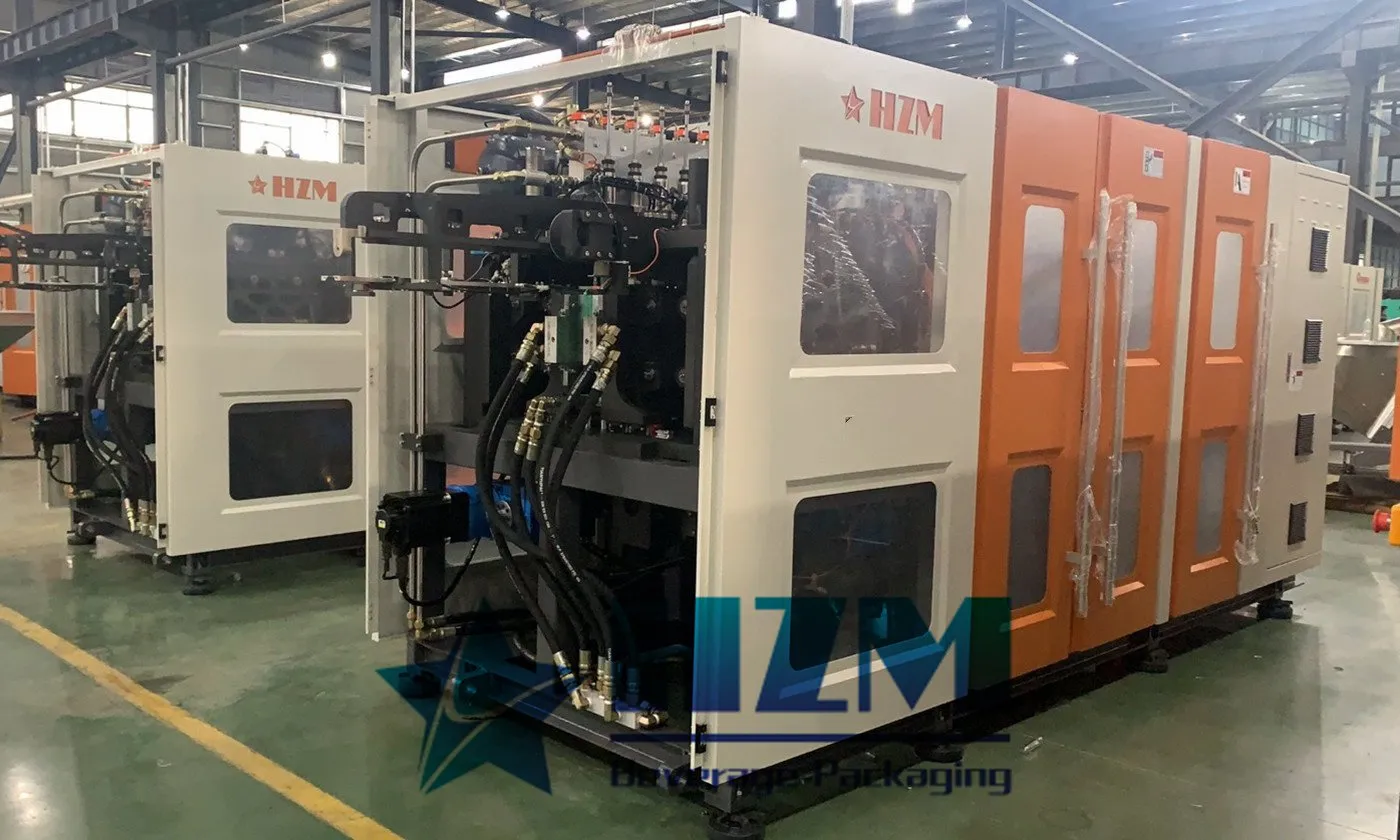
Automatic Blow Molding Machine
Automatic PET bottle blowing for water and beverage packaging, with capacities of 12,000–24,000 bottles/hour at 500 ml.
Learn more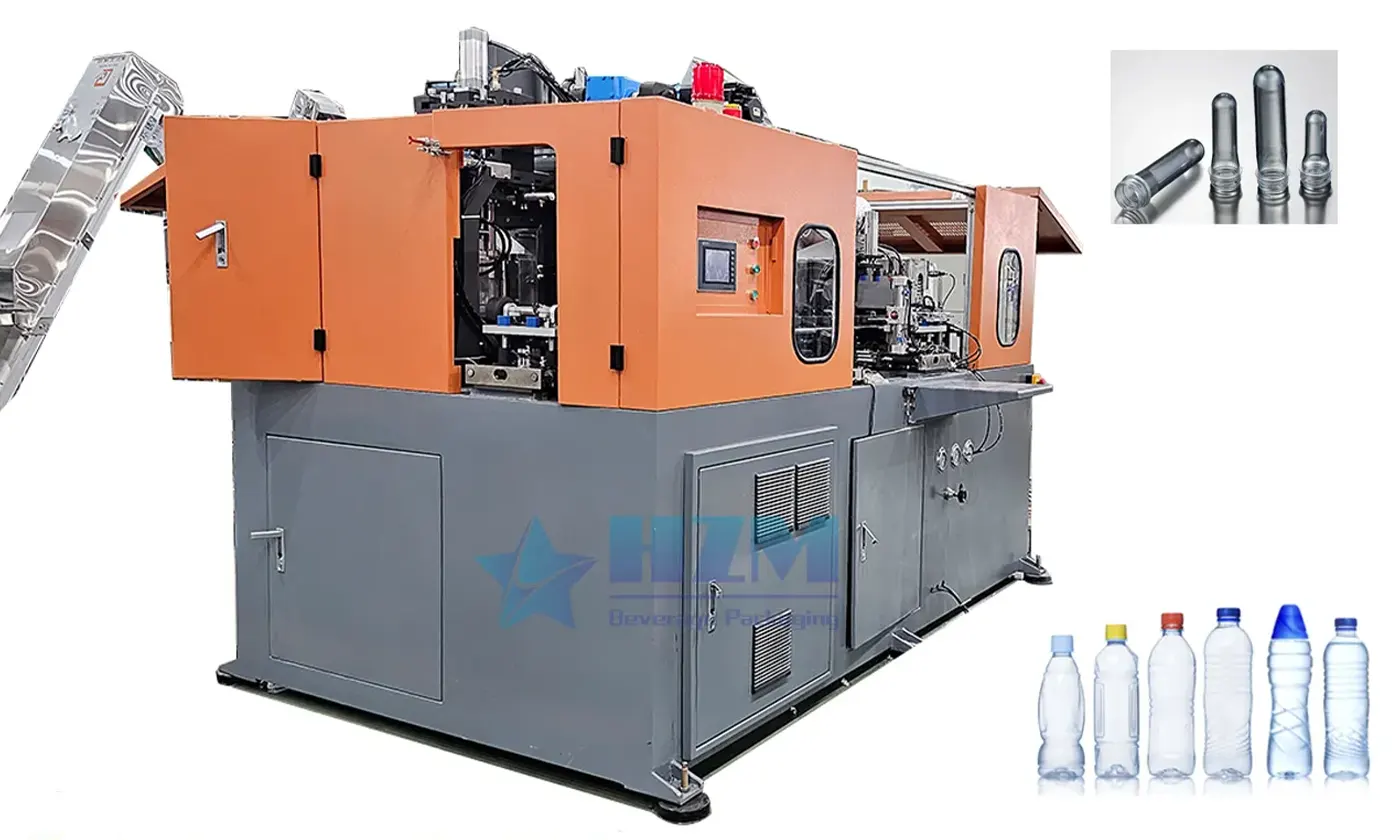
Equipment
PET Bottle Blow Molding Machine
PET bottle blow moulding with 6–12 cavities and capacities of 12,000–21,600 bottles/hour at 500 ml.
Learn more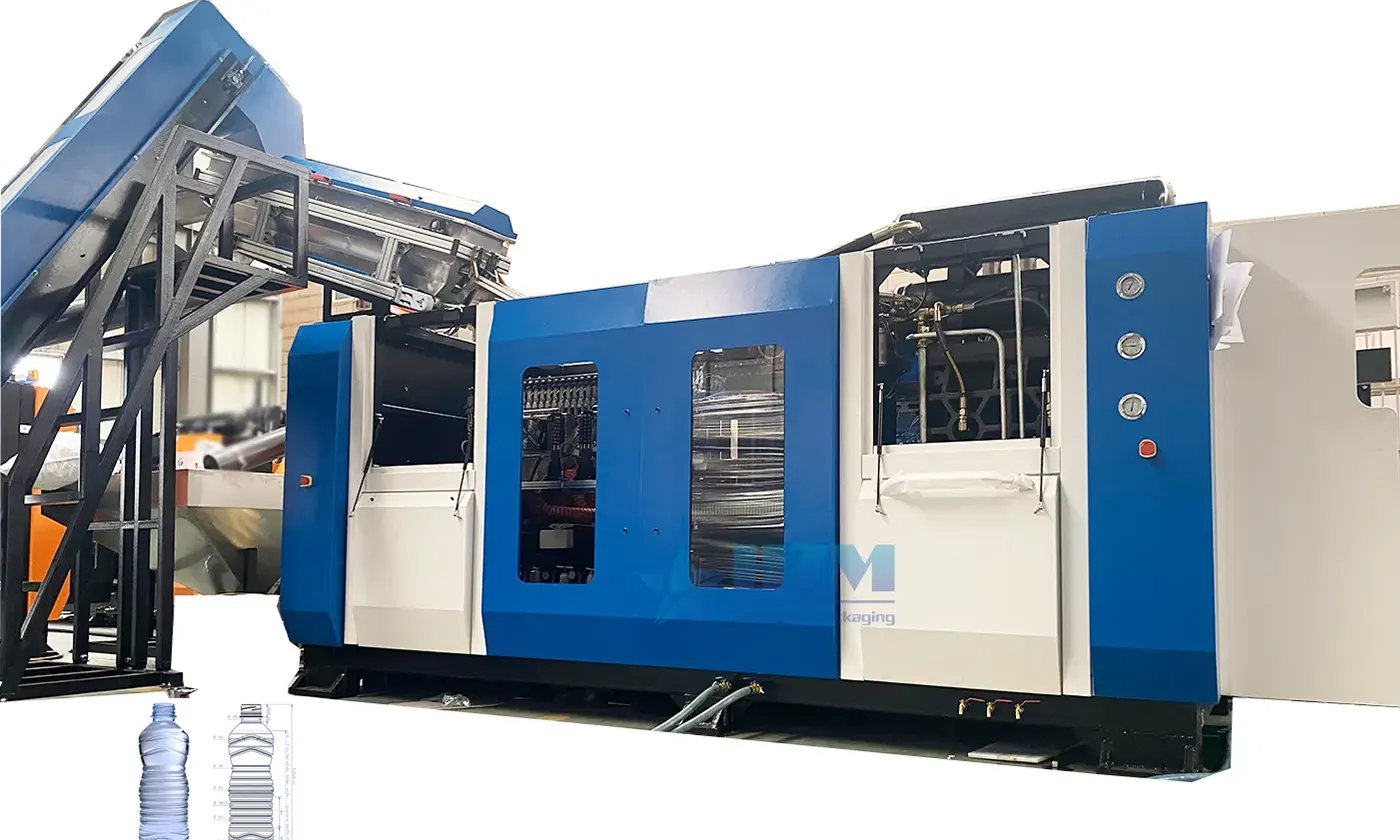
Equipment
Automatic Water Bottle Blowing Molding Machine
Automatic water bottle blowing from PET preforms, with 6–12 cavities and capacities up to 21,600 bottles/hour at 500 ml.
Learn more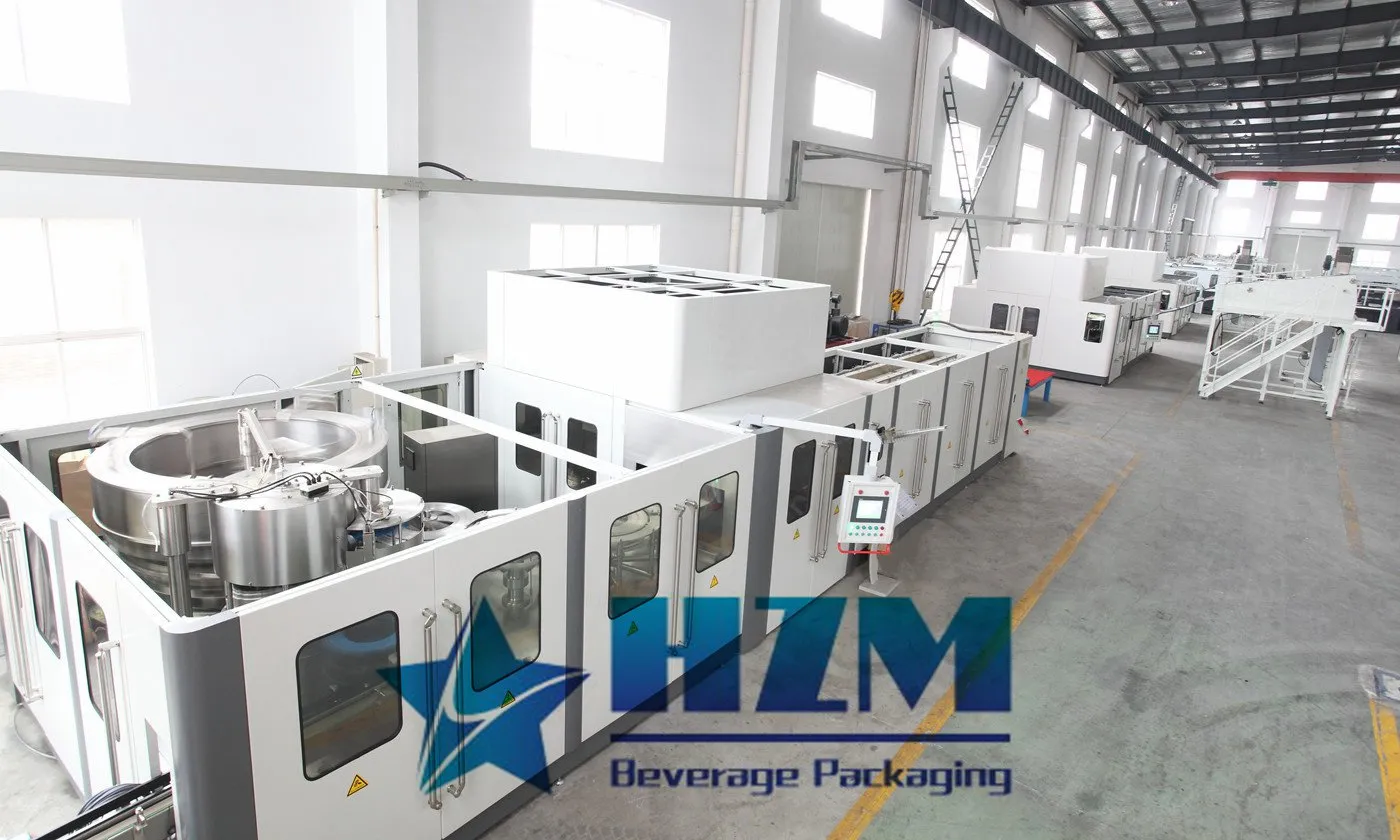
Equipment
Blowing-Filling-Capping Machine
A PET combiblock that combines preform heating, bottle blowing, filling and capping at 12,000–48,000 bottles/hour at 500 ml.
Learn more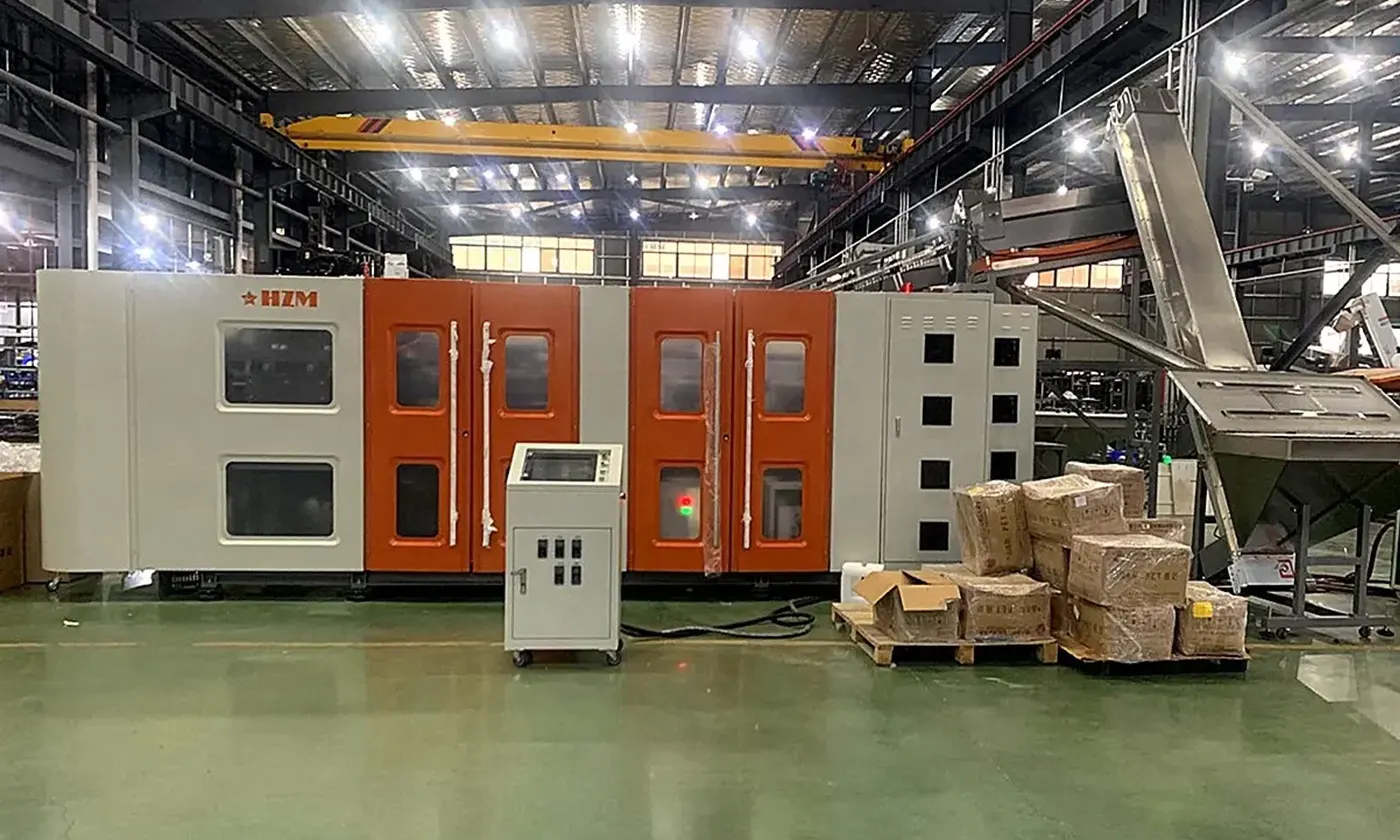
Equipment
Automatic PET Stretch Blow Molding Machine
Automatic PET stretch blow moulding with 2, 4 or 6 cavities and HZM-ECO model capacities of 1,800–7,000 bottles/hour.
Learn moreEquipment
Full Electric Servo Type Blow Molding Machine
Full-electric servo PET blow moulding with 4, 6, 9 or 10 cavities and capacities of 5,400–13,000 bottles/hour at 500 ml.
Learn more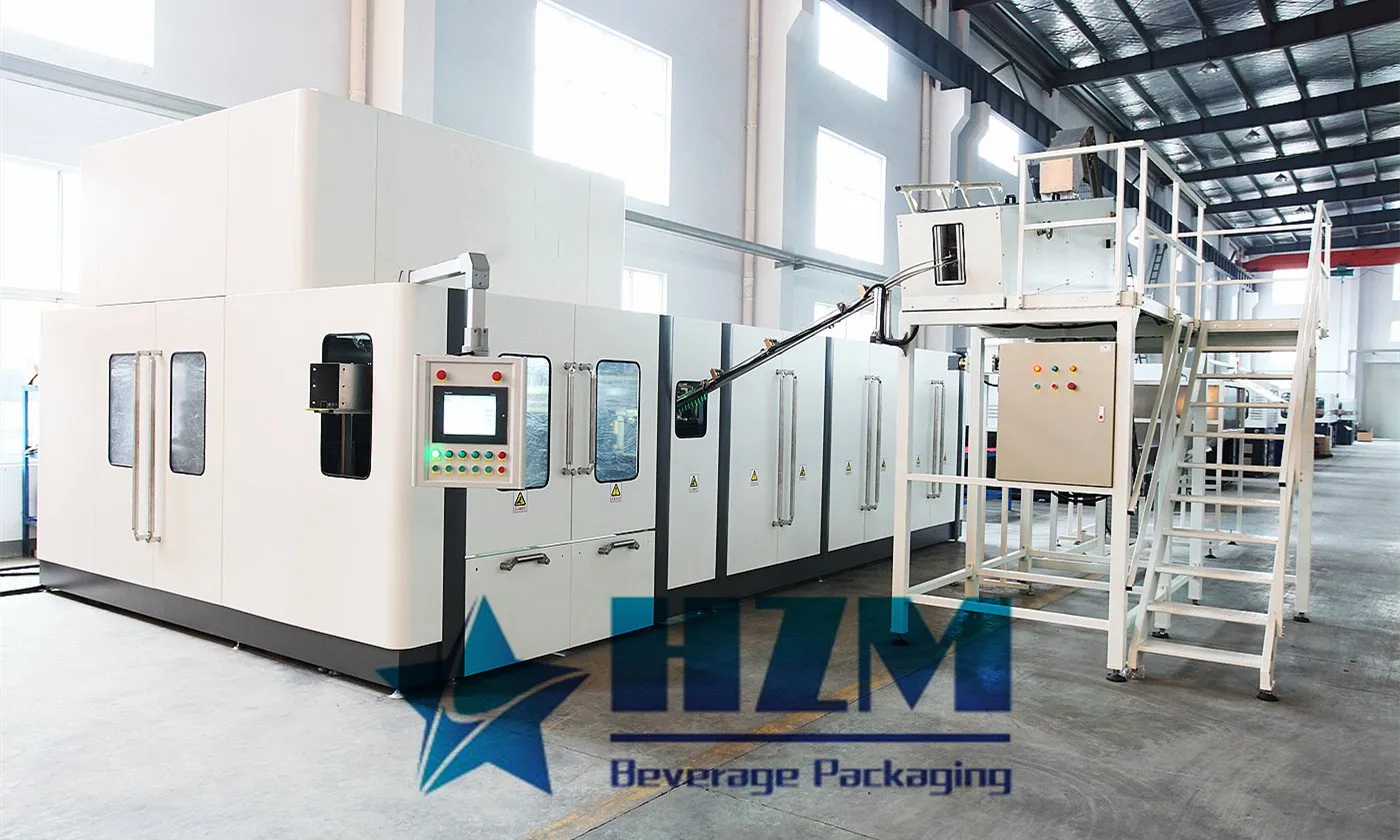
Equipment
Automatic Rotary Blow Molding Machine
Rotary PET bottle blow moulding for water and beverage packaging, with 6–24 cavities and capacities up to 48,000 bottles/hour at 500 ml.
Learn more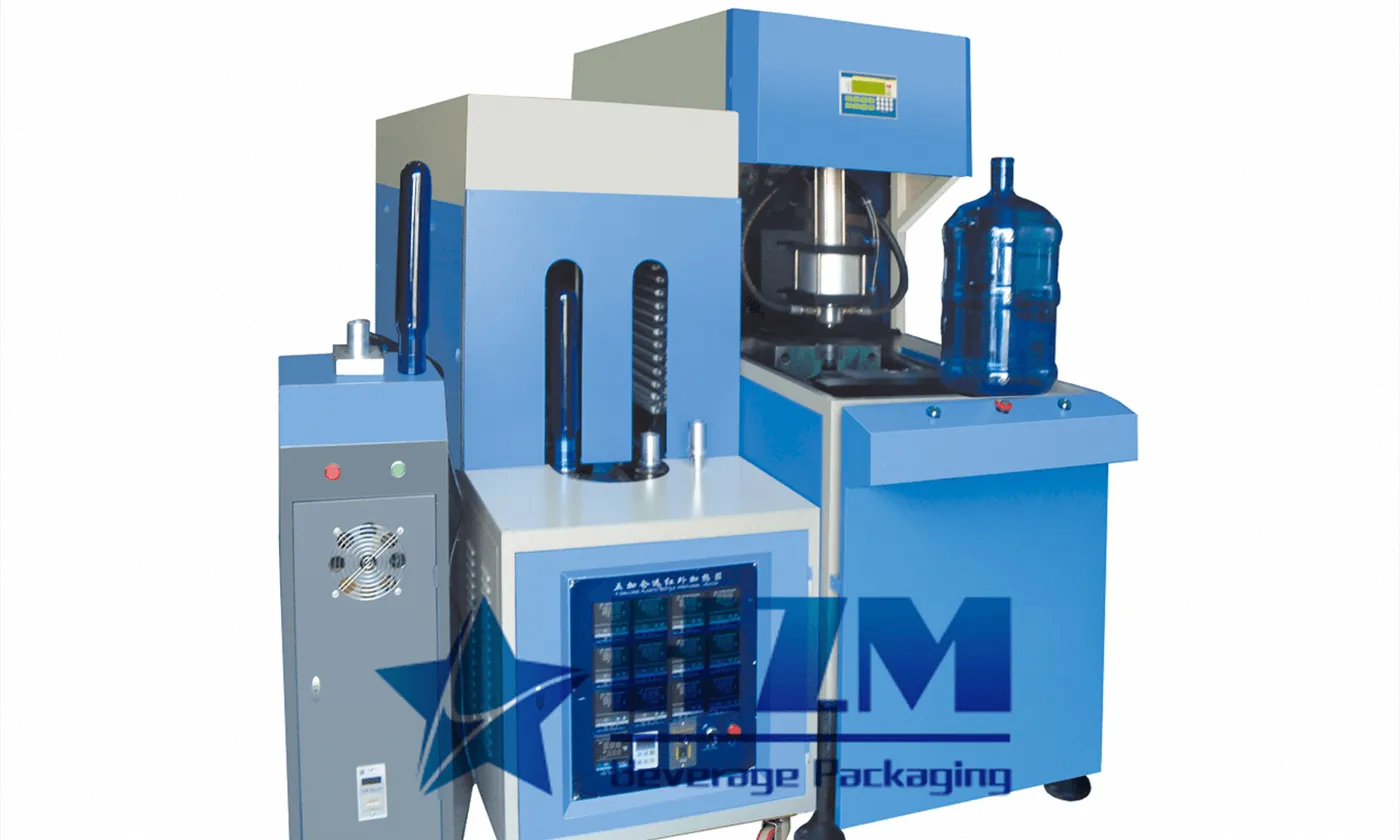
Equipment
5 Gallon Bottle Blow Molding Machine
This blow moulding machine produces large PET water bottles, including 5-gallon containers.
Learn more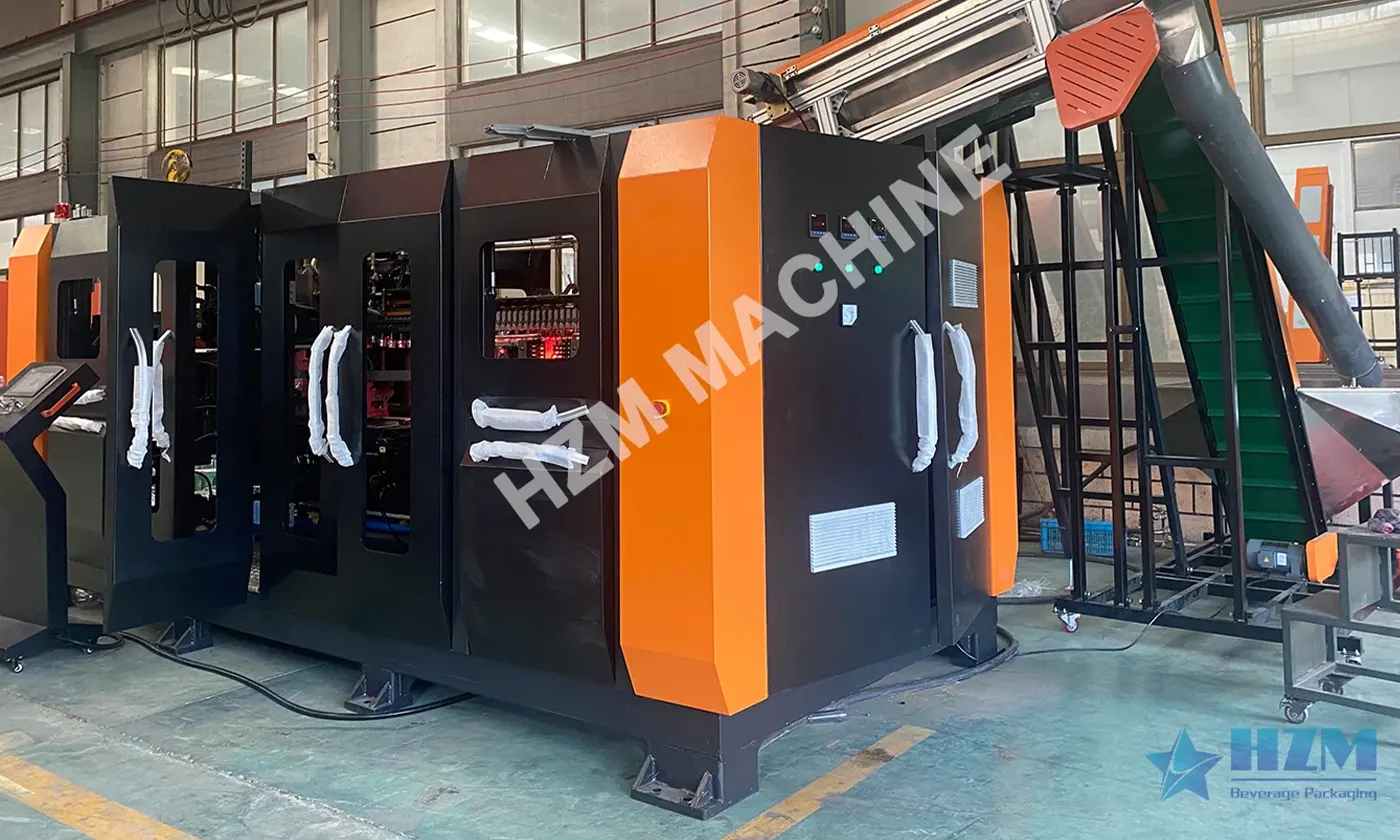
Equipment
Plastic Bottle Blowing Machine, making machine
PET bottle making for drinking water, beverages and liquid packaging, with automatic preform heating and stretch blowing.
Learn more2023-06-07
How Much Does a Blow Molding Machine Cost?
we will explore the various factors that influence the cost of a blow molding machine and provide insights into the pricing range.
Learn more2023-06-08
how does a blow molding machine work
How Does a Blow Molding Machine Work? Exploring the Process with HZM Blow Molding Machine Manufacturer
Learn more2023-06-09
Solutions for Blow Molding Plastic Bottles
This article will discuss the price, HZM manufacturer, functions, applicable industries, solutions, procurement considerations, and maintenance techniques related to blow molding machines.
Learn more2024-01-20
Automatic PET Bottle Blowing Machine Price?
HZM Machinery, as a professional manufacturer of automatic bottle blowing machines, is dedicated to providing high-quality and efficient equipment, offering customers an ideal solution with 2 years of warranty and global sales.
Learn more2023-06-09
High Efficiency 28000 BPH Automatic Pet Blow Molding Machine
High quality High Efficiency 28000 BPH Automatic Pet Blow Molding Machine from China, China's leading 28000 BPH Automatic Pet Blow Molding Machine product, with strict quality control 28000 BPH Auto Pet Blow Molding Machine factories, producing high quality 800 BPH Blow Molding Machine products.
Learn more2024-01-09
What Is A Bottle Blowing Machine
A Bottle Blowing Machine is a device used for blowing plastic bottles for liquid packaging.It is used to blow plastic bottles of different capacities and designs with less than a 0.1% of rejection rate.
Learn more