
Insights & Updates
How a 3-in-1 Isobaric Filling Machine Works: Rinsing, Filling and Capping
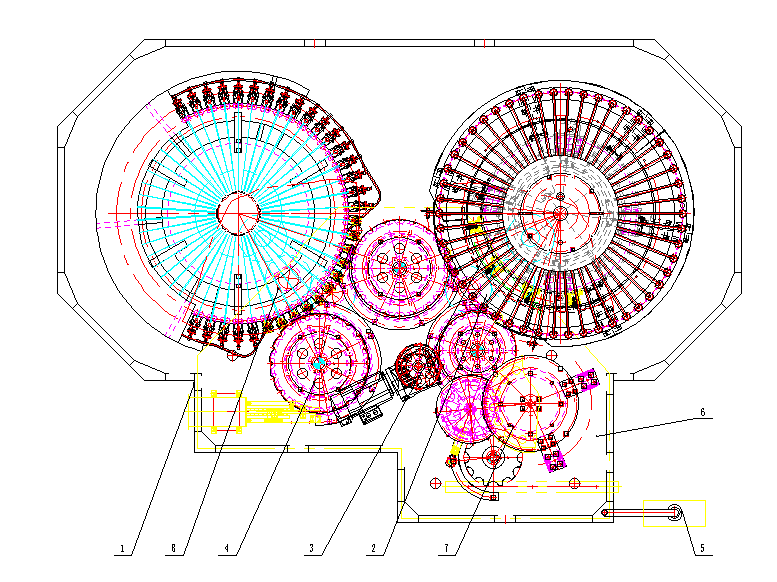
A 3-in-1 isobaric filling machine combines bottle rinsing, counter-pressure filling and capping on one synchronized base. It is commonly used for carbonated soft drinks, sparkling water and similar beverages in PET or glass bottles. The compact layout reduces bottle transfers, but stable operation depends on more than mechanical speed: product temperature, bowl pressure, venting and cap control must work together.
Why carbonated drinks need isobaric filling
Carbon dioxide stays dissolved more readily when the beverage is cold and the pressure above it is maintained. If a carbonated drink is exposed suddenly to atmospheric pressure, CO2 escapes and creates foam. Isobaric filling first equalizes the bottle pressure with the filler bowl, then transfers product with a small controlled pressure difference.
The process protects carbonation and reduces product loss, but it cannot correct warm product, unstable CO2 supply or bottles that do not seal against the valve.
Step 1: bottle infeed and spacing
Empty bottles arrive by air conveyor or slat conveyor, depending on the container. An infeed screw or star wheel separates them at the machine pitch. For neck-handled PET bottles, guides support the neck ring so that different bottle bodies can often be handled with fewer change parts.
Correct guide height and star-wheel timing are important. Bottles that enter at an angle can damage the neck, trip the rinser clamp or create a chain of stops through the monoblock.
Step 2: internal rinsing
The rinser grips each bottle by the neck, inverts it and directs treated water or another validated rinsing medium into the bottle. After a defined contact and drain time, the bottle returns upright and transfers to the filler.
Rinse pressure should clean effectively without excessive splash. Nozzle alignment, water quality and drainage need routine inspection. A rinsing step does not replace proper storage and hygienic handling of empty bottles.
Step 3: sealing and pressure equalization
The bottle is raised or the valve assembly moves into position until the bottle mouth seals against the filling valve. CO2 or sterile gas enters the bottle and raises its internal pressure close to the pressure in the product bowl. A poor seal prevents equalization and usually causes foam when the liquid valve opens.
Step 4: counter-pressure filling
Once pressure is balanced, the product path opens. Beverage flows down the bottle wall to limit agitation while displaced gas returns to the bowl through a separate route. Filling may stop by a level tube, probe or controlled valve sequence, depending on the design.
At the end of filling, a settling period allows turbulence to decrease. Snifting then releases bottle pressure in a controlled way. Snifting too quickly is a common cause of foam and low fill levels.
Step 5: cap placement and tightening
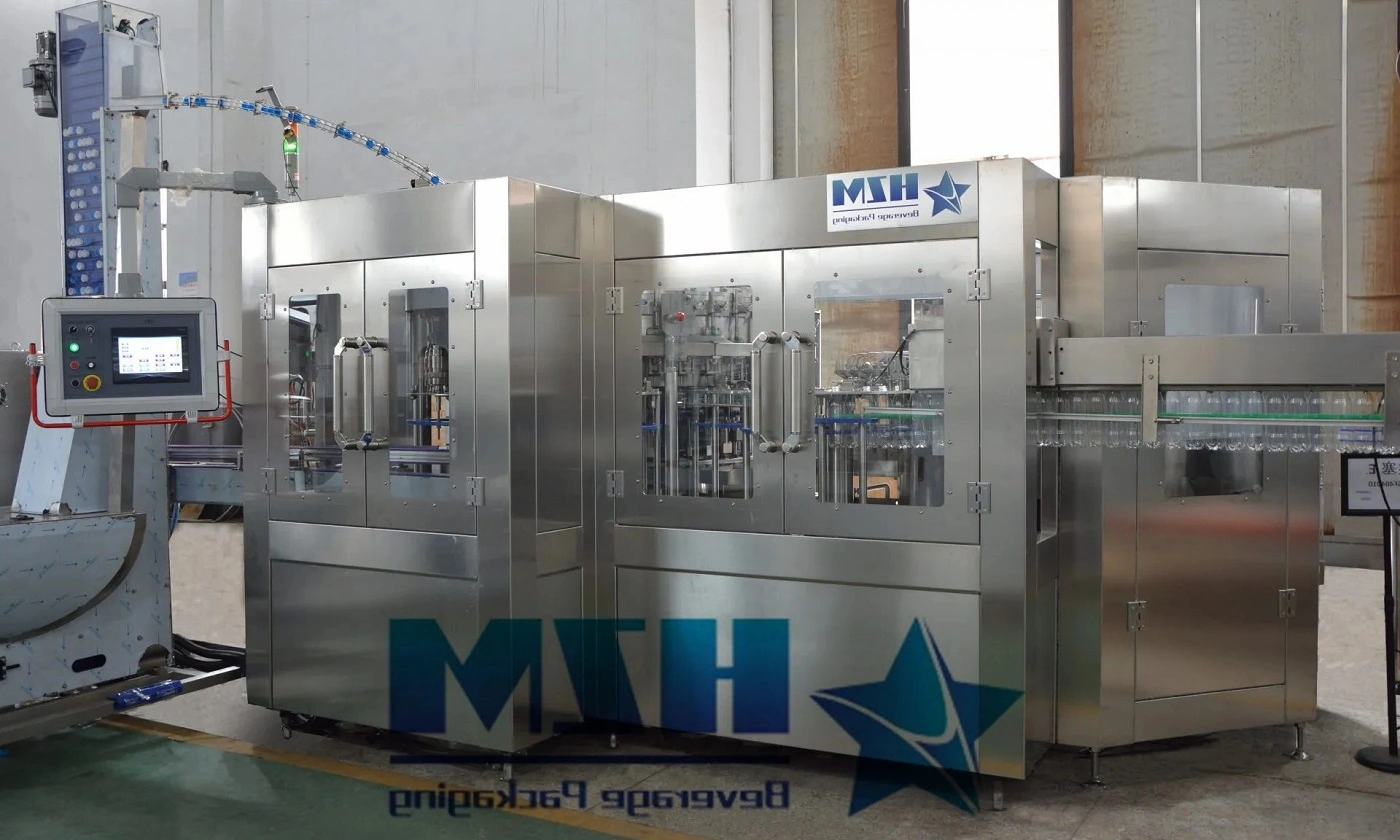
Filled bottles transfer immediately to the capper. A cap elevator and sorter orient closures and feed them through a chute. The capping head picks or receives the cap, places it squarely and applies the specified torque. The bottle is restrained at the neck to prevent unwanted rotation.
Cap quality, chute pressure, head height and wear all affect the result. A torque reading alone is not enough; inspect for crooked caps, damaged tamper bands, neck scuffing and leaks.
Critical operating parameters
| Parameter | Why it matters | What instability looks like |
|---|---|---|
| Product temperature | Controls CO2 solubility | Warm product foams and loses carbonation |
| Bowl pressure | Maintains the carbonated product | Pressure swings create uneven filling |
| Equalization time | Prepares the bottle for product flow | Short time causes violent flow and foam |
| Snift rate | Returns the filled bottle to atmospheric pressure | Fast release produces foam after filling |
| Valve seal condition | Prevents gas leakage | Individual valves give repeat low fills |
| Cap torque | Protects product and carbonation | Leaks, damaged threads or hard opening |
Troubleshooting common defects
Excessive foam
Check product temperature first, followed by bowl pressure, bottle sealing, equalization time and snifting. Product with excessive entrained air or inconsistent carbonation upstream can also cause the filler to appear unstable.
Low or uneven fill
Identify whether the defect follows one filling valve. Inspect its seal, vent path and level control. If all valves are affected, investigate product supply, pressure and line speed before adjusting individual valves.
Crooked caps or leakage
Inspect cap dimensions and condition, capper-head height, chuck wear, bottle-neck damage and transfer stability. Record torque by head so that a repeating mechanical problem can be isolated.
Cleaning and maintenance
Product-contact circuits should be included in a validated CIP program. Operators also need access to clean rinser clamps, external valve surfaces, cap chutes and splash areas. Follow the manufacturer’s schedule for lubrication, seal replacement, bearing inspection and capper-head maintenance.
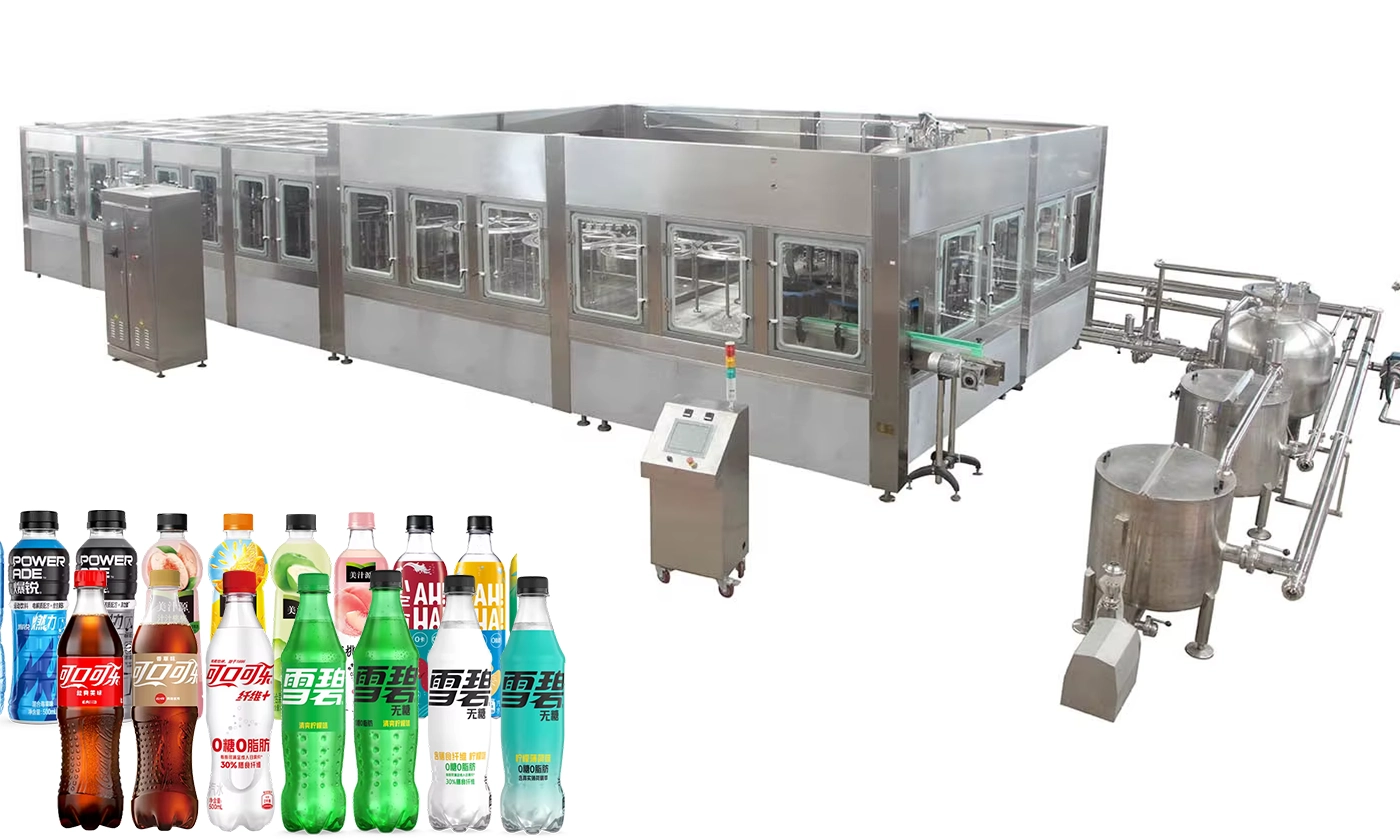
When comparing machines, ask for the cleaning boundaries, valve-service procedure, changeover parts and a sustained production test using the intended bottle, cap and beverage. HZM’s carbonated beverage filling line overview provides context for the mixer, monoblock and downstream packaging around this process.
Talk to our engineering team
Need help planning your packaging line?
Share your product, bottle and capacity requirements for a practical equipment recommendation.
Equipment
Rinsing, Filling And Capping Monoblock Machines
HZM monoblock machines combine bottle rinsing, filling and capping in a continuous operation.
Learn more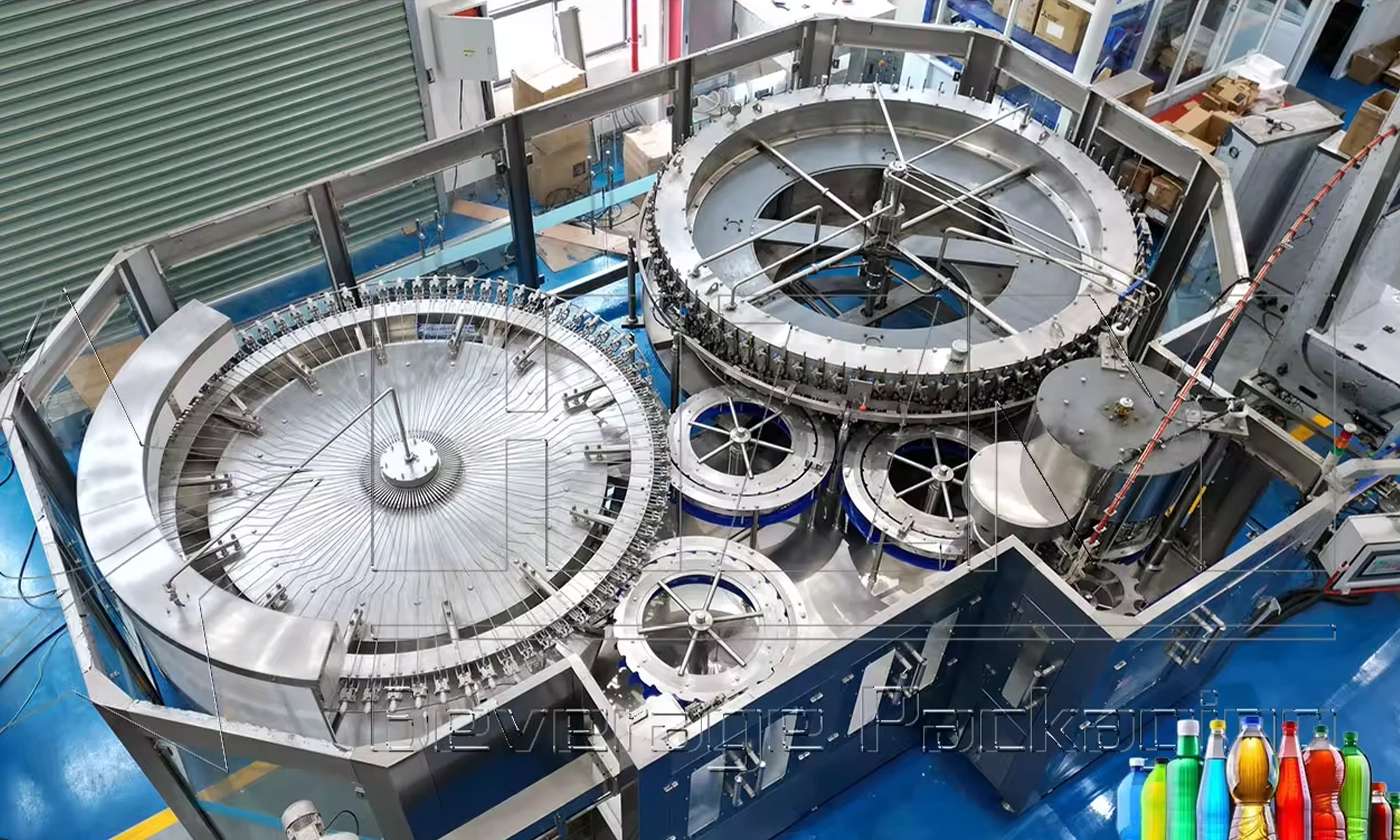
Equipment
3-in-1 Isobaric Mono-block Filling Machine
The 3-in-1 isobaric monoblock combines bottle rinsing, counter-pressure filling and capping for carbonated beverage production.
Learn more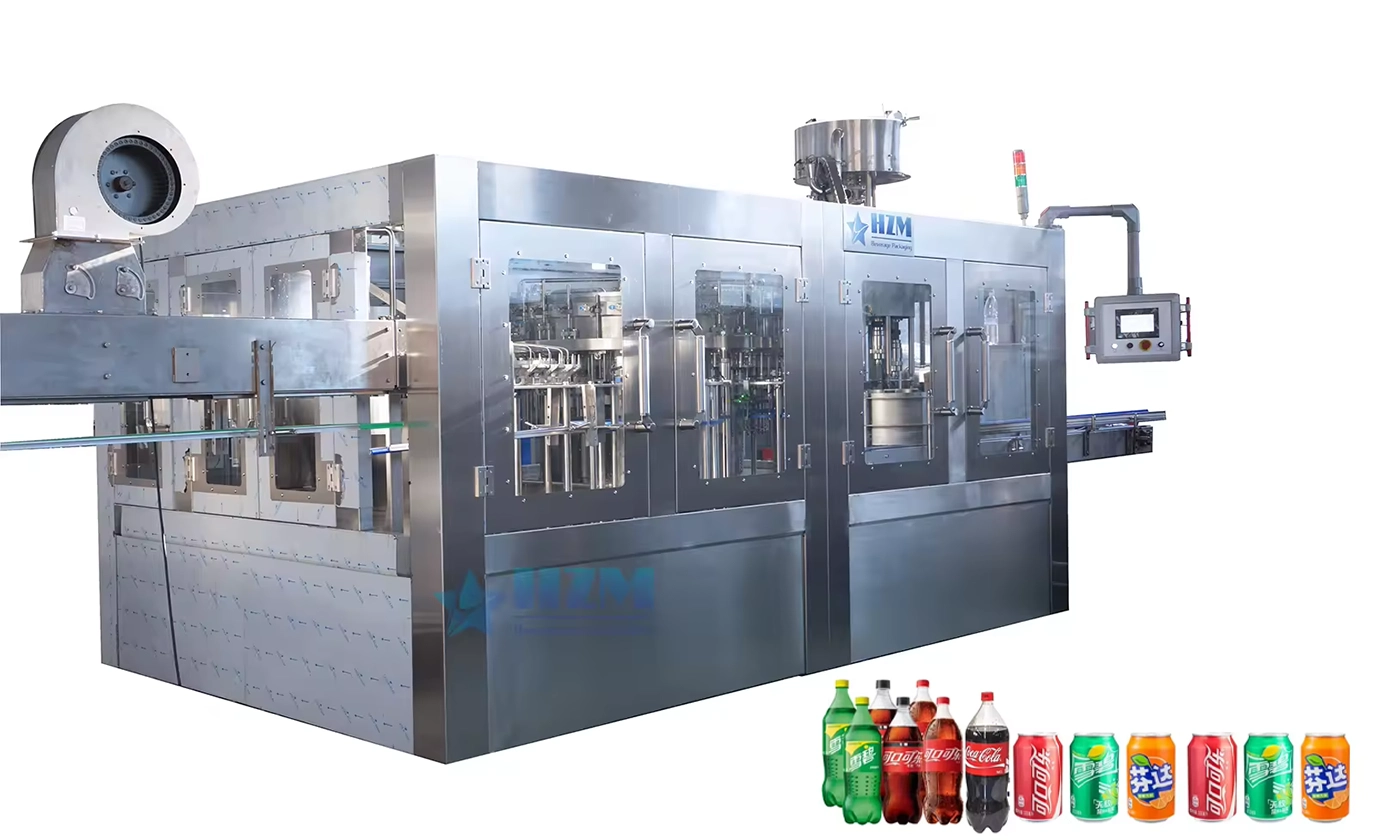
Equipment
Mono-block Isobaric Filling Machine
DXGF40-40-10 rinsing, isobaric filling and capping for carbonated soft drinks, at 12,000–15,000 bottles/hour for 500 ml bottles.
Learn more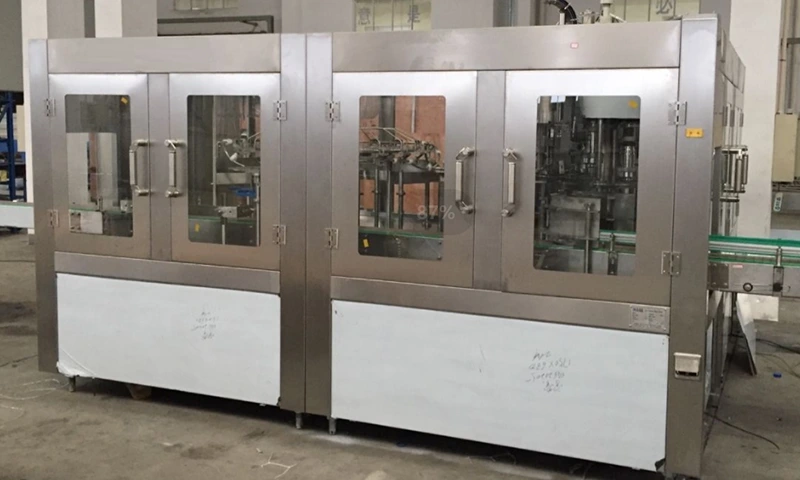
Equipment
10L Water Filling Machine 1200BPH – Automatic Washing Filling Capping Machine
RSXGF12-12-5(110Π) automatic rinsing, filling and capping for 10 L water bottles at 1,100–1,200 bottles/hour.
Learn more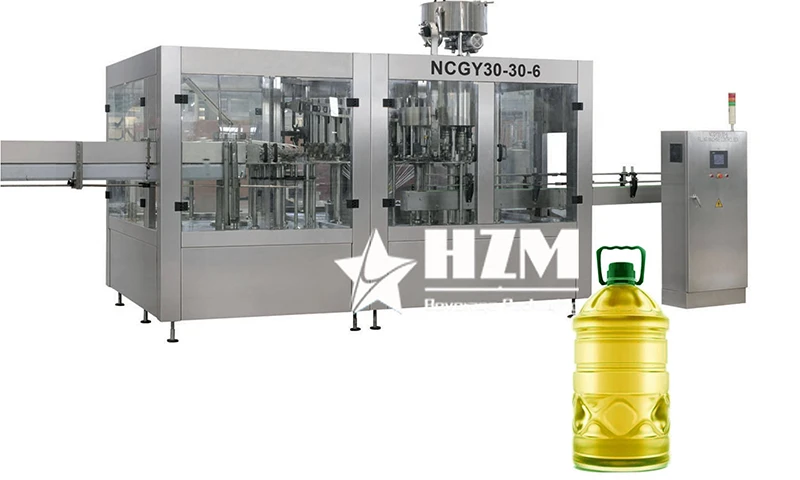
Equipment
2-in-1 Monoblock Edible Cooking Oil Filling and Capping Machine
The 2-in-1 monoblock fills and caps bottles of edible cooking oil in a continuous operation.
Learn more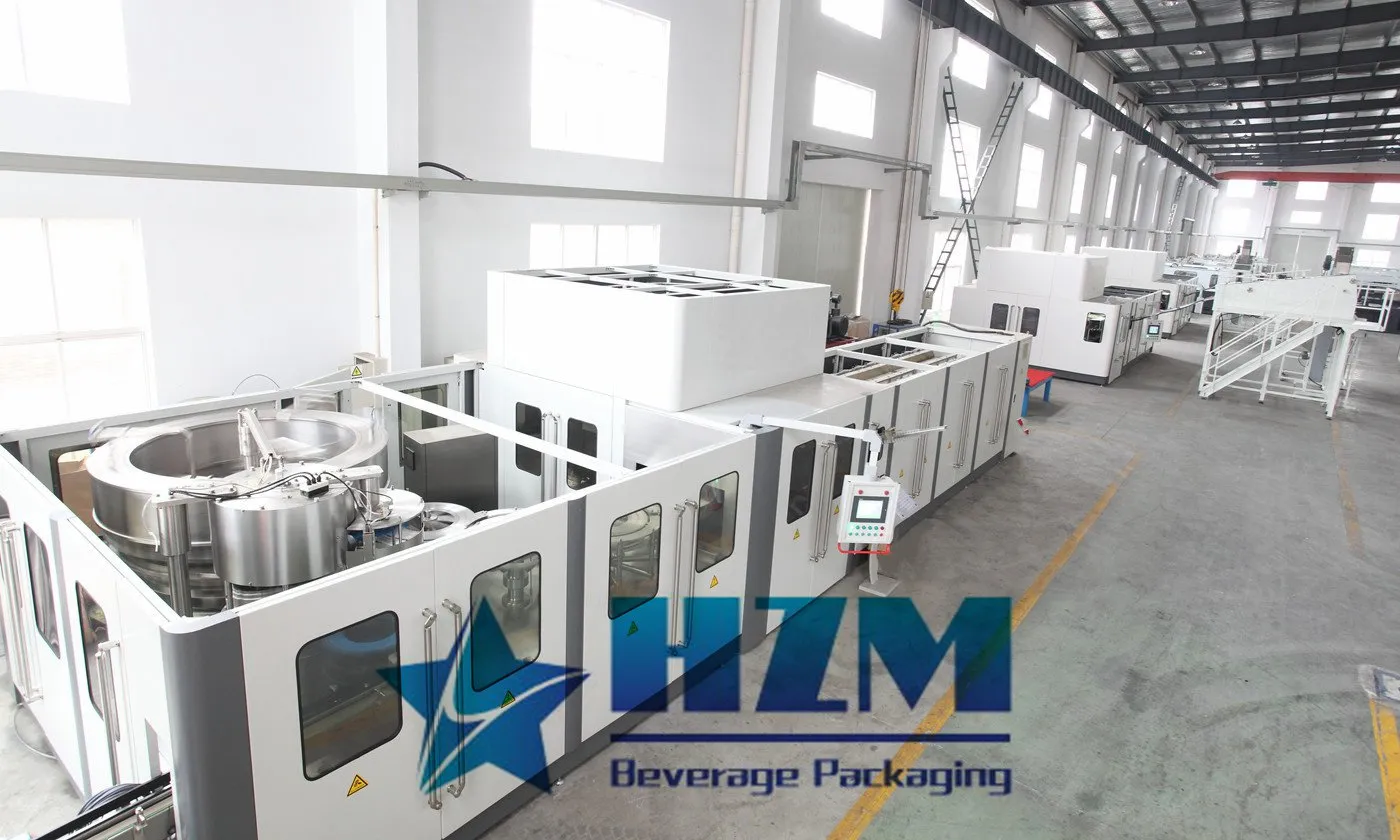
Equipment
Blowing-Filling-Capping Machine
A PET combiblock that combines preform heating, bottle blowing, filling and capping at 12,000–48,000 bottles/hour at 500 ml.
Learn more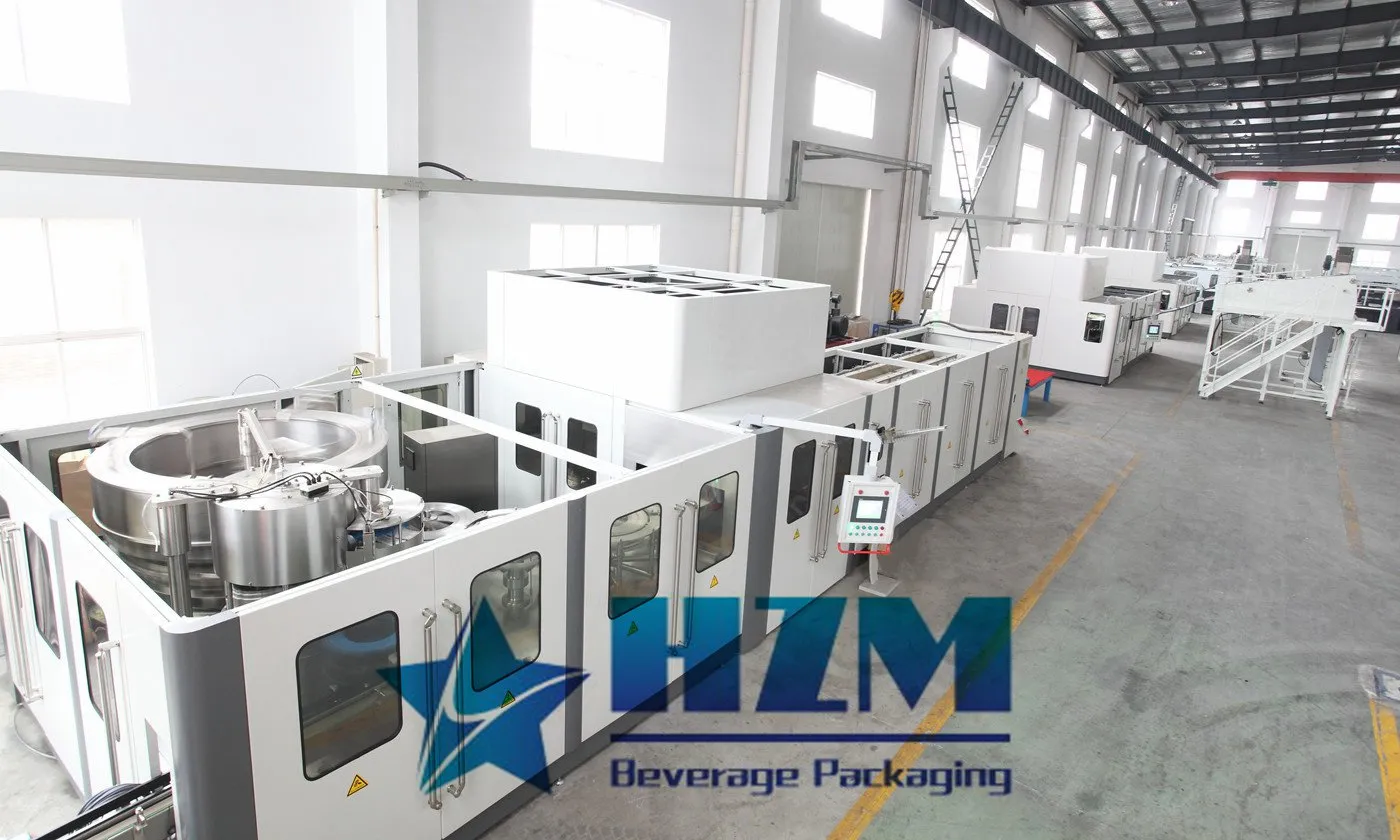
Equipment
Blowing Filling Capping Combiblock for Water and Beverage Packaging
PET bottle blowing, filling and capping in one combiblock for water and beverage production, from 12,000 to 48,000 bottles/hour at 500 ml.
Learn more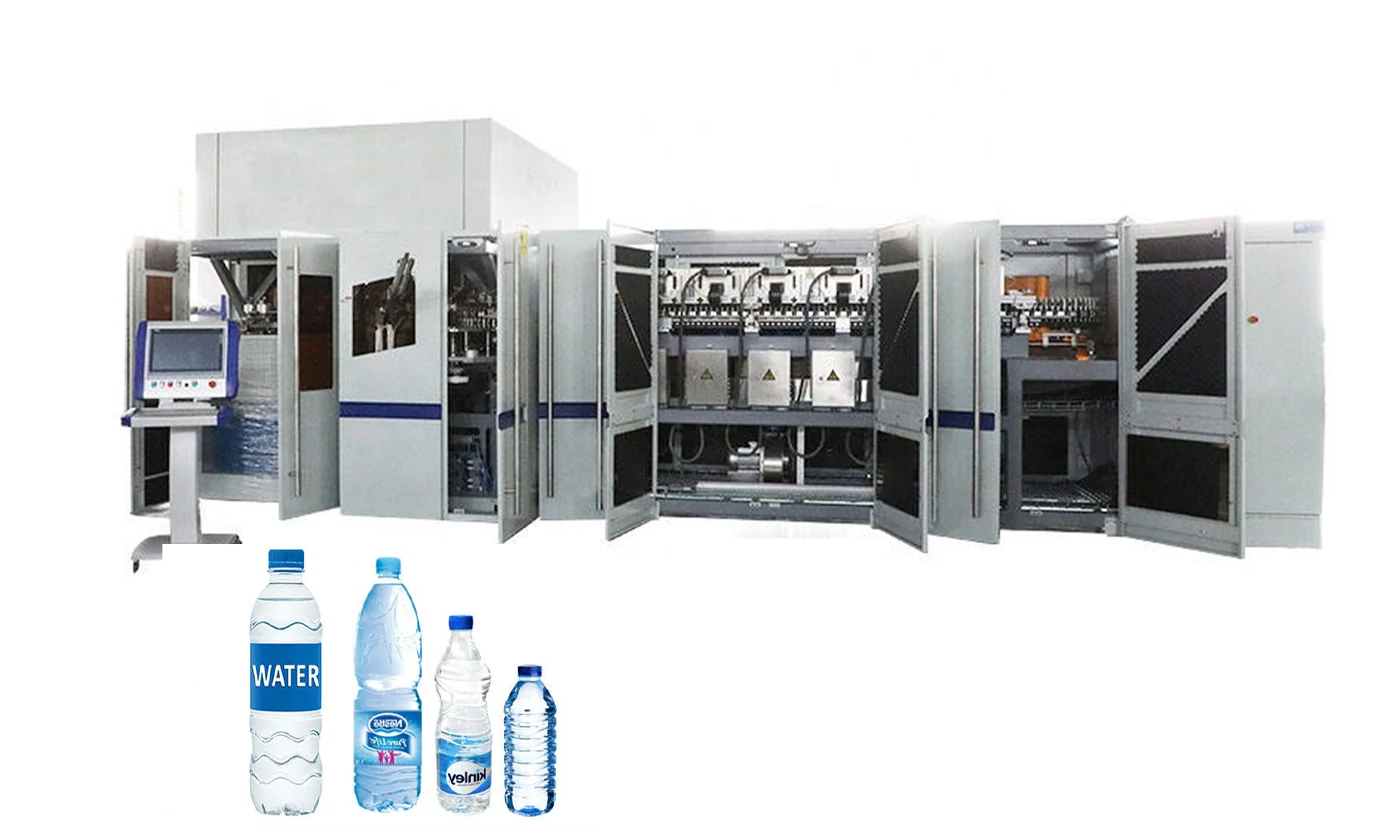
Equipment
Automatic PET Bottle Blowing Filling Capping Machine – Best price beverage machinery
Automatic PET bottle blowing, filling and capping, with capacities of 12,000–48,000 bottles/hour at 500 ml and bottle volumes up to 2 L.
Learn more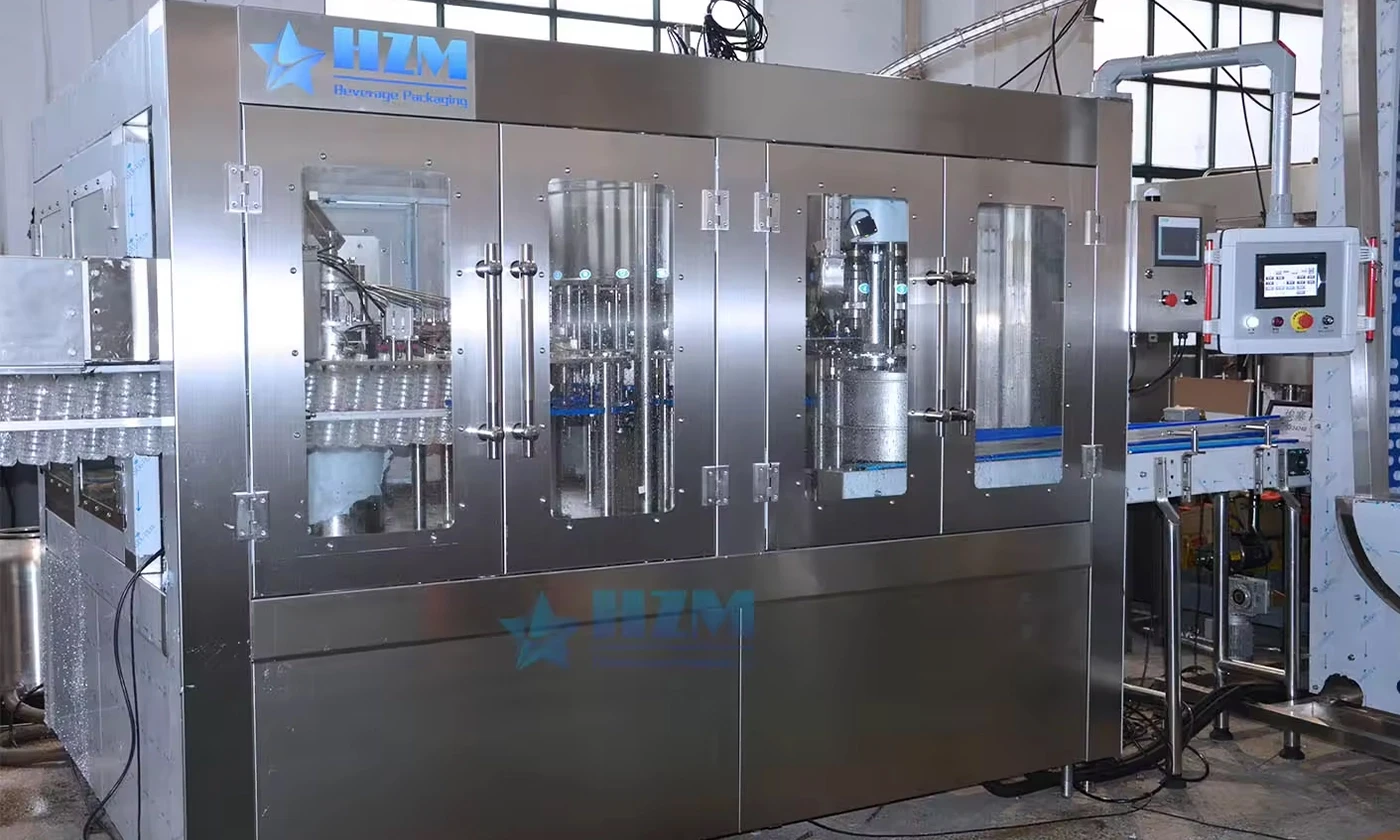
Equipment
Bottle Washing-Filling-Capping Machine
Large-bottle water rinsing, filling and capping with design outputs of 1,500 bottles/hour at 5 L, 1,000 at 7 L and 700 at 10 L.
Learn more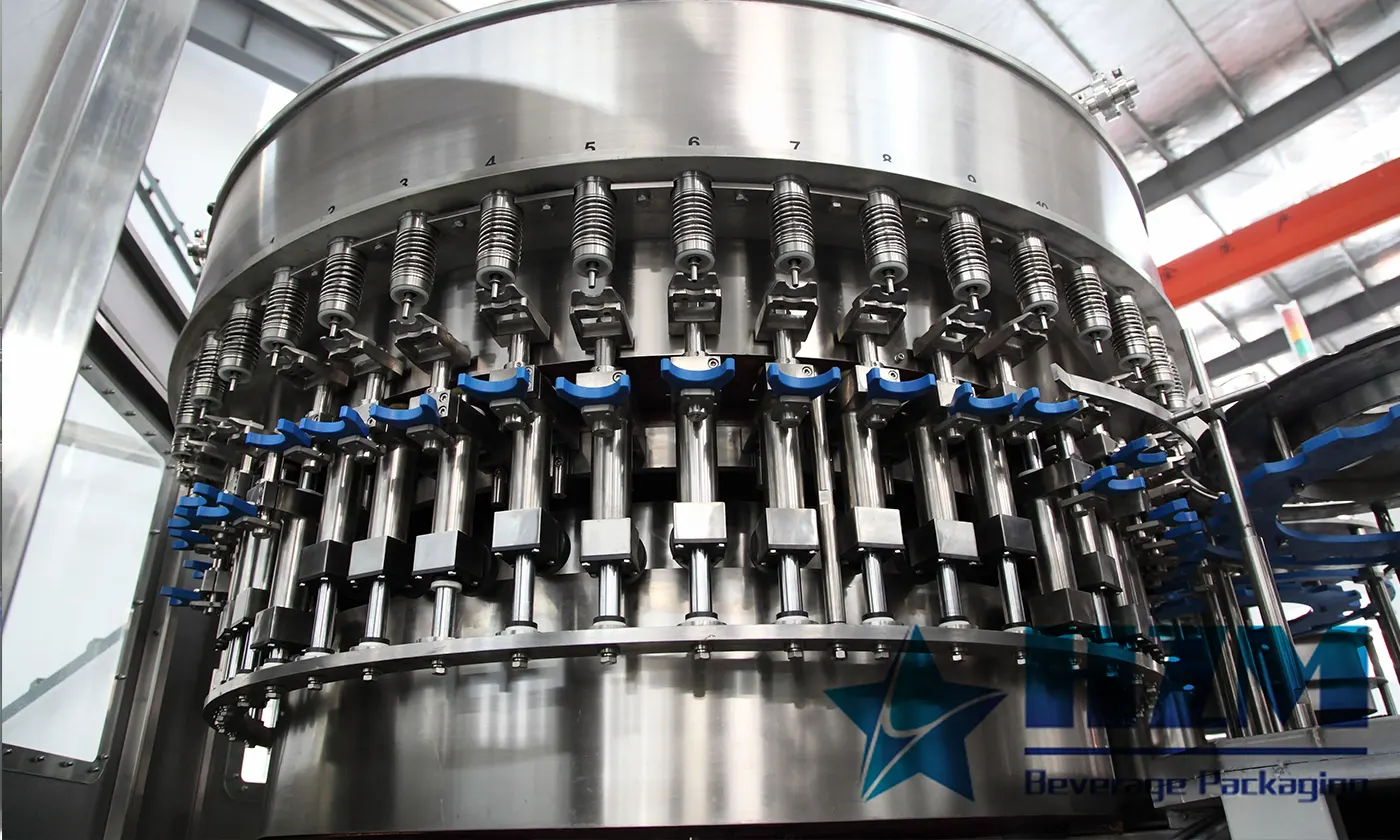
2026-07-24
Key Components of a Filling Machine: Rinsing, Filling and Capping Explained
Understand the main components of beverage filling equipment and how the rinser, filler, capper, product circuit, drives, sensors and controls work together.
Learn more2023-06-09
Three Rinsing Filling Capping 5 in 1 Monoblock Machine
High quality Three Rinsing Filling Capping 5 in 1 Monoblock Machine from China, China's leading spout pouch filling and capping machine product, with strict quality control Spout Pouch Filling Capping Machine factories, producing high quality 1500bph Pouch Filling And Capping Machine products.
Learn more2023-06-09
SS316 Pressure Type HMI Rinsing Filling Capping Machine
High quality SS316 Pressure Type HMI Rinsing Filling Capping Machine from China, China's leading HMI Rinsing Filling Capping Machine product, with strict quality control SS316 Rinsing Filling Capping Machine factories, producing high quality CE Rinsing Filling Capping Machine products.
Learn more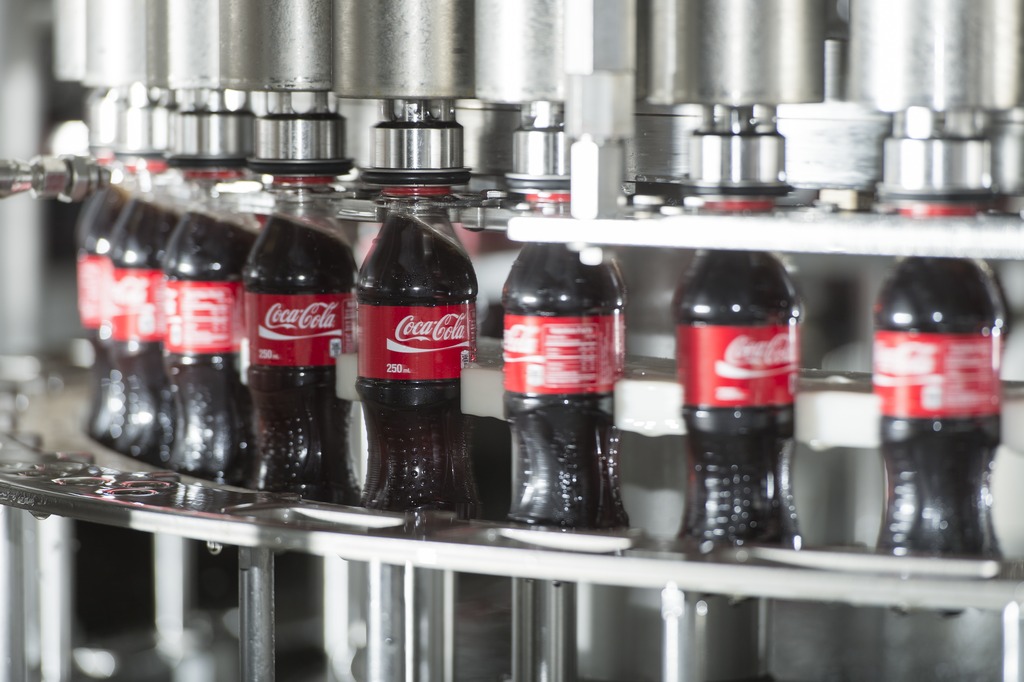
2023-04-26
Introduction to Carbonated Beverage Isobaric Filling Machine
The carbonated beverage isobaric filling machine is mainly used for filling carbonated and gas-containing beverages, and is suitable for filling PET bottles of 350ml, 500ml, 1L, 1.5L, and other capacities of carbonated and gas-containing beverages, such as Coke, Sprite, soda water, salt soda, and other beverages containing carbon dioxide gas
Learn more
2023-06-09
Water Bottling Line Guide: Rinsing Hygiene and Water Management
Practical HZM guidance on water bottling line, focused on rinsing hygiene and water management, line integration, RFQ data and measurable acceptance checks.
Learn more2026-03-20
CE Certified 5L 6000BPH PET Bottle Filling And Capping Machine
Discover the CE certified 5L 6000BPH PET bottle filling and capping machine. High efficiency, automatic operation, ideal for 3L–10L bottled water production lines.
Learn more