
Insights & Updates
Milk Filling Machine Installation Checklist: Utilities, Hygiene and Commissioning
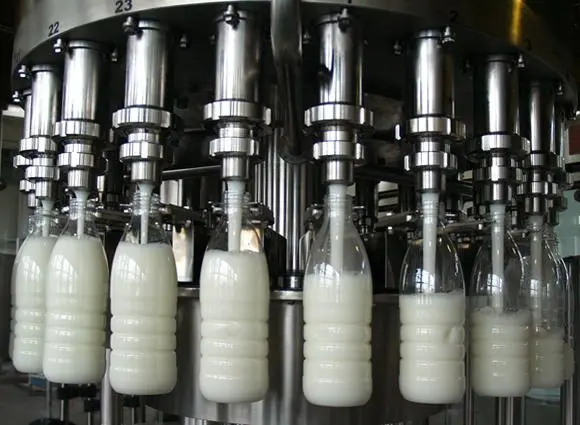
Most installation delays are not caused by the filler itself. They come from missing utilities, poorly positioned drains, late changes to the bottle or cap, pipework that cannot be cleaned properly, or an unclear division of responsibility between the machine supplier and the factory.
Milk and dairy beverages add another level of risk because they are microbiologically sensitive. The filling machine cannot compensate for an unsuitable heat-treatment process, contaminated packaging, or weak temperature control. Installation should therefore be planned as part of the complete process—from product preparation to filled-pack storage—not as a stand-alone mechanical job.
Important: process temperatures, hold times, sanitation procedures, and shelf-life controls must be validated for the actual formulation, package, distribution method, and applicable food-safety regulations. Generic settings are not a substitute for a qualified process design.
1. Freeze the product and package specification before delivery
A machine cannot be installed correctly against a moving target. Confirm the product viscosity, presence of pulp or particles, filling temperature, required shelf life, container material, bottle dimensions, neck finish, cap, label, and target output. If several formats will run, list each one and identify the most frequent changeover.
Send production-grade samples to the equipment supplier. A drawing is useful, but real bottles and caps expose tolerance, stiffness, and handling issues that drawings often miss.
2. Plan hygienic zoning and personnel flow
Separate raw-material, processing, filling, and finished-product movements so people, packaging, waste, and maintenance traffic do not cross the cleanest area unnecessarily. The filling room should be easy to clean, with controlled access and sufficient space to remove guards, service valves, and replace change parts.
Avoid placing the filler directly beside dusty carton handling or an open drain. If a clean enclosure, filtered air, cap sanitation, or aseptic system is required, define its boundaries and environmental monitoring plan before utilities and walls are finalized.
3. Check the floor, drainage and service clearances
- Verify floor loading against the machine and product weight, not only the empty shipping weight.
- Confirm floor level and the allowable method for leveling or anchoring the frame.
- Provide a cleanable, slip-resistant surface with falls that do not cause the machine to sit unevenly.
- Position drains where cleaning water can flow without crossing electrical cabinets or creating standing water.
- Reserve access for door opening, component removal, lubrication, inspection, and emergency egress.
Mark the machine footprint, conveyor centerline, operator position, service side, and maintenance envelope on the floor before equipment arrives. This simple layout review prevents many last-minute moves.
4. Verify every utility at the point of connection
| Utility | What to confirm | Common installation problem |
|---|---|---|
| Electrical supply | Voltage, phase, frequency, available load, protective devices, and grounding | Correct voltage on paper but unstable supply or undersized cable |
| Compressed air | Pressure, flow, dryness, filtration, and connection size | Adequate static pressure but insufficient flow during peak demand |
| Product and cleaning media | Flow, pressure, temperature, material, valve type, and hygienic connection | Dead legs, wrong gasket material, or pipes that cannot drain |
| Water | Quality and quantity for rinsing, cleaning, cooling, and utilities | Assuming one water specification is suitable for every use |
| Drain and exhaust | Capacity, backflow prevention, route, and cleanability | Drain too small for cleaning discharge or positioned under controls |
Measure utilities while other major equipment is running. A compressor or transformer may appear adequate during an empty-factory check and fall short during production.
5. Install hygienic piping that can be cleaned and drained
Product piping should be supported independently rather than hanging its weight on the filler connection. Use suitable sanitary fittings, seals, valves, and slopes. Minimize dead ends and confirm that the cleaning circuit reaches the filler, buffer tank, valves, and return path at the required flow conditions.
Before connecting the filler, flush and inspect new pipework so welding debris, oil, or construction dust cannot enter the machine. Identify product, cleaning, water, air, and return lines clearly to reduce connection errors during maintenance.
6. Integrate upstream and downstream equipment as one line
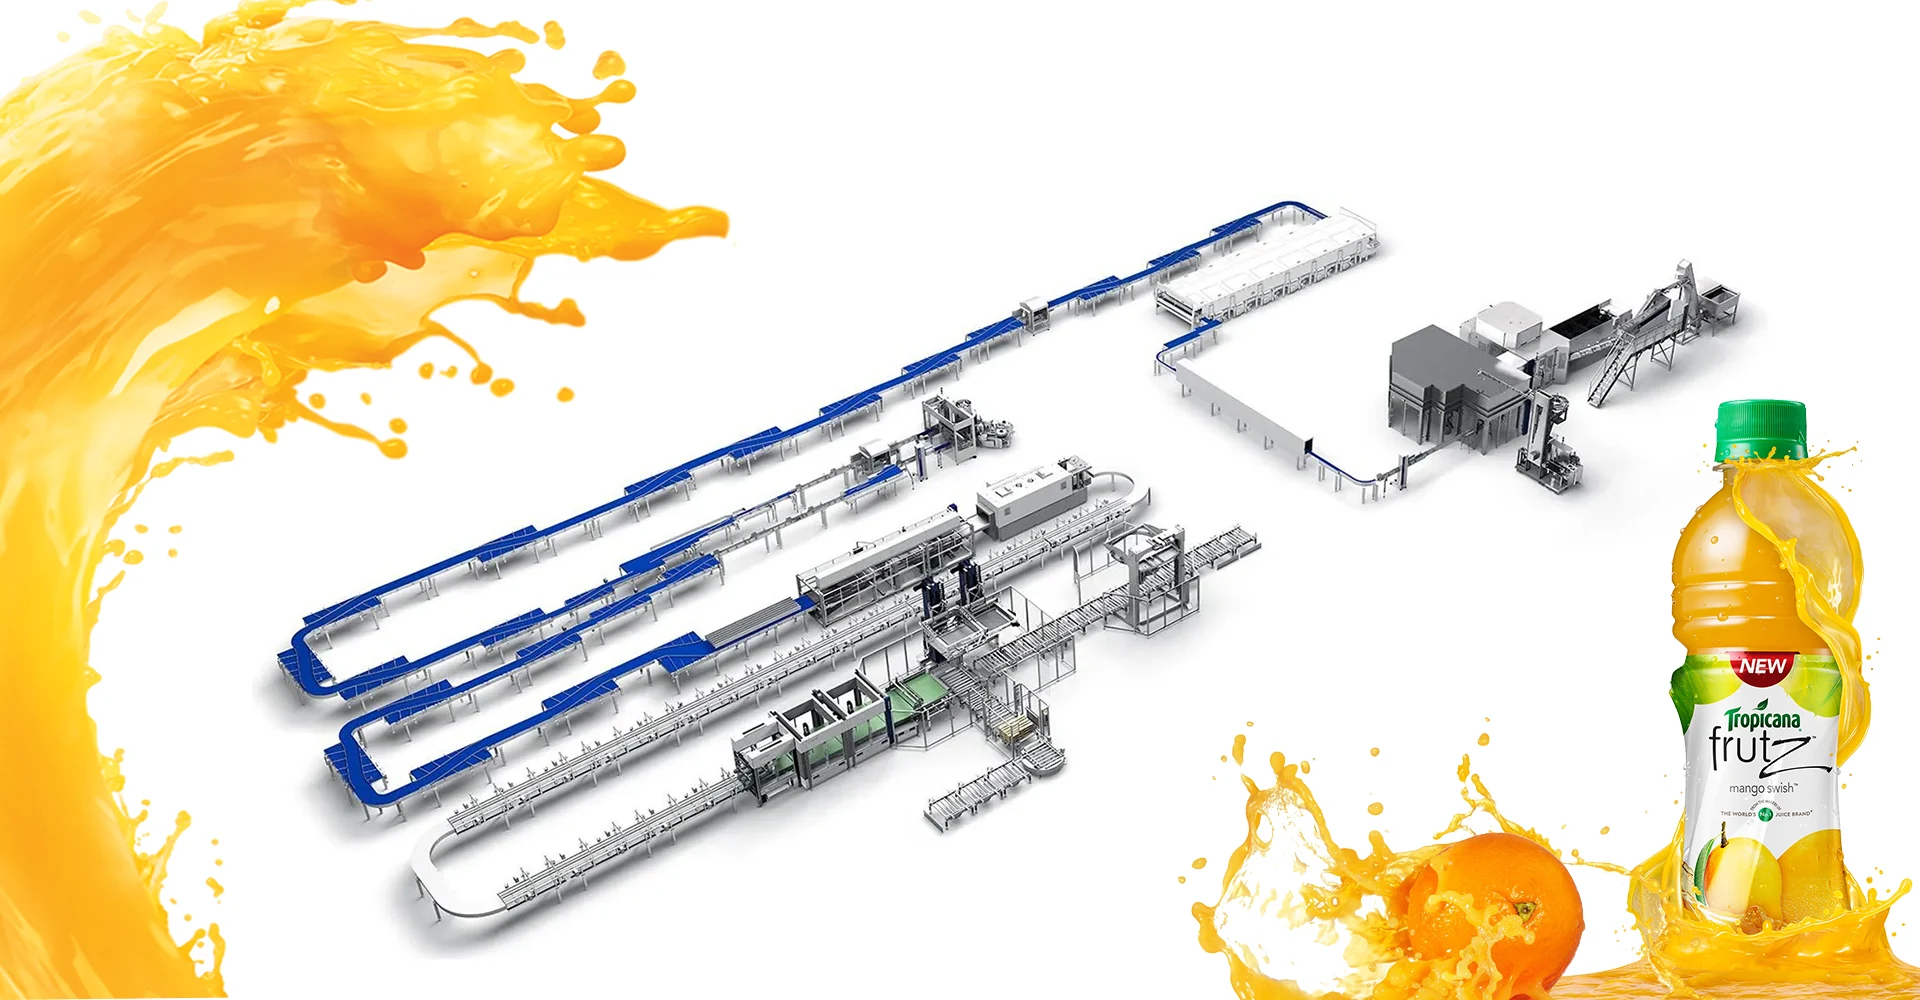
Confirm product-buffer level control, start/stop logic, conveyor speeds, bottle accumulation, cap supply, coding, labeling, and packing signals. Each supplier should know which panel provides the master line command and what happens when a downstream machine stops.
For bottled dairy beverages, temperature control and time outside the validated process window need special attention. The plan should define how product is diverted, recovered, or disposed of after a prolonged stop.
7. Complete electrical and machine-safety checks
Use a qualified electrician to verify protective earth, cable sizing, phase sequence, cabinet protection, emergency-stop circuits, guard interlocks, and lockout points. Keep washdown hoses away from components not rated for direct spray. Pneumatic and hydraulic energy should have clearly identified isolation and safe depressurization procedures.
8. Commission in controlled stages
- Documentation review: manuals, drawings, part lists, certificates, and software backups.
- Mechanical inspection: shipping damage, fasteners, lubrication, guards, alignment, and conveyor transfer.
- Dry run: motor direction, sensors, actuators, alarms, interlocks, and emergency stops.
- Water trial: leaks, flow paths, filling sequence, drainage, and initial container handling.
- Cleaning verification: agreed cleaning circuit, chemical compatibility, and drainability.
- Product trial: actual product, bottles, caps, and normal operating temperature.
- Sustained run: good output, rejects, stops, fill variation, cap quality, and line balance.
- Handover: operator and maintenance training, spare parts, open-issue list, and acceptance record.
Acceptance criteria to agree in writing
Define how output, filling accuracy, product loss, closure quality, changeover time, cleaning, and safety will be tested. “Machine runs normally” is not an acceptance criterion. State the product, container, sampling method, test duration, utilities, and allowable results.
Five installation mistakes that are expensive to correct
- Ordering the filler before the product and shelf-life process are confirmed.
- Designing the room around the machine footprint without maintenance clearance.
- Using process piping with poor drainability or unsuitable connections.
- Testing only at low speed and accepting the line without a sustained run.
- Training operators but not the technicians who will diagnose faults and maintain hygienic parts.
HZM Machinery can configure beverage filling equipment and line interfaces around the specified bottle, product, output, and factory conditions. For milk or other low-acid dairy products, the complete processing and hygiene concept must be reviewed and validated for the intended shelf life.
Information to send the supplier before installation
Provide the factory layout, floor and drain plan, utility data, product specification, bottle and cap samples, packaging drawings, target speed, cleaning method, local electrical code, delivery access, lifting plan, and the names of the people responsible for civil work, utilities, process piping, electrical work, and commissioning. Clear ownership is one of the best ways to keep the installation on schedule.
Talk to our engineering team
Need help planning your packaging line?
Share your product, bottle and capacity requirements for a practical equipment recommendation.
2026-08-10
Beverage Plant Utilities Checklist Before Equipment Installation
Prepare electricity, compressed air, water, steam, cooling, drains, floor loads, ventilation and access before a beverage line arrives.
Learn more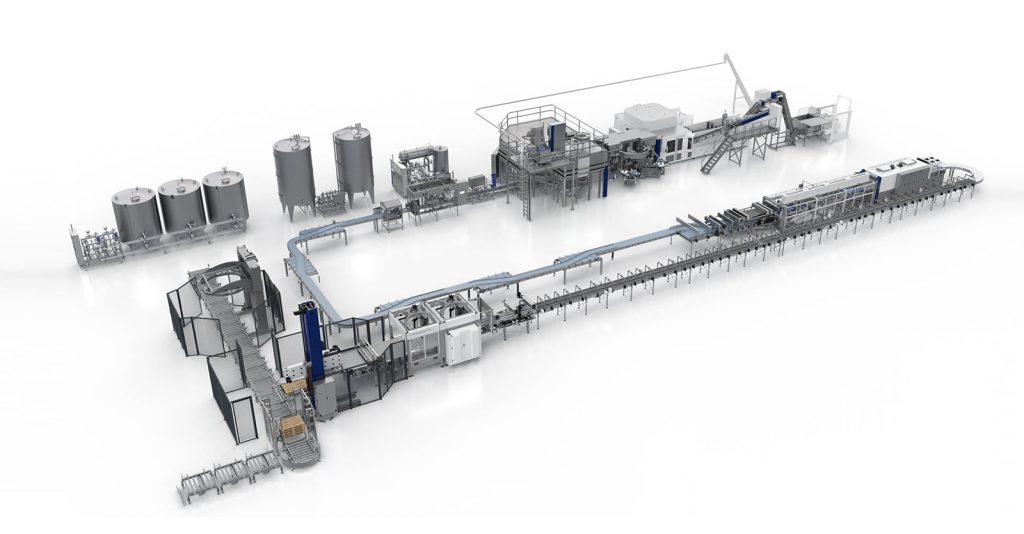
2023-06-29
Design, Installation, Commissioning, Production, and Maintenance of a Water Bottle Filling Line
The design, installation, commissioning, production, and maintenance of a water bottle filling line typically involve the following steps and considerations:
Learn more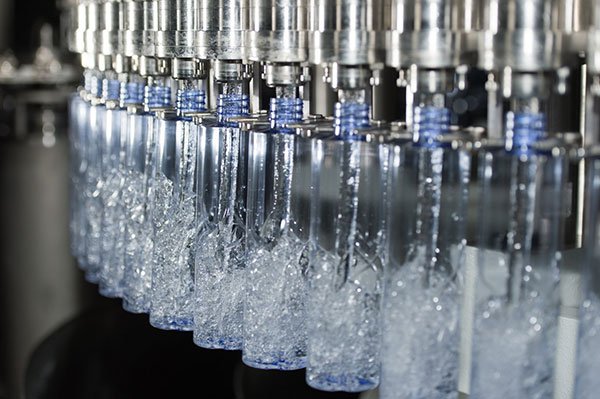
2023-06-30
Water Bottle Filling Machine Commissioning and Run-In Checklist
A step-by-step commissioning and run-in checklist for automatic water bottle filling machines, including pre-start checks, dry tests, water trials, load ramp-up and acceptance records.
Learn more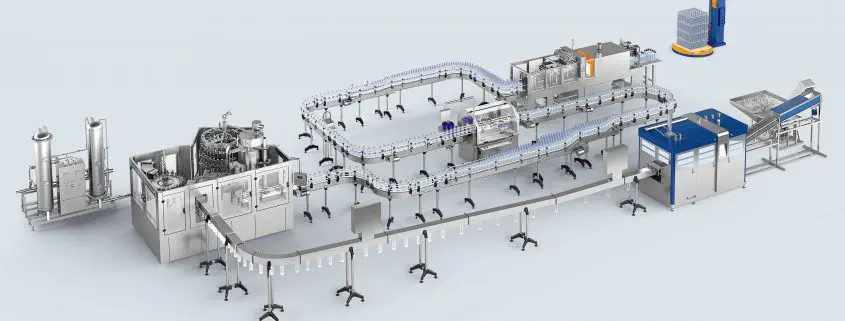
2023-12-14
Bottled Water Production Line: Procurement, Installation, and Commissioning
The procurement, installation, and commissioning of a bottled water production line is a complex and systematic process that requires careful consideration at every stage. The following details the steps from procurement to commissioning:
Learn more2023-07-31
How to Choose a Milk Filling Machine: 10 Features That Matter
Choose a milk filling machine by product risk, package, hygiene, filling method, CIP readiness, changeover, line integration, and service—not by speed alone.
Learn more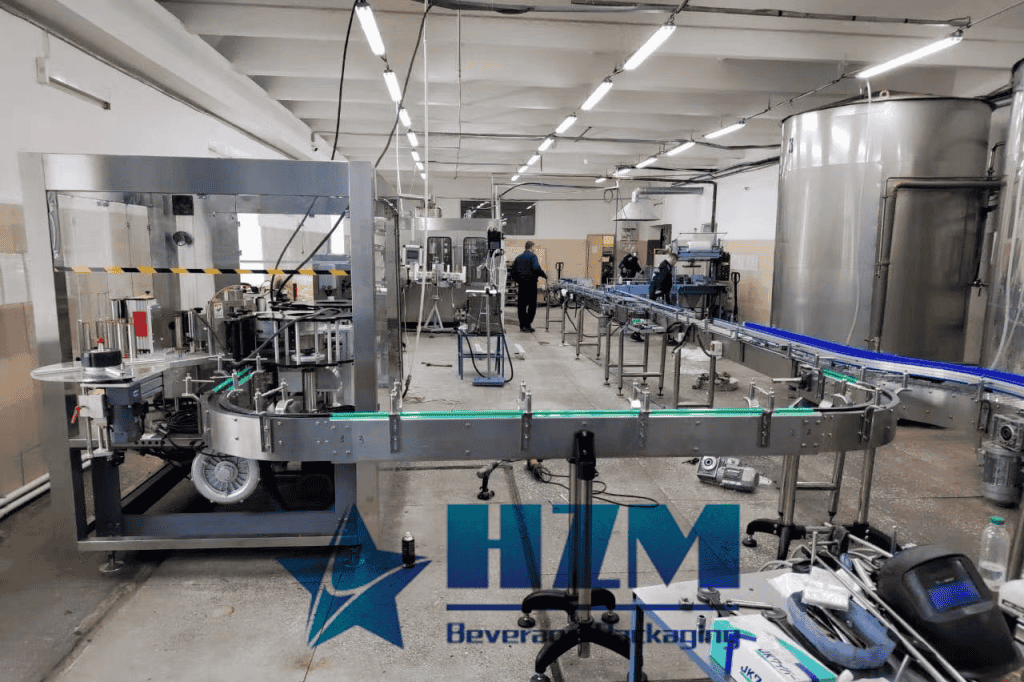
2023-03-24
12,000BPH Carbonated Drinks Beverage Production Line in Installation
HZM customer checked the serveal our projects in East Europe and they’re very satisfied with the machine performance. So they ordered a 12,000BPH carbonated drinks beverage production line from HZM. It includes DXGF32-32-8 carbonated drinks filling machine, Bopp labeling machine, PE film shrink packing machine, bottle dryer and conveyor system. After 2months shipment and customs […]
Learn more