
Insights & Updates
Automatic PET Bottle Blowing Machine Operation Manual
I. Operation
- Check the water level in the cooling tower and start the pump for bottle neck cooling water.
- Check the water level in the cooling tank and start the pump for mold cooling water.
- Start the high-pressure air compressor and the air dryer.
- Check the high-pressure pressure gauge on the machine; only start the machine when the pressure reaches 29 kg. After manually zeroing, switch to automatic mode and ensure the machine runs smoothly. Once everything is normal, press the “Heating Start” and “Blow Bottle” buttons.
- After the lightbox reaches the set heating temperature, press the “Insert Parison” button.
II. Quality Adjustment
- If the bottle body appears milky white and whitened, it indicates the lightbox temperature is too high. Adjust the corresponding section of the lamp tube temperature based on the whitened position.
- If the bottle body appears blue with stretched white, it indicates the lightbox temperature is too low. Adjust the corresponding section of the lamp tube temperature based on the whitened position.
- If there is material accumulation at the bottle mouth, increase the temperature of the first-layer lamp tube or reduce the outlet valve of the bottle neck cooling water.
- If the bottle mouth deforms, it indicates the temperature is too high. Reduce the temperature of the first layer.
- If belly buttons appear at the bottle bottom, the pre-blow delay is too high. Adjust it in 0.01-second increments.
- If the bottle neck thickens, the pre-blow delay time is too short. Increase the pre-blow delay in 0.01-second increments.
III. Production Speed Adjustment
Adjust the speed by increasing exhaust time and saturation time, while lowering the overall temperature of the lightbox. For every 0.1-second increase in lightbox cycle time, the temperature needs to be lowered by 1%. Increasing or decreasing speed should not be too fast, with a maximum change of 0.3 seconds each time. Observe the bottle quality for some time, adjust the speed after stabilizing the bottle quality, and carefully monitor the lightbox temperature. The change in the bottle cycle time by 0.1 second corresponds to approximately 50 changes in hourly production. Adjust the blowing speed according to the filling machine’s speed.
IV. Common Faults
- High-temperature alarm in the lightbox waterway.Solution: Disassemble the waterway connecting rubber hose, use low-pressure air and alcohol to blow and clean the waterway.
- Gripper malfunction.Solution: Adjust the slide height or gripper position.
- Stuck action.Solution: Restart the machine.
- Unable to manually zero.Solution: Check if gripper one, gripper two, and the variable pitch positioning plate are stuck in the corresponding positions. If not, manually position them and then zero.
- Incomplete action.Solution: Check for obstructions. Adjust the gas flow valve.
- Loud exhaust sound.Solution: Check if the high-pressure exhaust muffler is damaged or detached.
- Uneven parison at the bottom.Solution: Adjust the parison position.
V. Routine Maintenance
- Lubricate the sliding guide rod with butter every two days.
- Grease the mold oil nozzle once a week.
- Add liquid lubricant to the heating track and blowing track as needed.
- Clean the mold with a clean cloth dipped in alcohol once a week. Regularly check for granular dents on the bottle body and remove mold adhesions from the corresponding positions.
- Keep the machine body and interior clean. Remove dirt promptly.
- Pay attention to the screws of moving parts and the position of electronic sensors. Tighten or correct if loosened or displaced.
- Close the machine’s intake valve during long periods of shutdown, such as maintenance or breaks. If the production line is idle for an extended period, turn off the machine’s main power.
Talk to our engineering team
Need help planning your packaging line?
Share your product, bottle and capacity requirements for a practical equipment recommendation.
Equipment
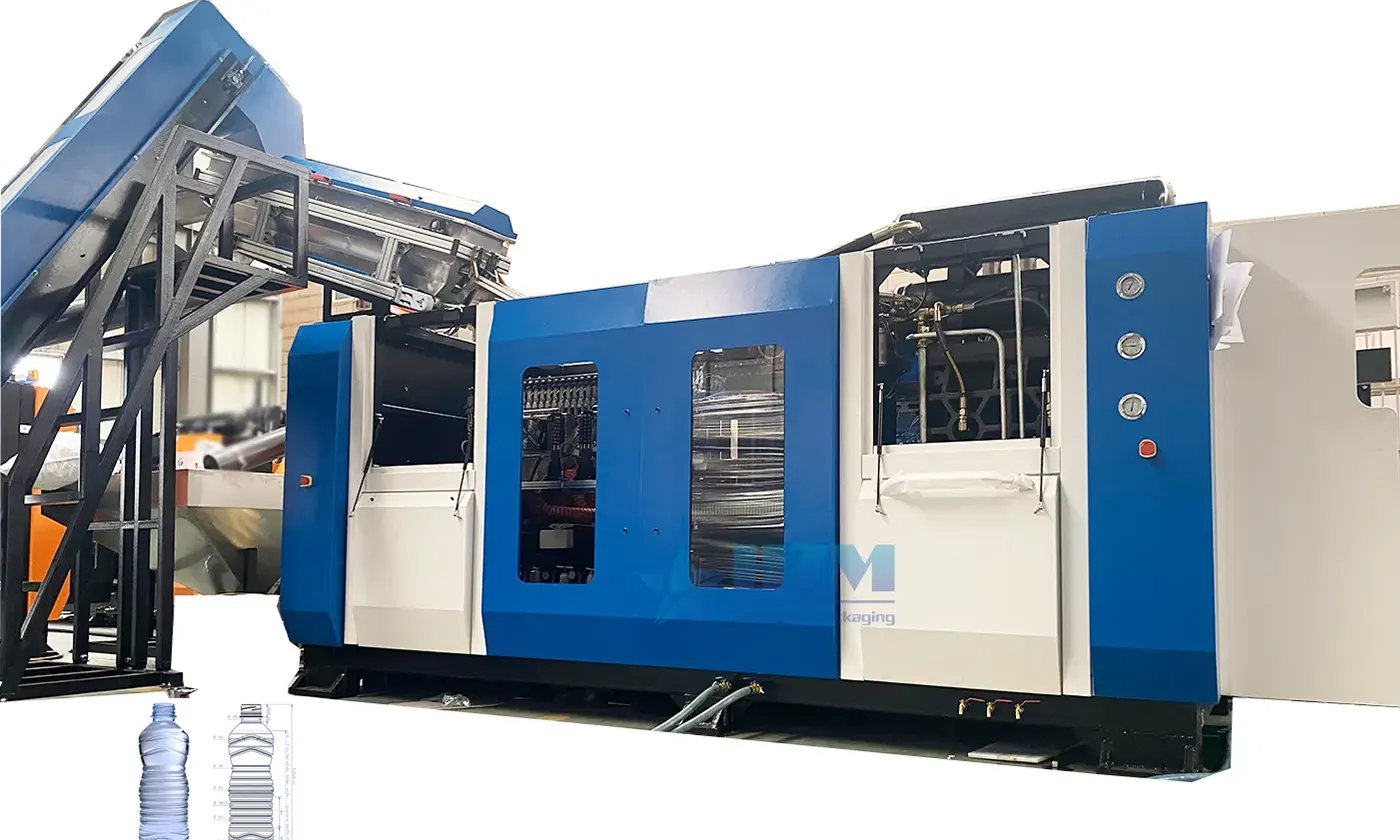
Automatic Water Bottle Blowing Molding Machine
Automatic water bottle blowing from PET preforms, with 6–12 cavities and capacities up to 21,600 bottles/hour at 500 ml.
Learn more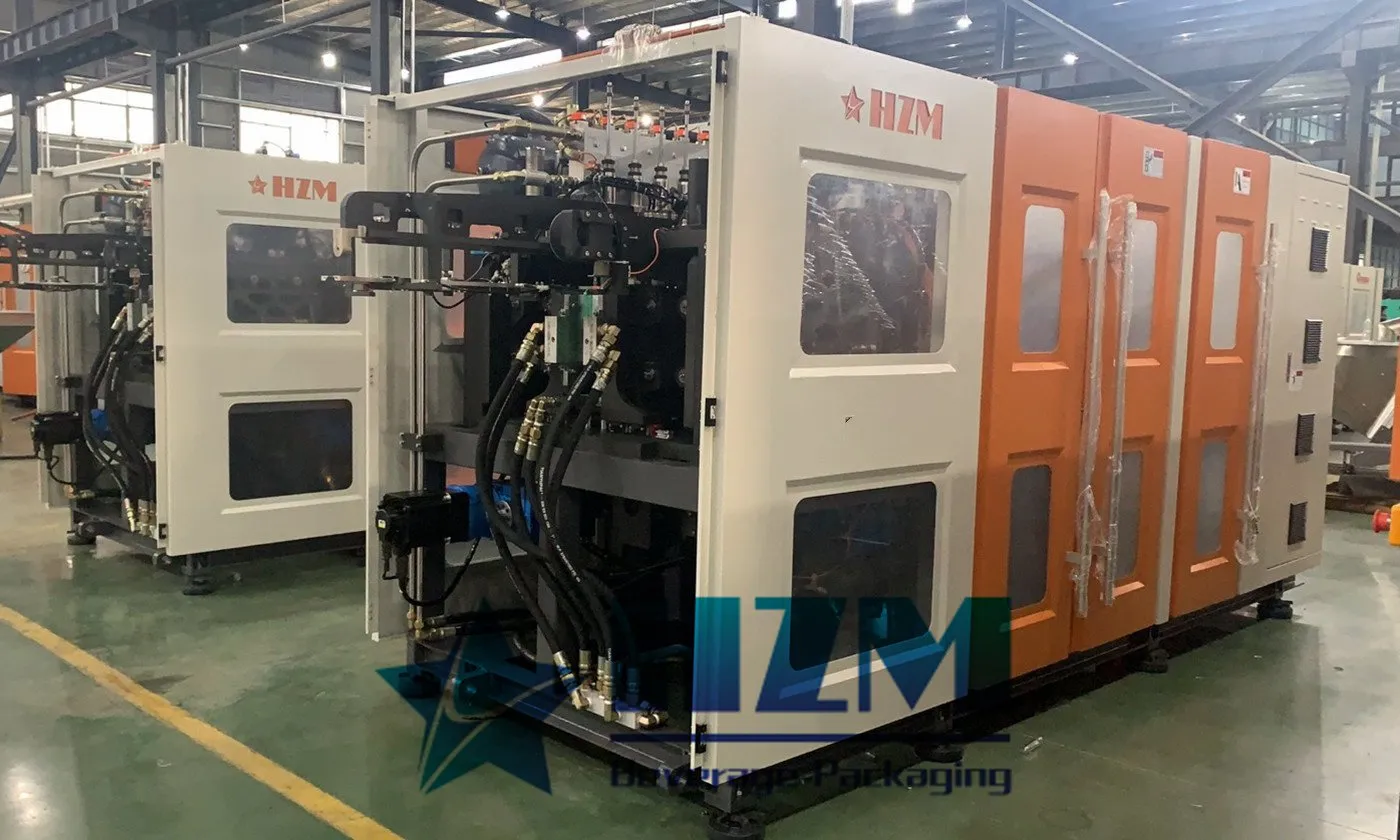
Equipment
Automatic Blow Molding Machine
Automatic PET bottle blowing for water and beverage packaging, with capacities of 12,000–24,000 bottles/hour at 500 ml.
Learn more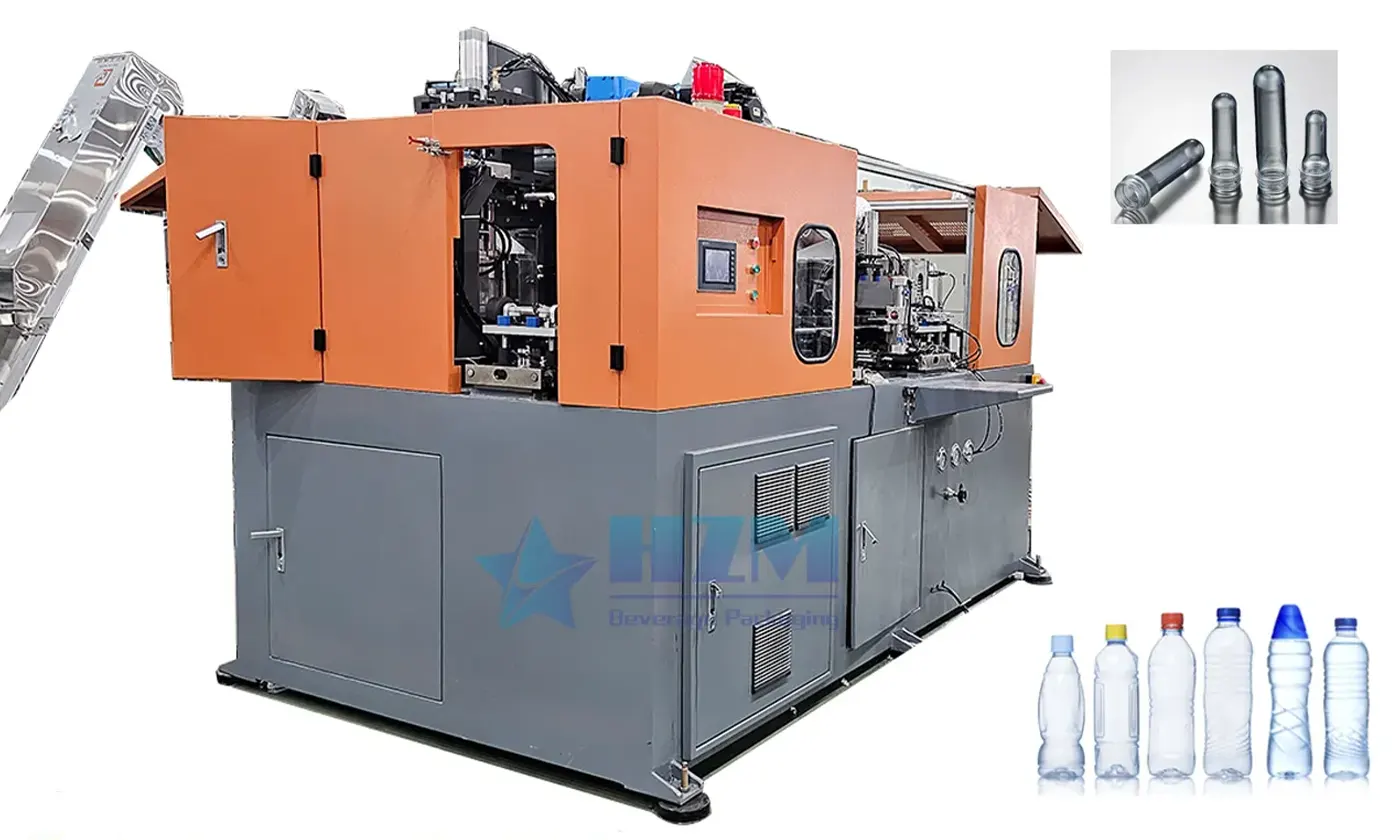
Equipment
PET Bottle Blow Molding Machine
PET bottle blow moulding with 6–12 cavities and capacities of 12,000–21,600 bottles/hour at 500 ml.
Learn more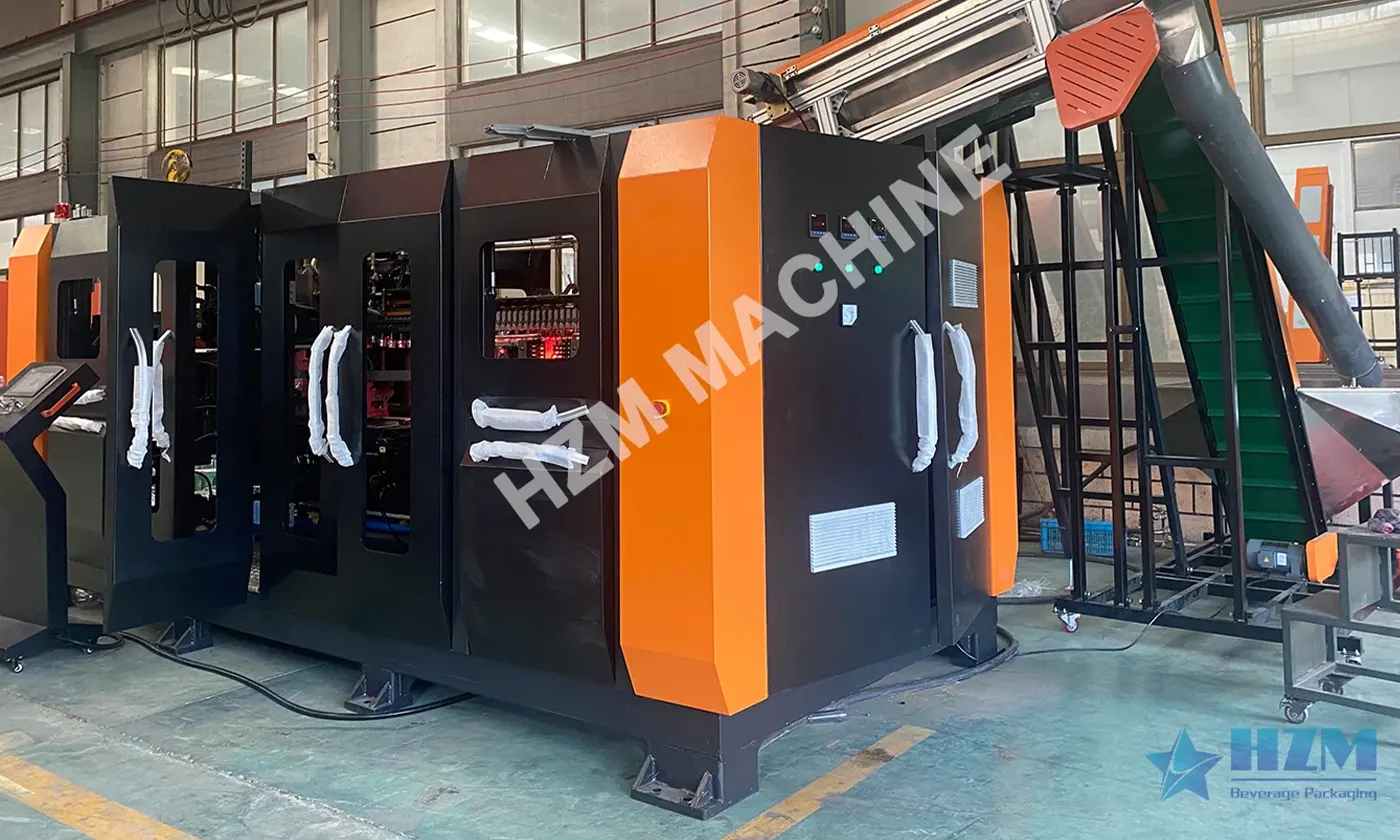
Equipment
Plastic Bottle Blowing Machine, making machine
PET bottle making for drinking water, beverages and liquid packaging, with automatic preform heating and stretch blowing.
Learn more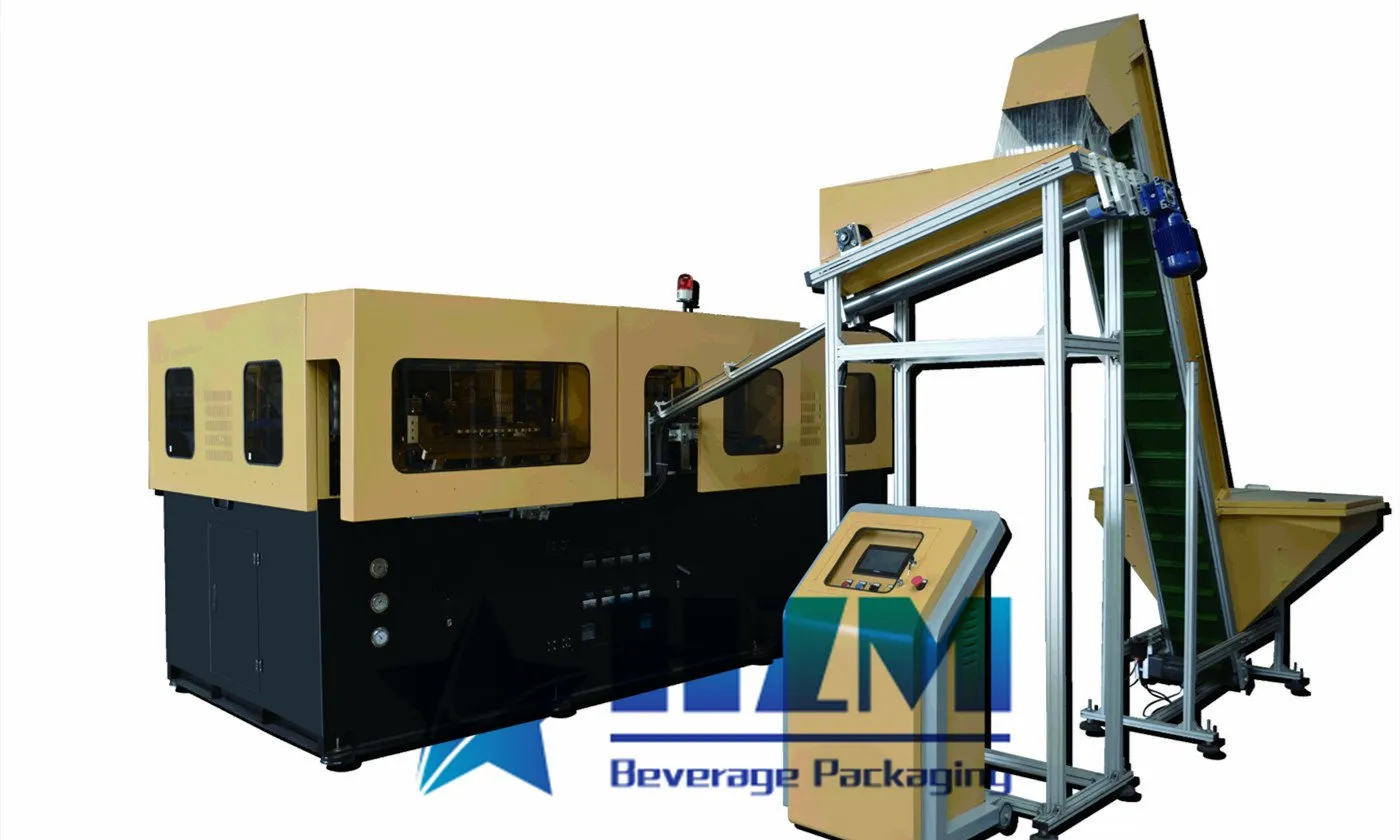
Equipment
Automatic Oil Bottle Wide Neck PET Bottle Blowing Machine
PET blow moulding equipment for large edible-oil, drinking-water and wide-neck bottles, with bottle sizes up to 5–10 L by model.
Learn more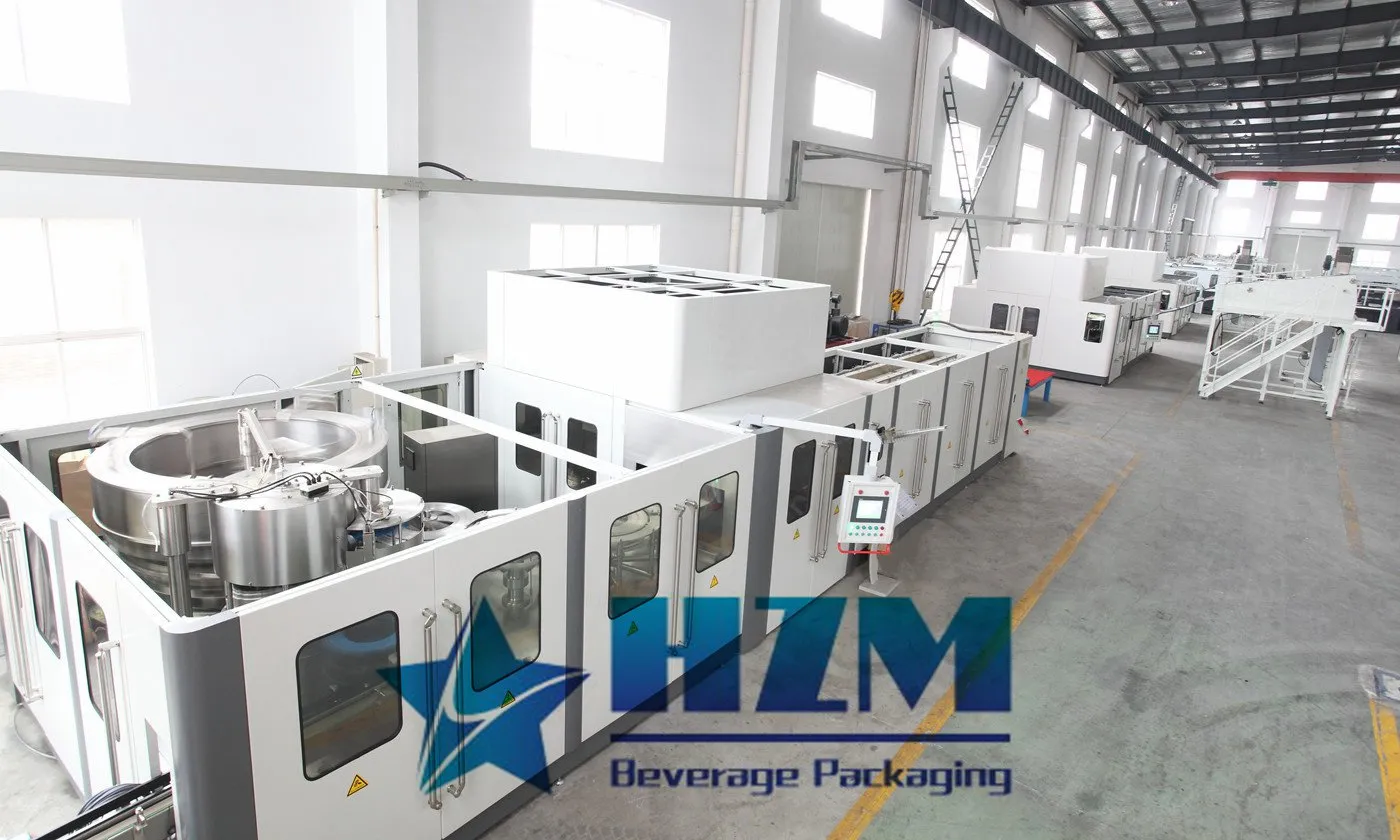
Equipment
Blowing-Filling-Capping Machine
A PET combiblock that combines preform heating, bottle blowing, filling and capping at 12,000–48,000 bottles/hour at 500 ml.
Learn more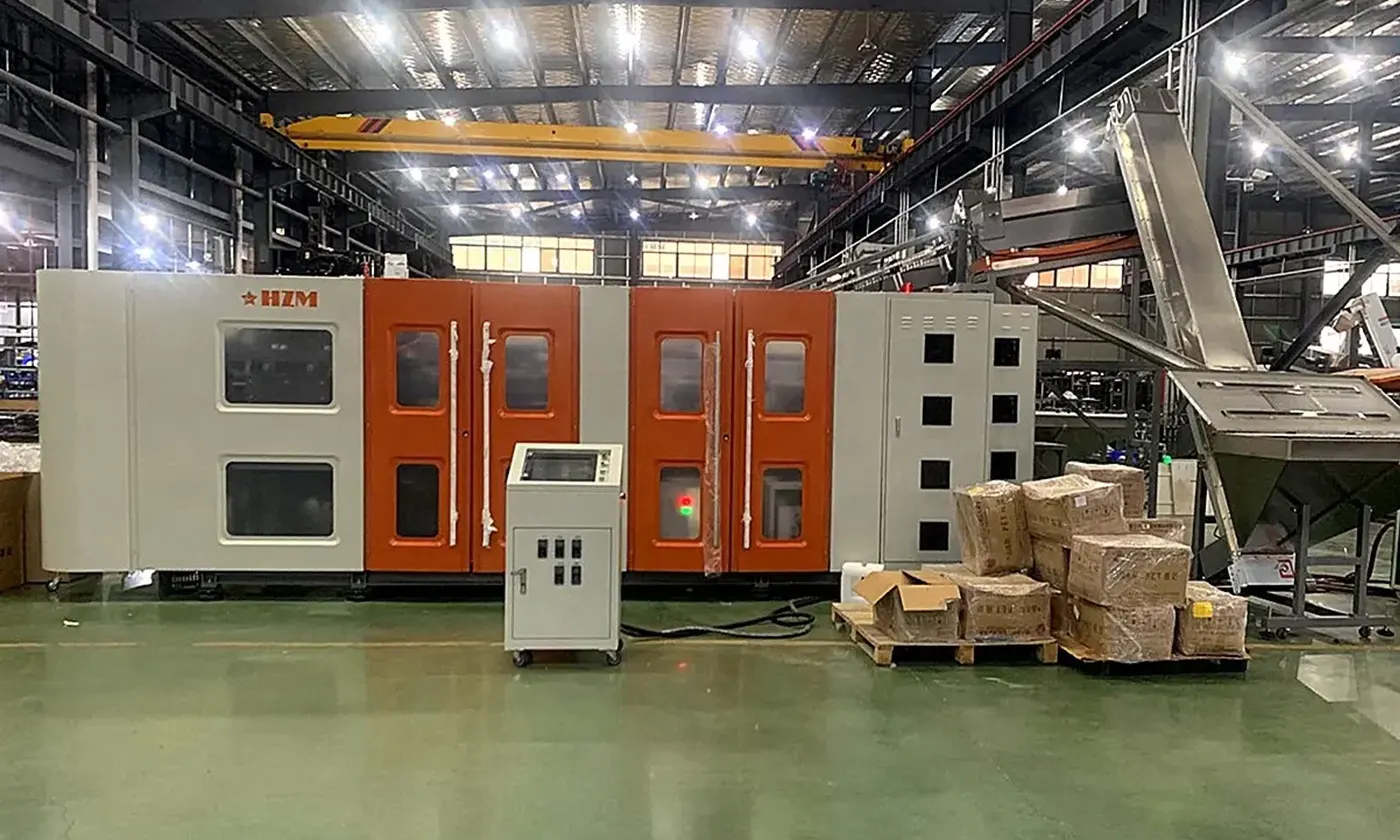
Equipment
Automatic PET Stretch Blow Molding Machine
Automatic PET stretch blow moulding with 2, 4 or 6 cavities and HZM-ECO model capacities of 1,800–7,000 bottles/hour.
Learn more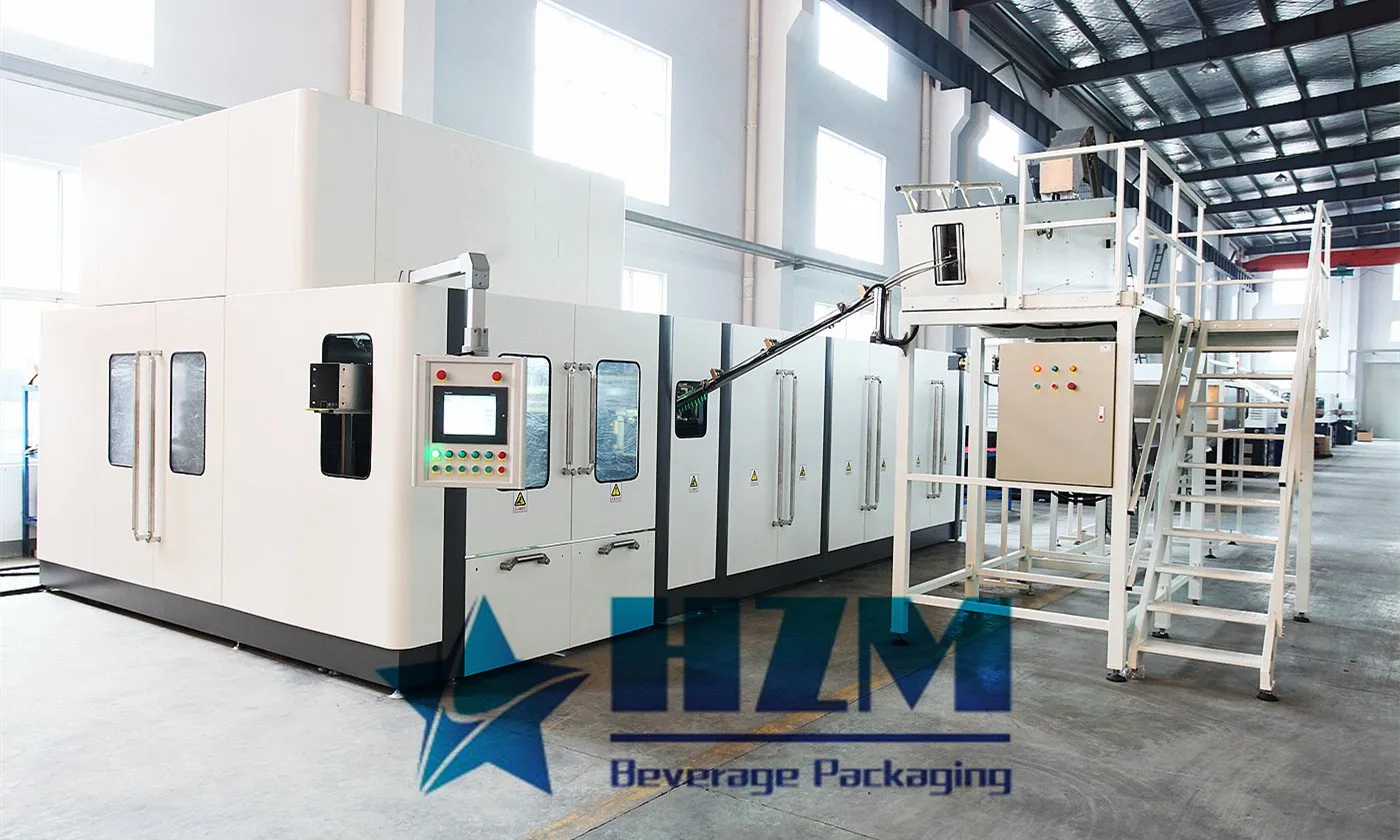
Equipment
Automatic Rotary Blow Molding Machine
Rotary PET bottle blow moulding for water and beverage packaging, with 6–24 cavities and capacities up to 48,000 bottles/hour at 500 ml.
Learn more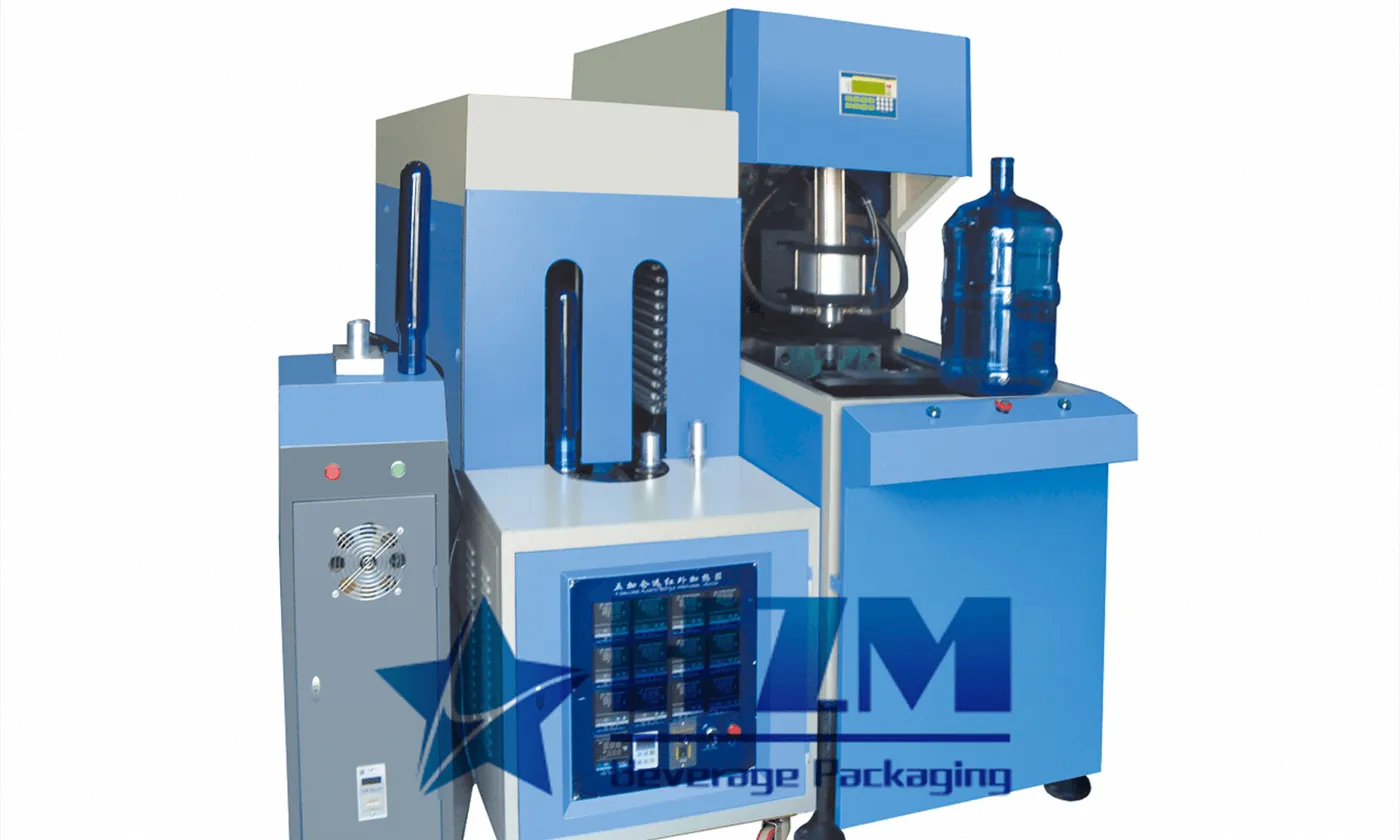
Equipment
5 Gallon Bottle Blow Molding Machine
This blow moulding machine produces large PET water bottles, including 5-gallon containers.
Learn more2024-01-20
Automatic PET Bottle Blowing Machine Price?
HZM Machinery, as a professional manufacturer of automatic bottle blowing machines, is dedicated to providing high-quality and efficient equipment, offering customers an ideal solution with 2 years of warranty and global sales.
Learn more2024-01-09
What Is A Bottle Blowing Machine
A Bottle Blowing Machine is a device used for blowing plastic bottles for liquid packaging.It is used to blow plastic bottles of different capacities and designs with less than a 0.1% of rejection rate.
Learn more2024-02-21
From Manual to Automatic: Energy-Efficient PET Blow Molding for China
There is still a significant portion of China using manual or semi-automatic bottle blowing machines for PET bottle production. With the current trend of labor shortages and increasing quality requirements for PET bottles, there is a shift towards fully automatic bottle blowing machines.
Learn more
2023-06-18
Key Factors for Choosing a High-Quality PET Bottle Blowing Machine
Choosing a high-quality PET bottle blowing machine is crucial for ensuring production efficiency and product quality. This article will discuss the key factors to consider when selecting a high-quality PET bottle blowing machine, helping you make informed decisions
Learn more
2023-10-06
5-Gallon Drum Filling Line Operation Manual
The 5-gallon drum filling machine integrates the functions of rinsing, filling, and capping into one unit. It is an ideal equipment for the production of mineral water, distilled water, and purified water. The machine is constructed using high-quality stainless steel, which is corrosion-resistant and easy to clean.
Learn more2023-06-07
How Much Does a Blow Molding Machine Cost?
we will explore the various factors that influence the cost of a blow molding machine and provide insights into the pricing range.
Learn more